Mar 272026
Science in Year 1
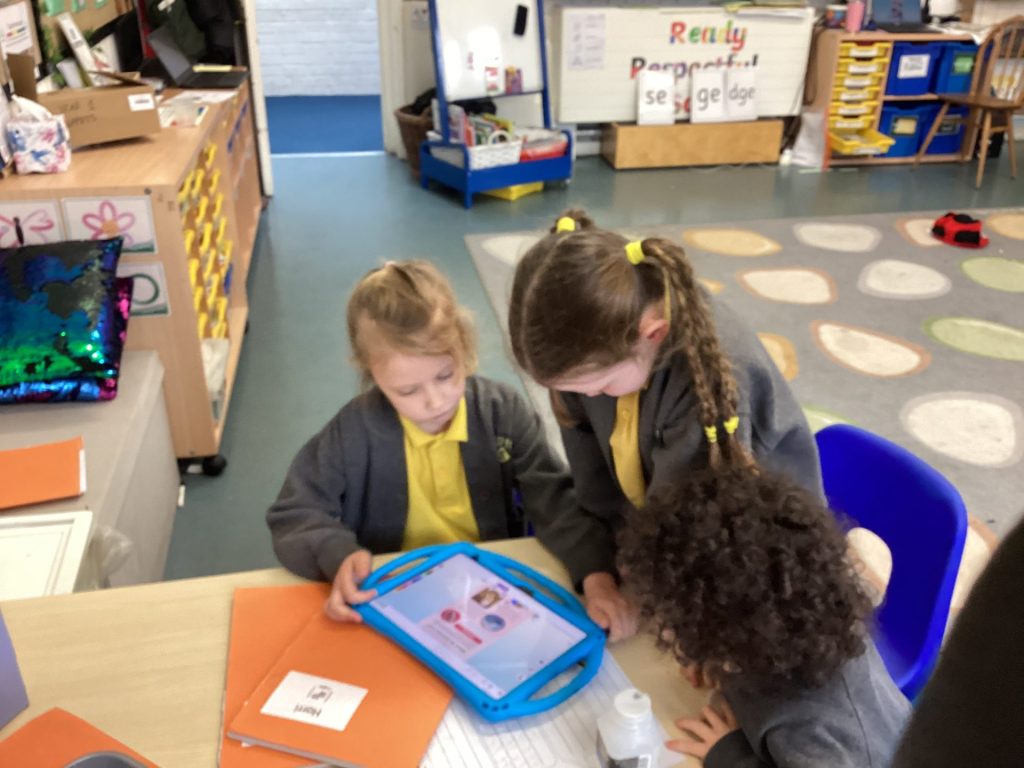
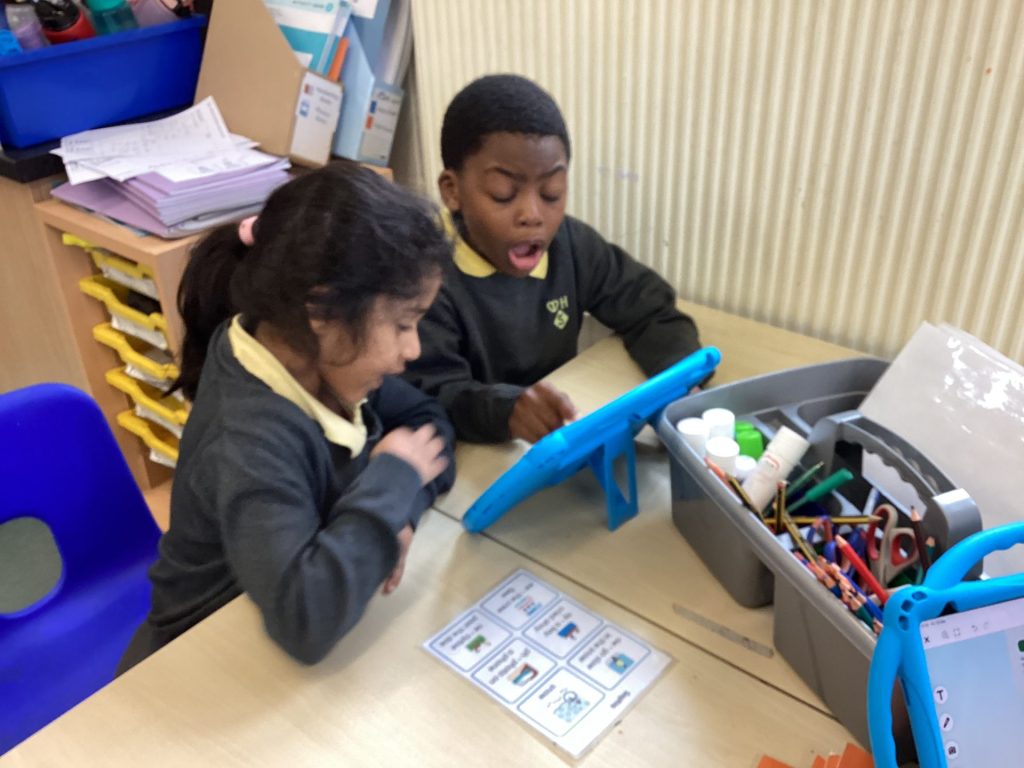
In Science we have been learning about carnivores, herbivores and omnivores.
We learnt that a carnivore is an animal that eats other animals, for example, a lion, a frog and a bat. A herbivore is an animal that eats plants, for example, a rabbit, a panda and a cow. An omnivore is an animal that eats both plants and other animals, for example, a pig, a chicken and a monkey.
We used our research skills to read an e-book and find out what different animals eat.
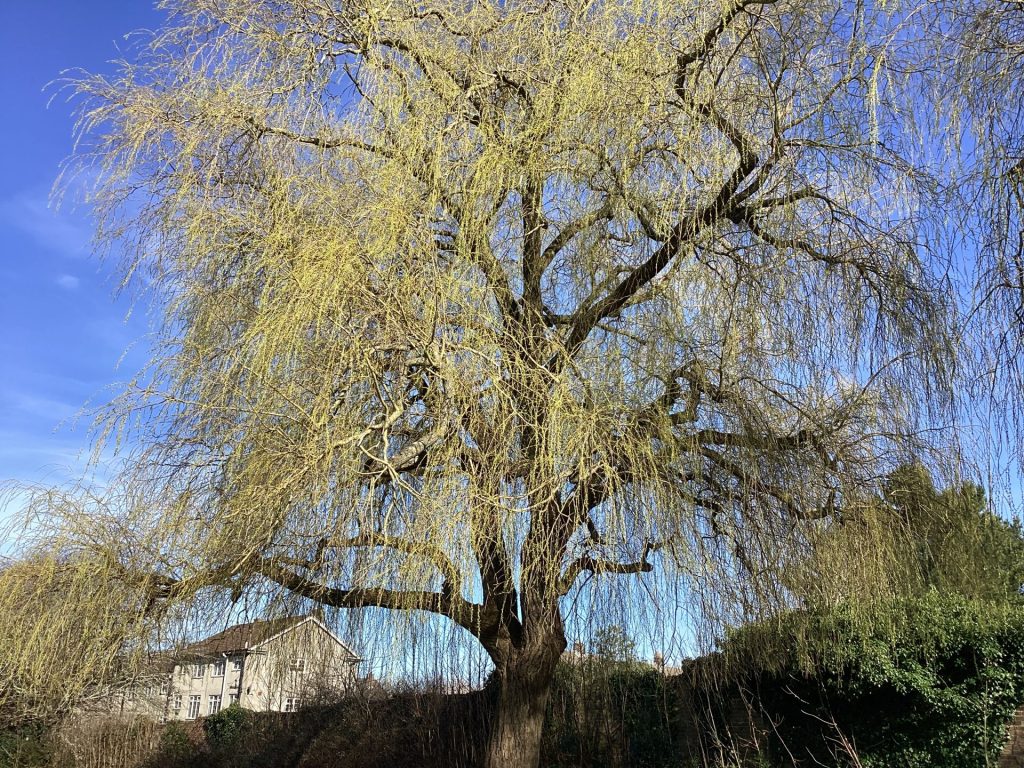
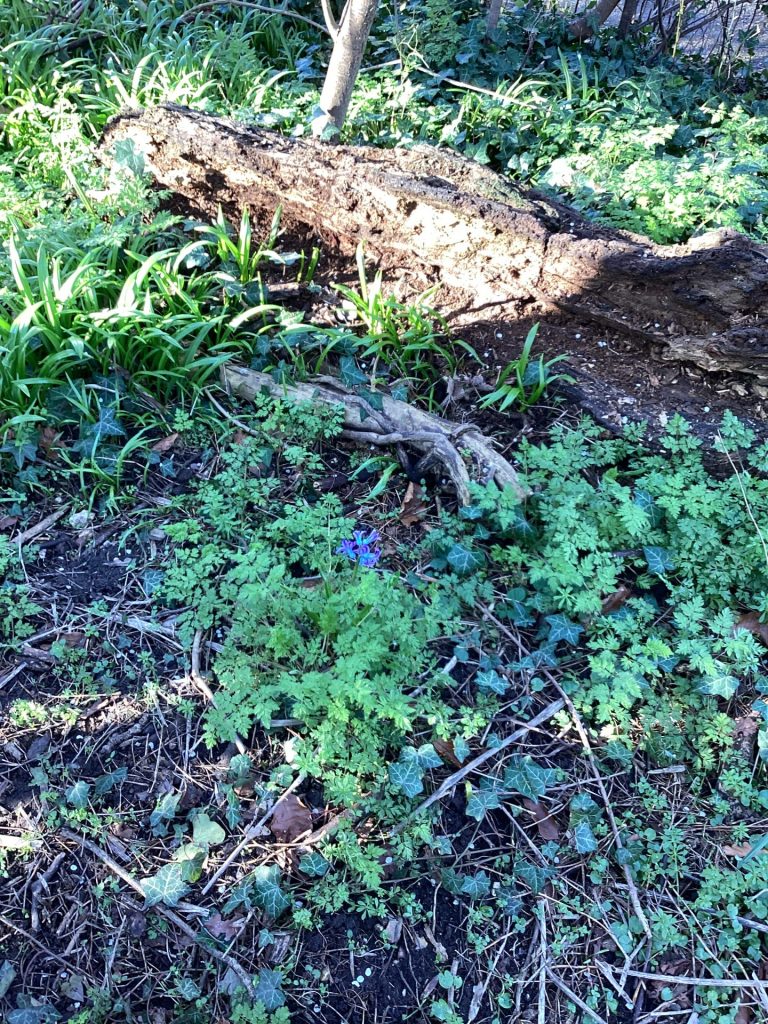
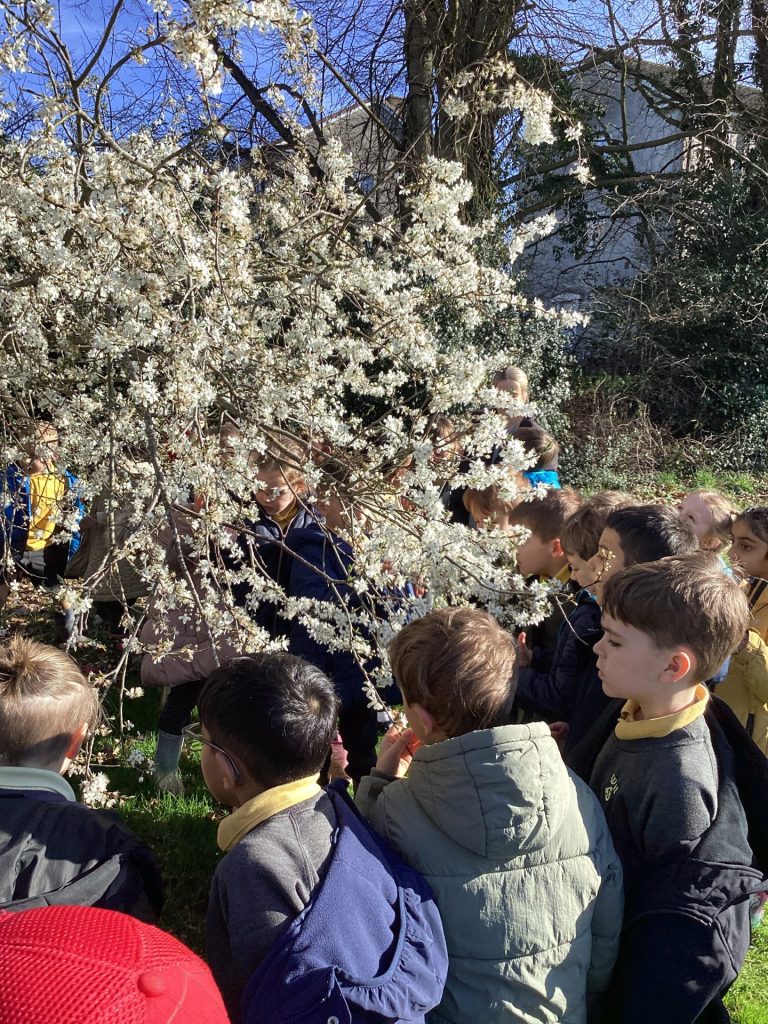
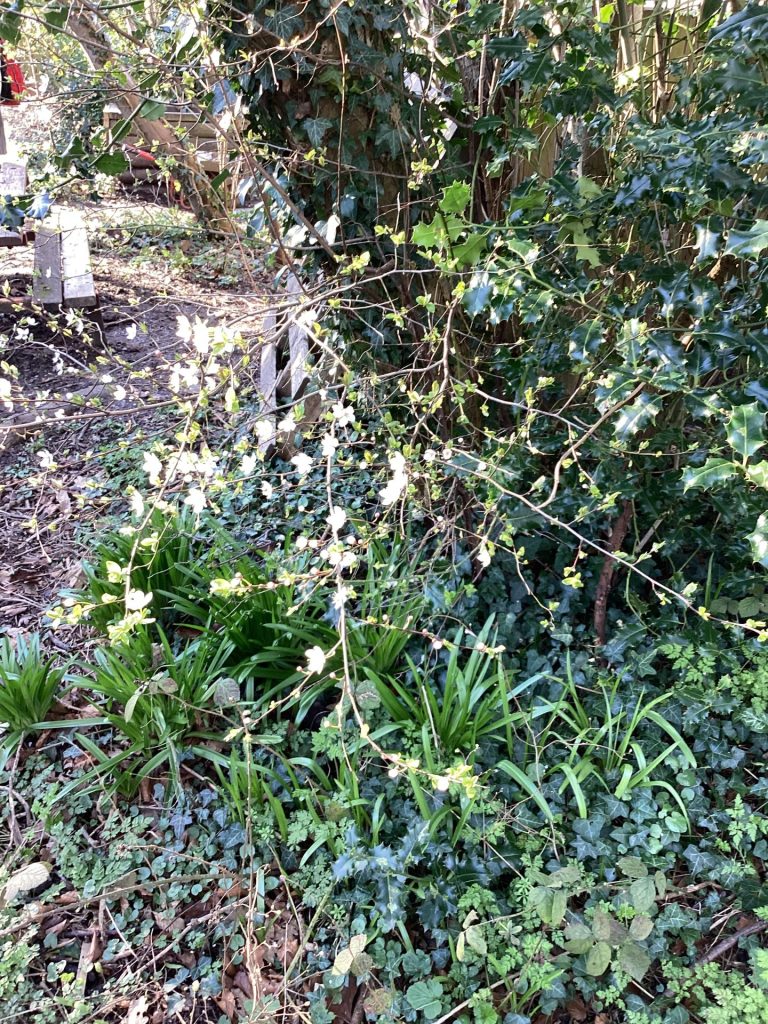
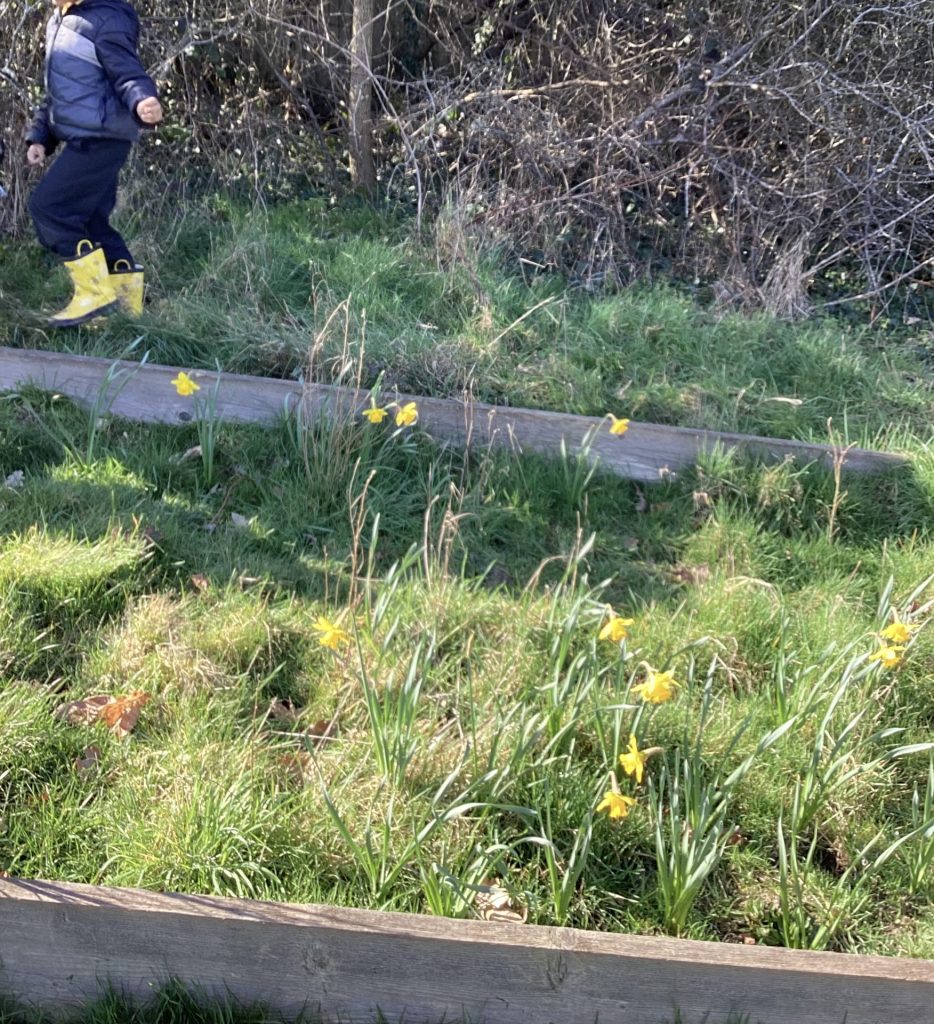
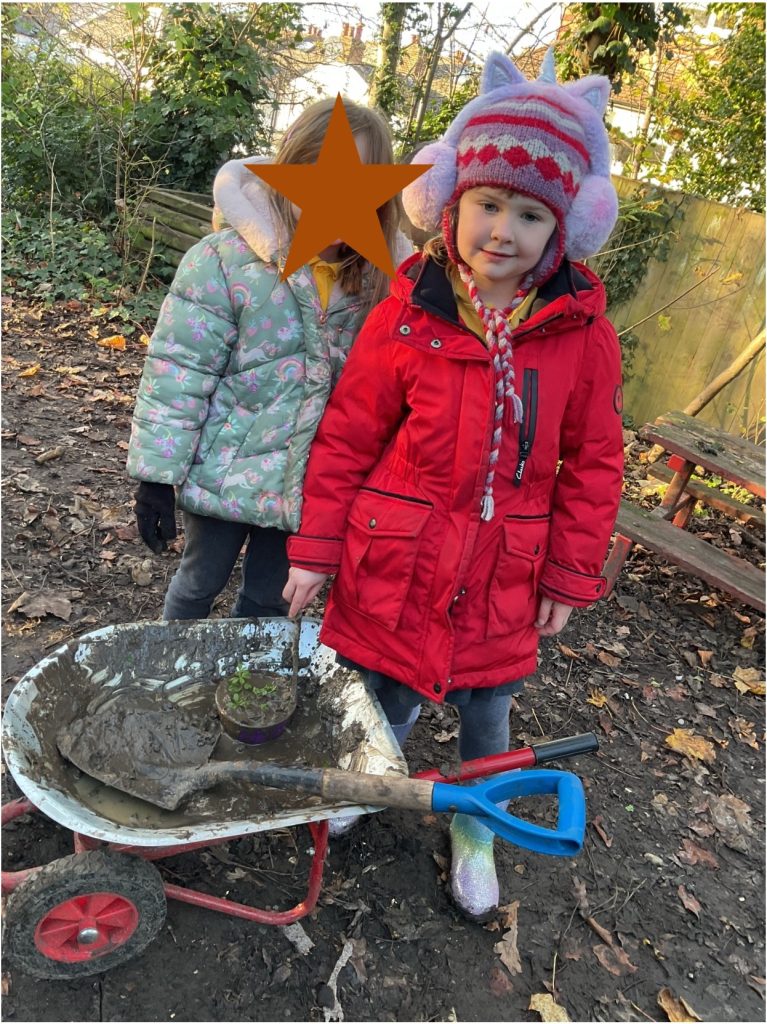
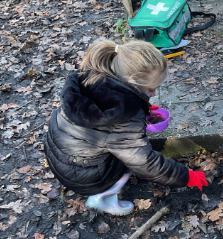
Then we launched ourselves into learning about spring. We went on a ‘Signs of Spring’ hunt around the school grounds. We noticed blossom and lots of buds growing on the trees around the field. We noticed that the willow tree was becoming greener and we spotted daffodils and bluebells growing.
How you can help at home:
Do some research about your favourite animals.
Make a fact file about your favourite animal and include some information about what they eat.
Draw or take a photograph of the signs of spring you notice when you’re out and about.
Enjoy the Easter holidays!
-
Mar 202026
Maths in Year 1
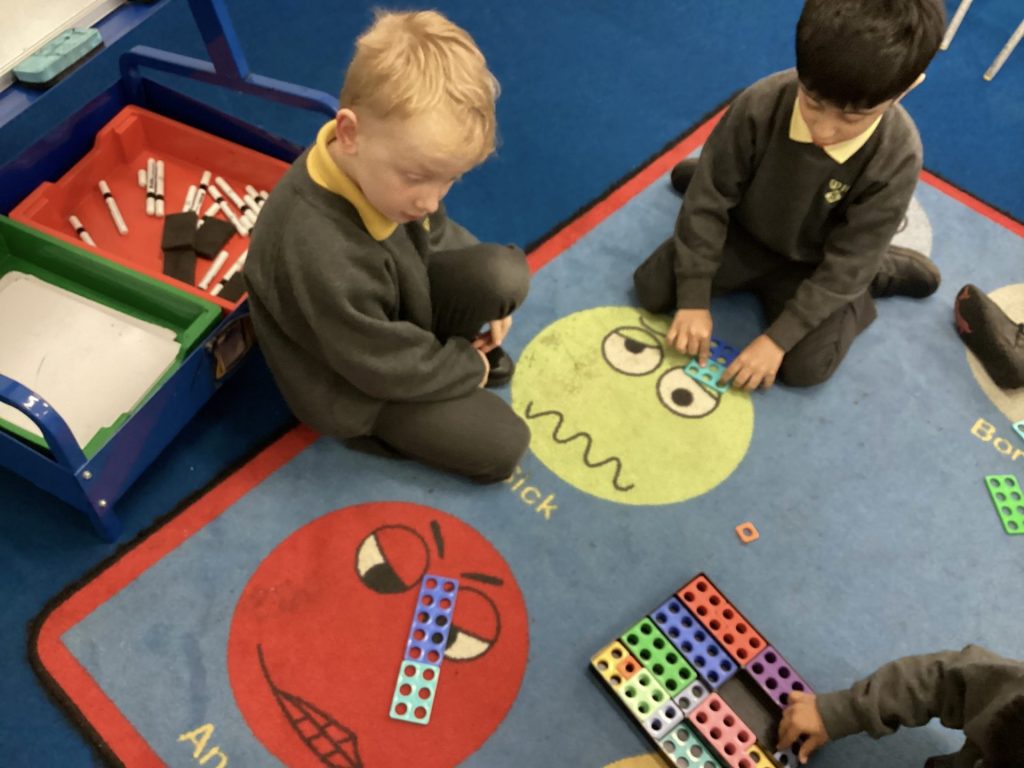
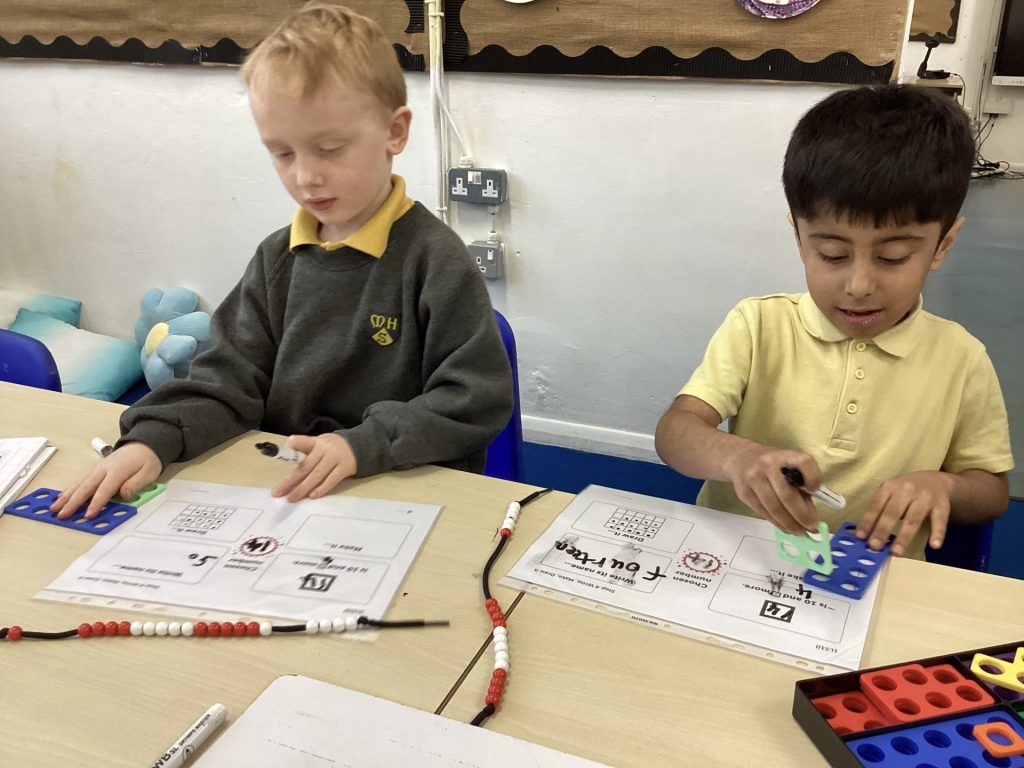
This week in Maths we have been working hard to find different ways to make the totals.
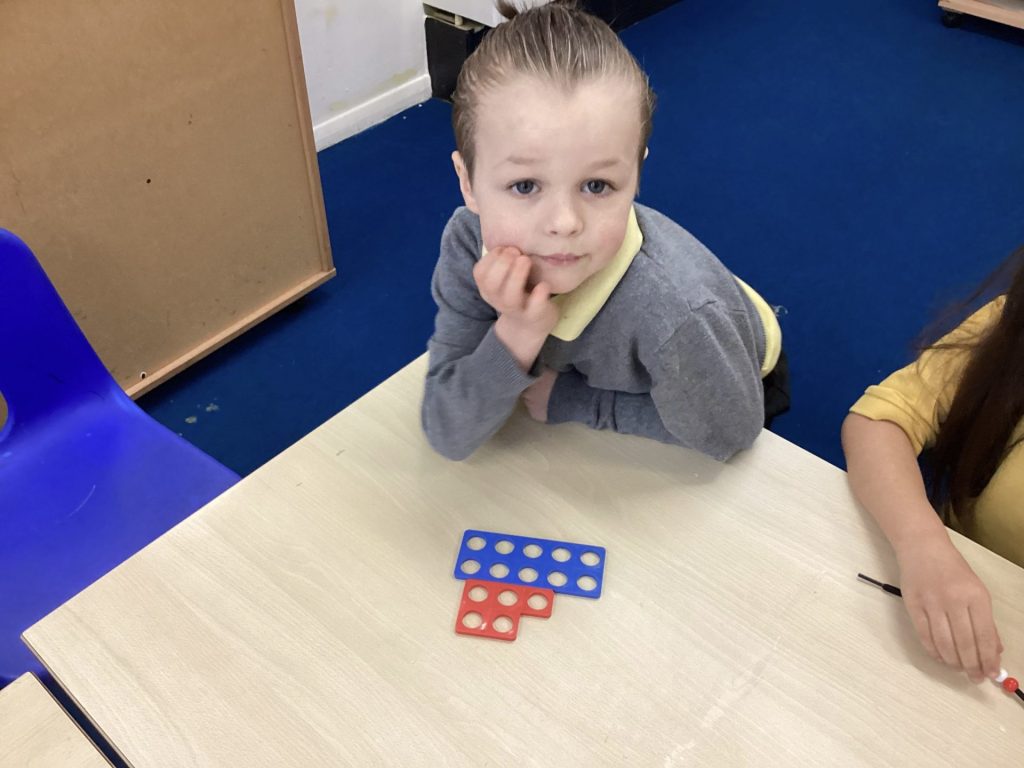
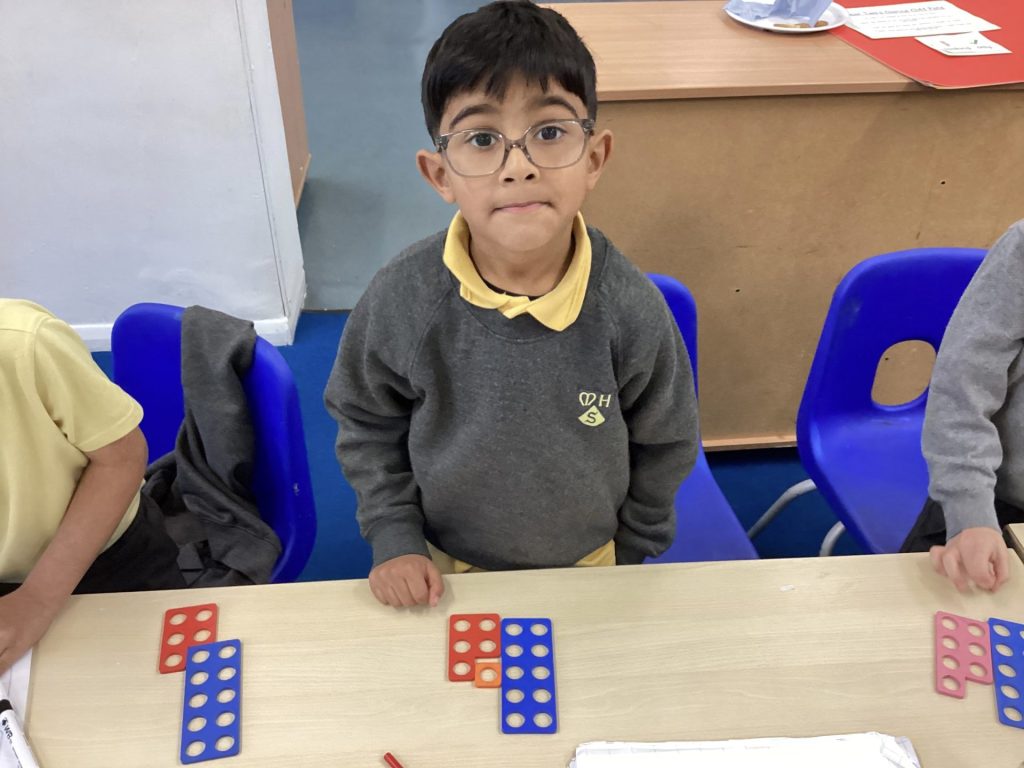
We used Numicon to help us find lots of different ways to make 14.

Then we used used values between 11 and 20 and recorded our learning using balance scales. Our teachers challenged us to record our learning in a balanced equation.
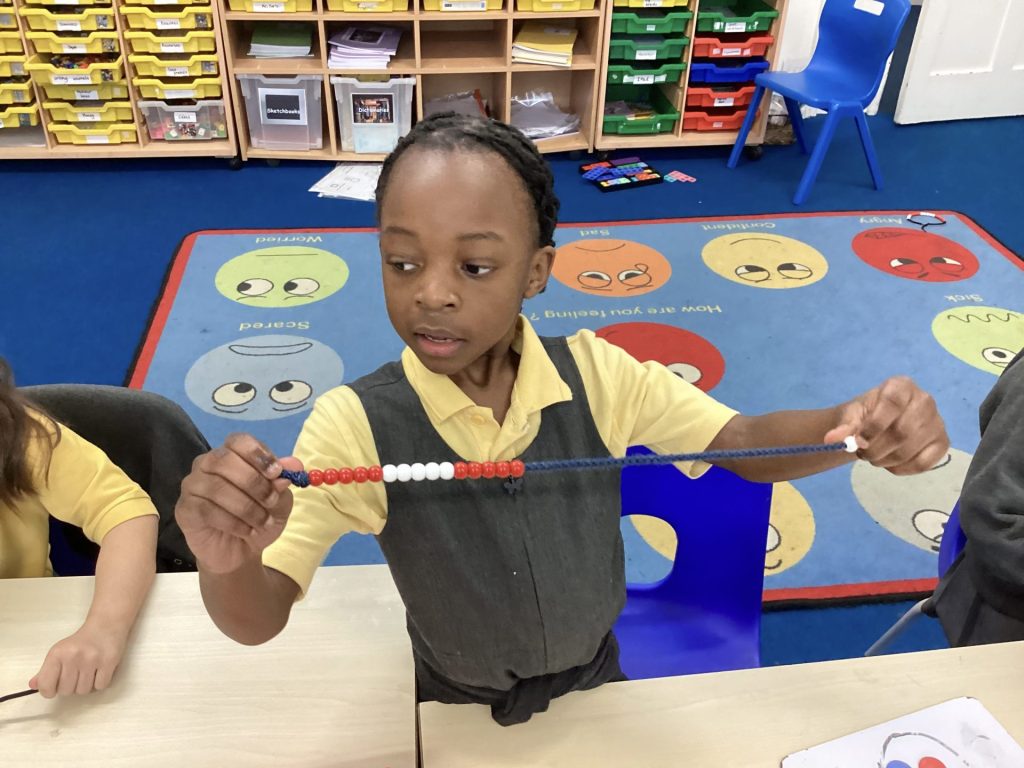
In our next lesson we learnt how to use bead strings to help us find different ways to make a total. We worked hard to use addition and subtraction to make our totals. Some of us worked systematically to find all the ways to make our number using 2 parts. We also thought about how we could make each total using more than 2 parts.
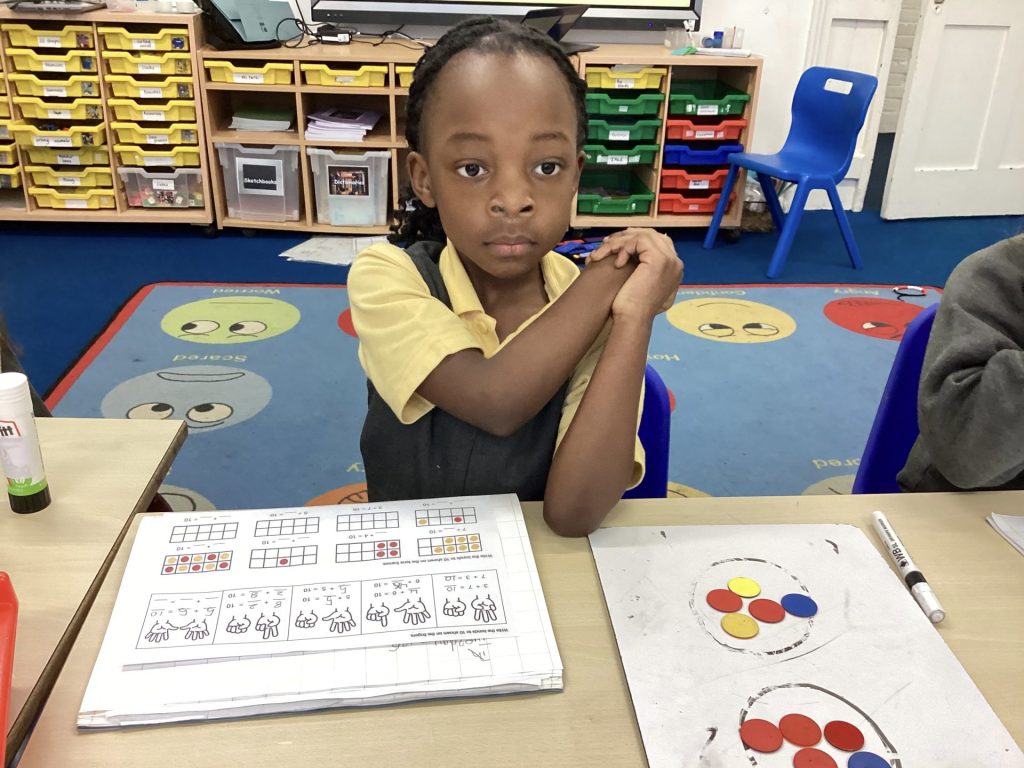
We have also been thinking about how our knowledge of the number bonds to 10 can help us to work out the number bonds to 20.
How to help at home:
- Find all the ways to make a total. For example, 12 can be made of 1 and 11, 2, and 10, 3 and 9 etc.
- Play Hit the Button at home to practise your number bonds – Hit the Button – Quick fire maths practise for 6-11 year olds
- Look out for teen numbers when out and about – how many more do you need to make 20?
-
Mar 122026
Sew Much Fun! Making Animal Puppets in DT
In DT this half term we are working hard to explore, design and make our very own animal puppets.
Firstly we took our time to explore different kinds of puppets such as :
- Finger puppets
- Hand puppets
- Sock puppets
- String puppets
We worked out what each puppet was made from, how the pieces were joined together and what had been added to make the puppet look like the animal or person it was.
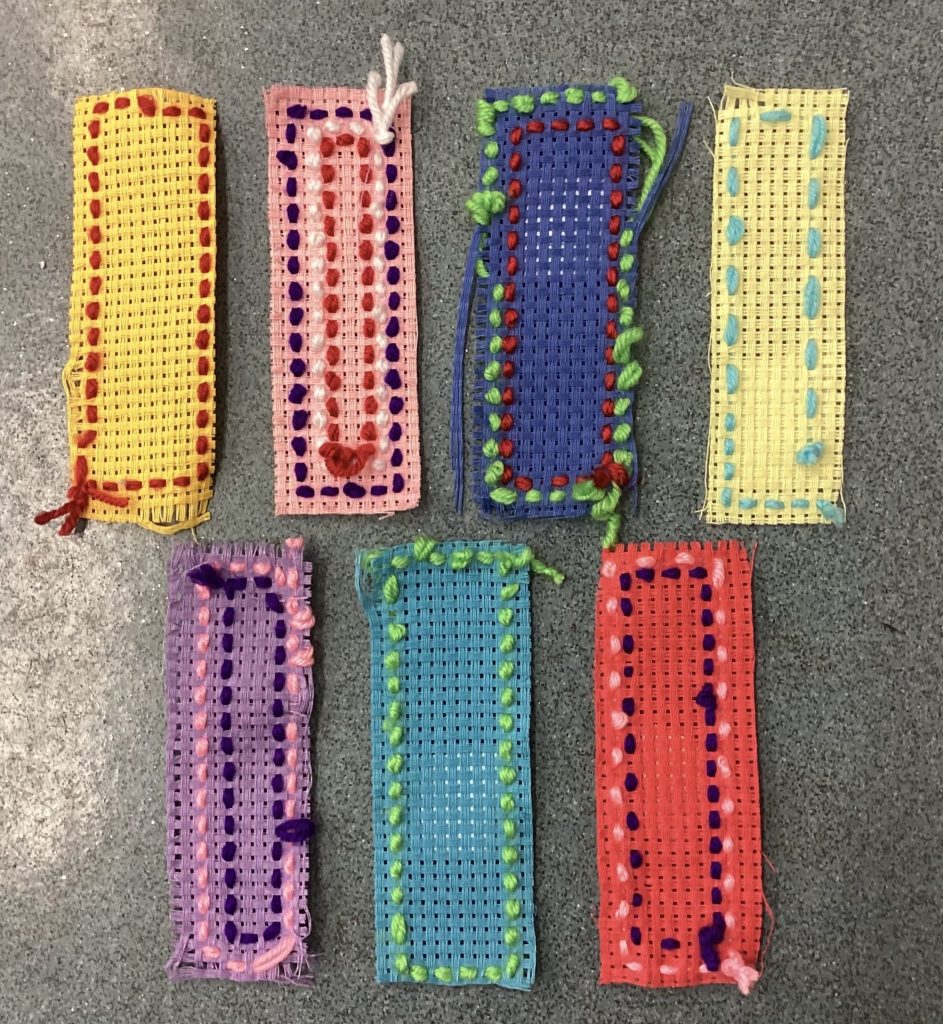
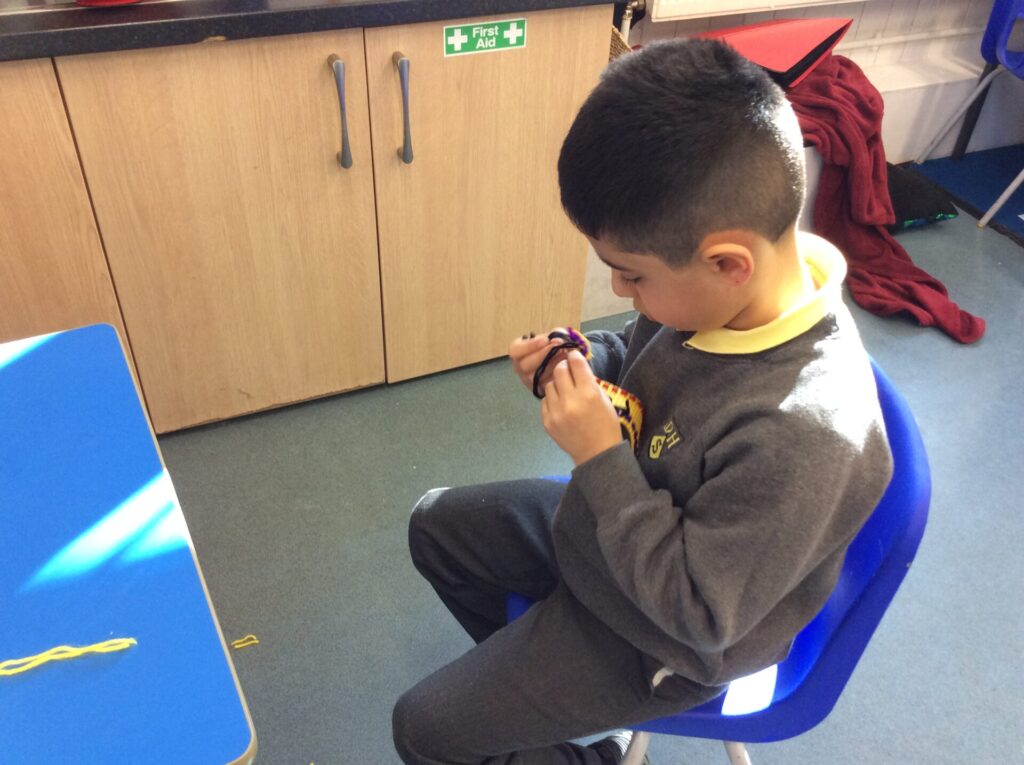
Then we learnt and practised using a running stitch ready for making our own puppets. Some of the children in Moorhen Class enjoyed it so much that they said ‘This is the best day ever!’.
After that we started to think about making our own hand puppets.
We thought about what would make a good puppet and decided:
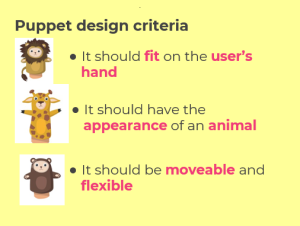
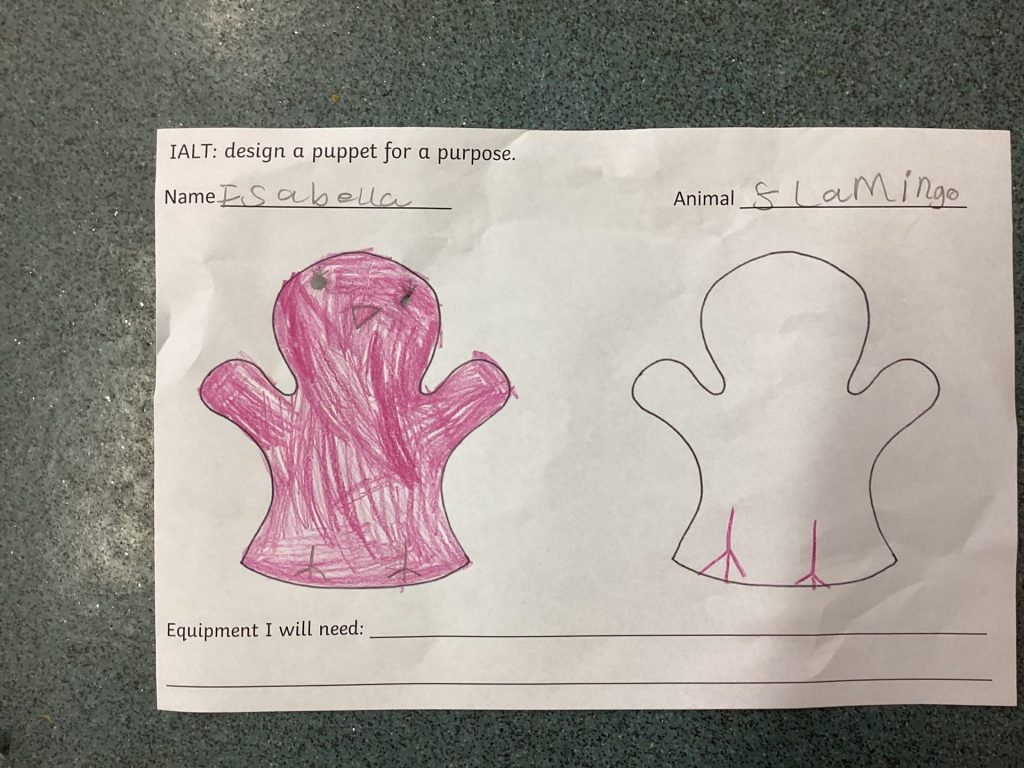
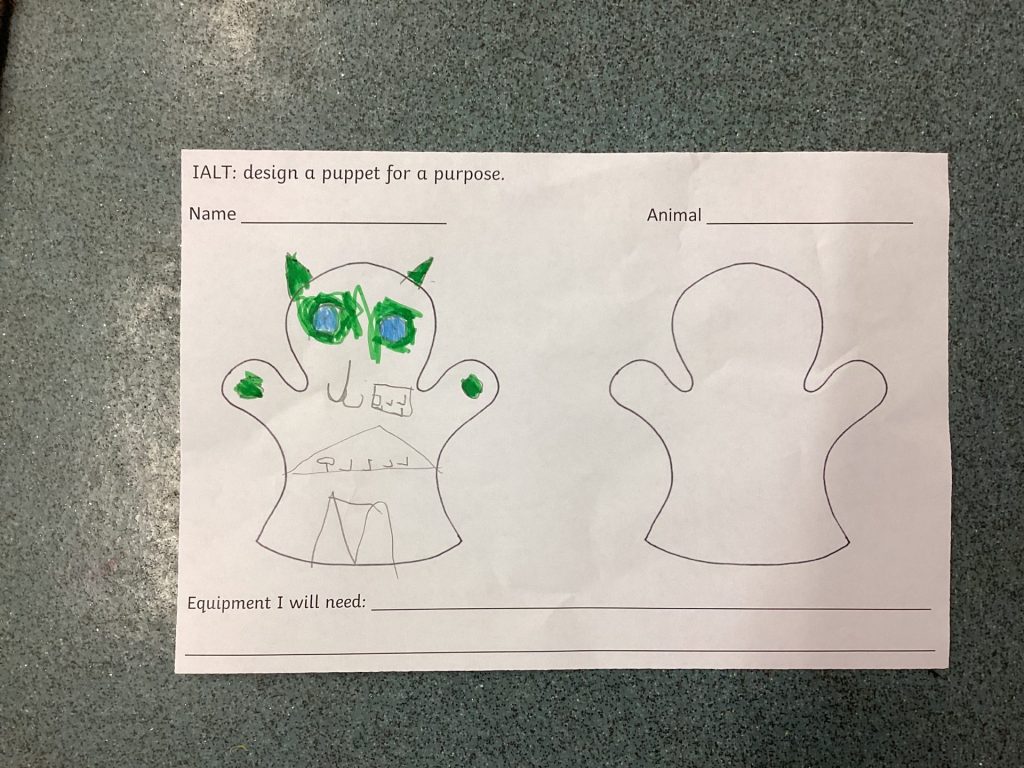
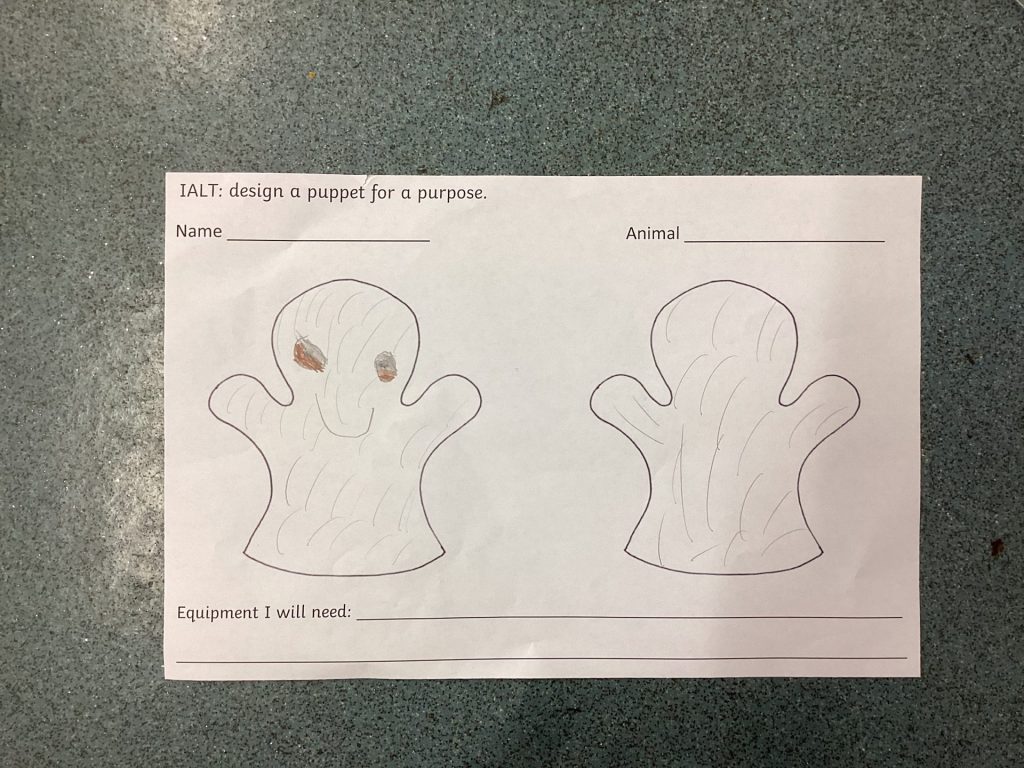
Now we are starting to design our puppets. We have decided what animal puppet we would like to make. Next we will think carefully about the materials we might need to use and how we can make it look like the animal we have chosen.
We can’t wait to make our puppets!
How to Help at Home
You can support your child’s learning at home by encouraging them to continue being creative with simple materials.
-
-
Make a puppet together using a sock, paper bag or old fabric. Your child could design another animal puppet and decorate it using buttons, felt, paper or wool.
-
Practise simple sewing skills such as a running stitch using plastic needles or large needles with adult supervision. Sewing cards or felt shapes are great for practising.
-
Talk about puppets in stories or shows and ask your child what type of puppet they think it is (finger puppet, hand puppet, string puppet etc.).
-
Put on a puppet show! Encourage your child to use their puppet to tell a story or act out a favourite book.
-
Mar 062026
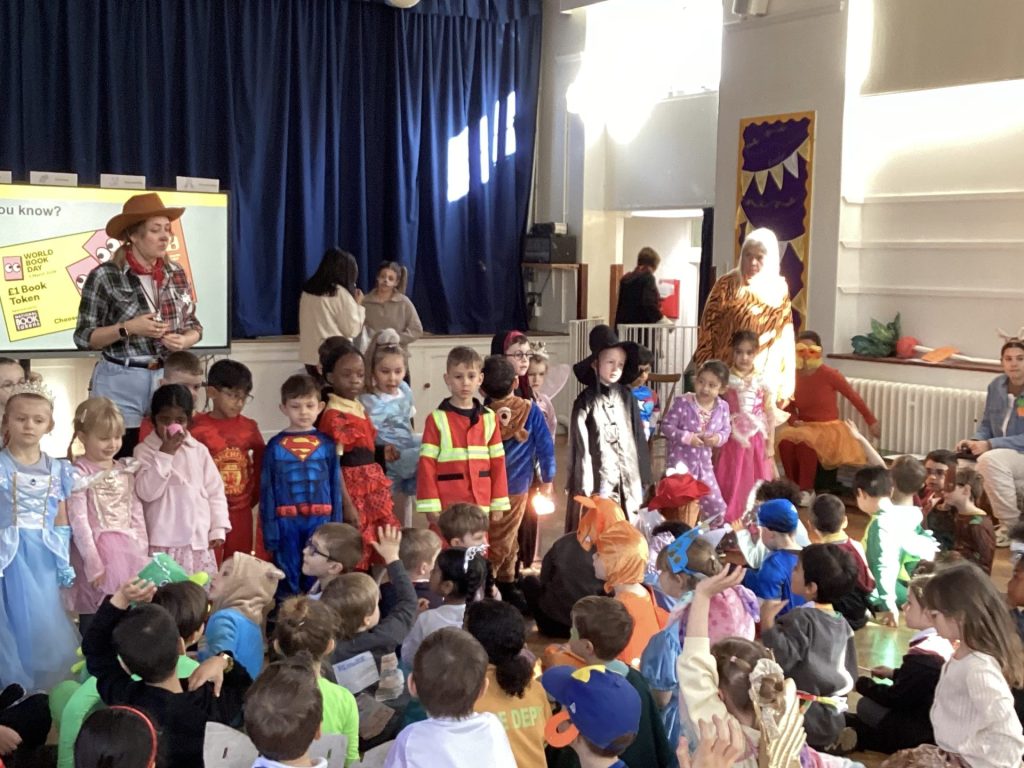
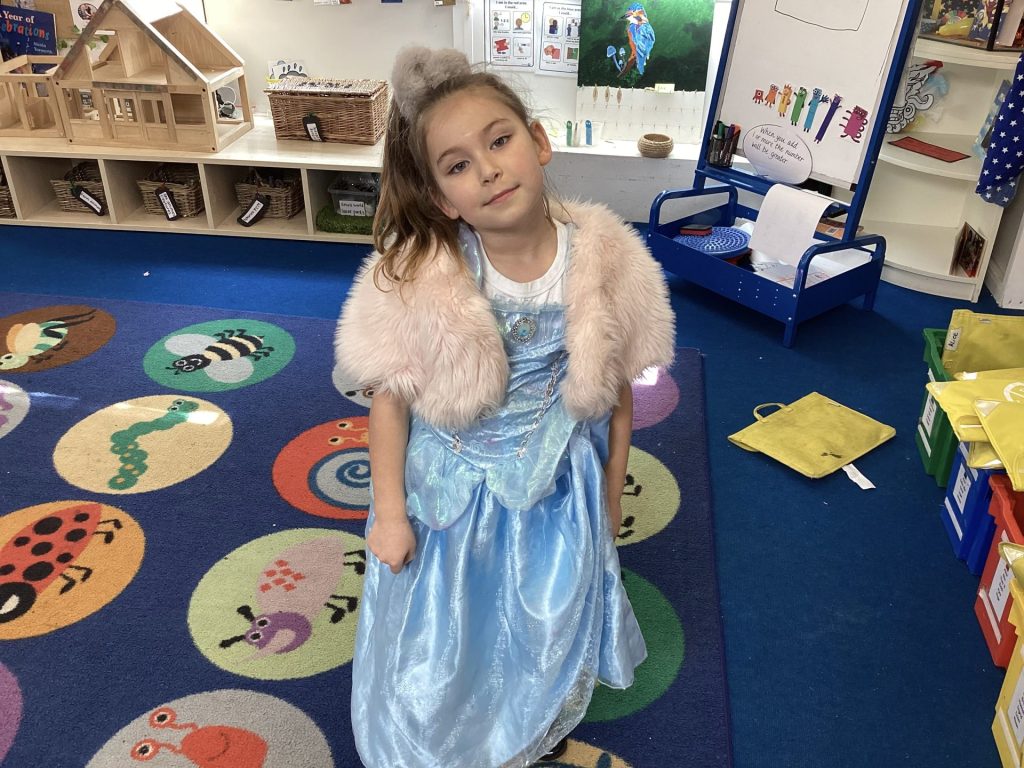
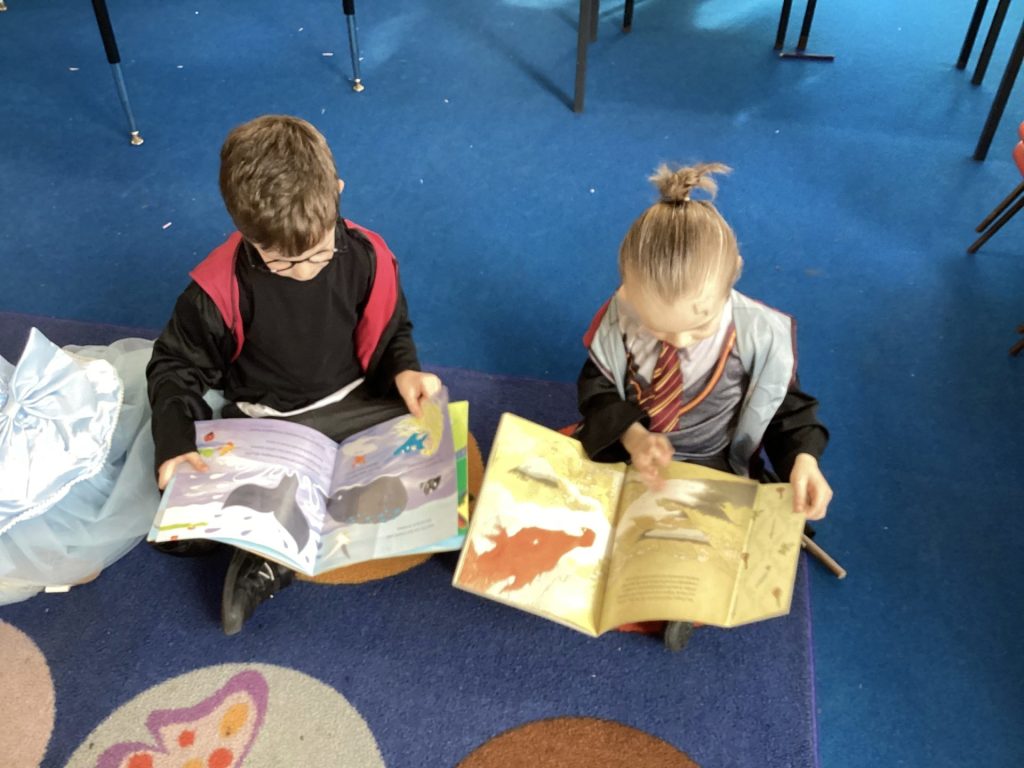
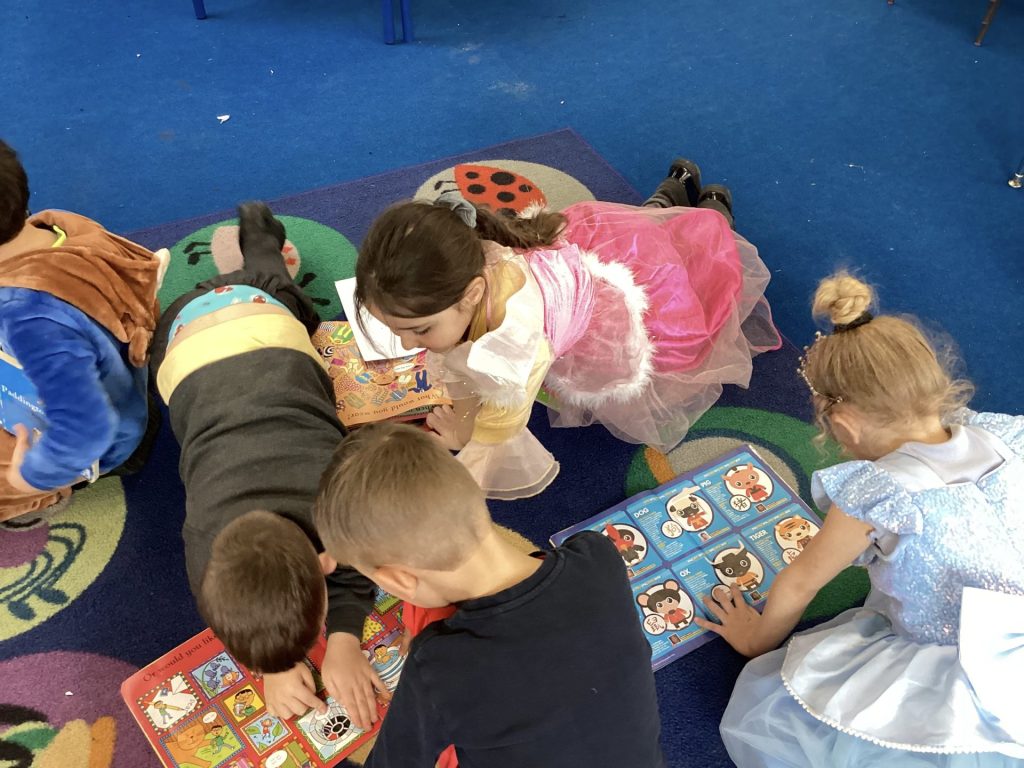
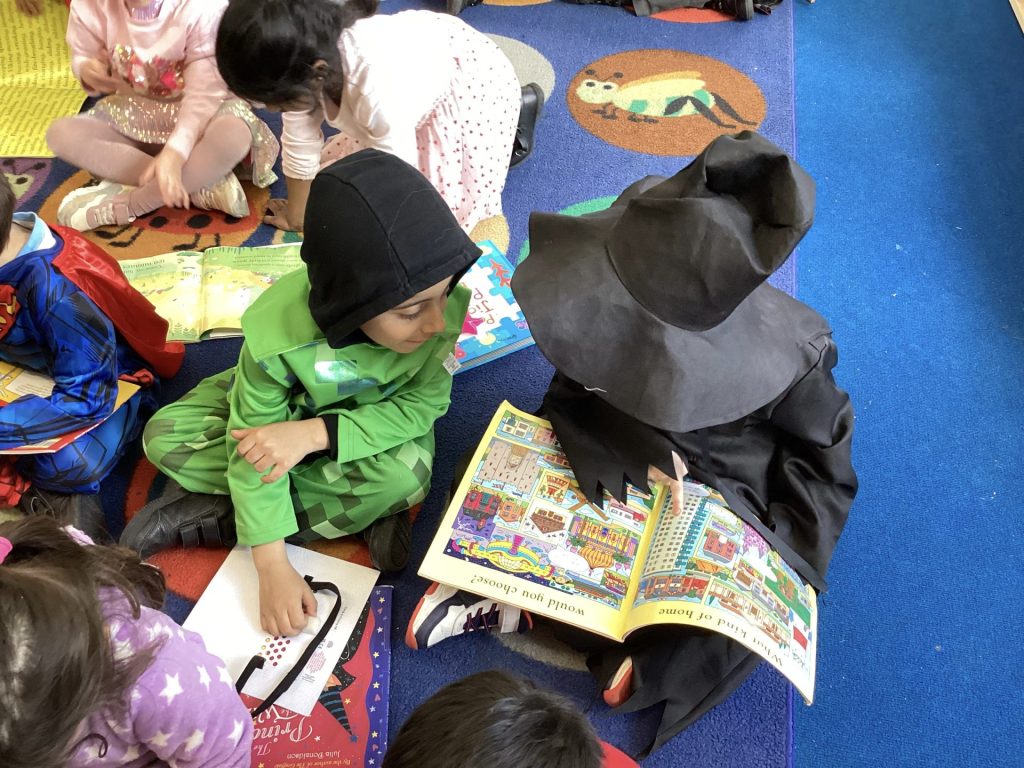
World Book Day 2026
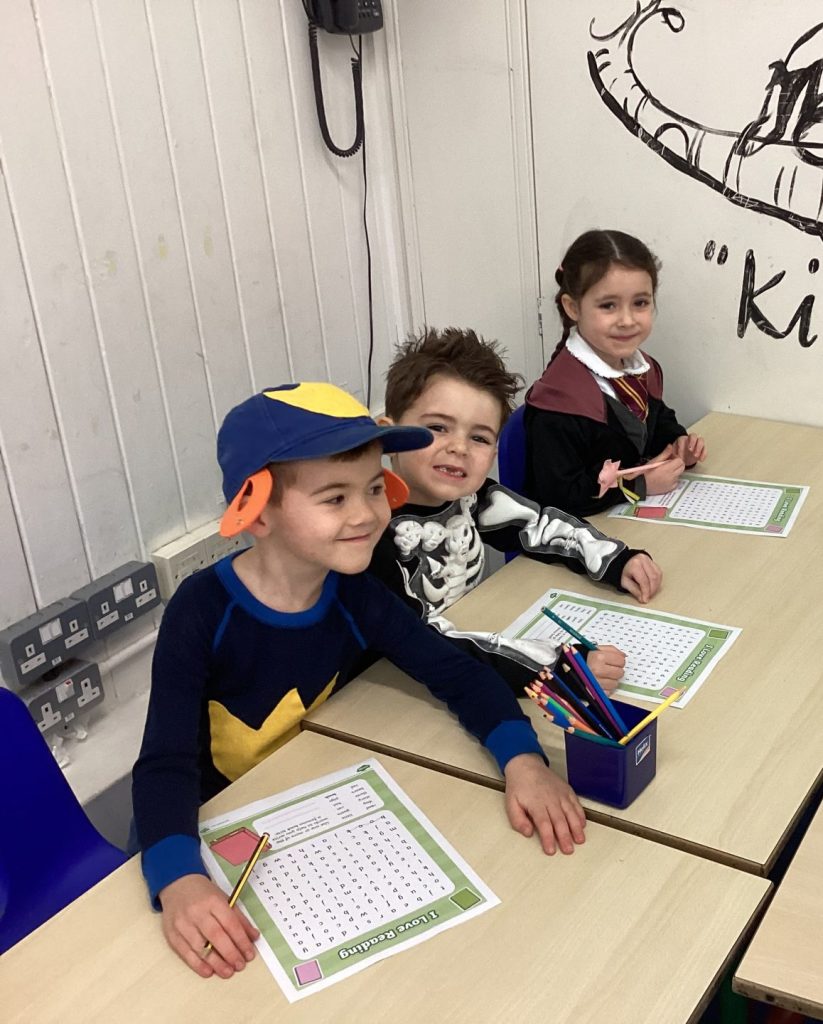
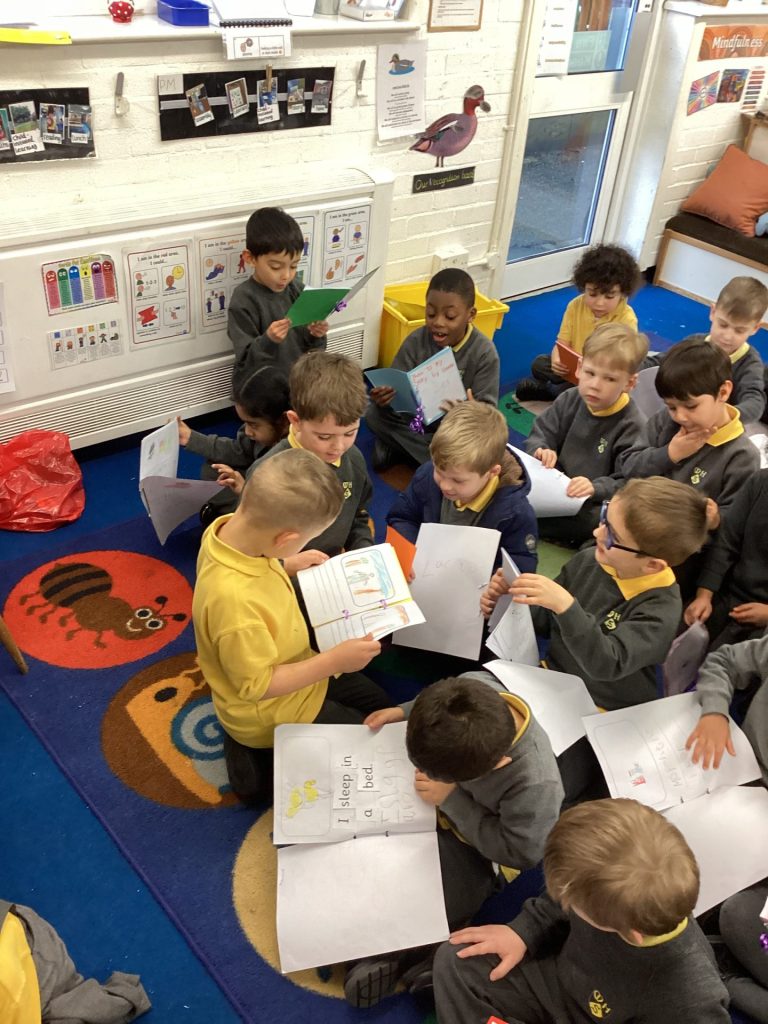
On Thursday we celebrated our love of reading during World Book Day. One of our School Development Plan objectives is to embed sustainability across our curriculum, environment and community, and so we used the opportunities that stories and reading have to offer in order to help us relay this important message to the children.
We began the day with an exciting assembly. The staff told the children the story of ‘The Day the Pond Asked for Help’ which explained how our actions can impact the environment and community around us. The children were encouraged to think about what they could do to make a difference; putting litter in the bin, recycling paper and plastic; caring for plants and animals, etc.
Later in the day, we read ‘The Smartest Giant in Town’ by Julia Donaldson. You can access the story by using the following link: https://www.youtube.com/watch?v=_f1QbJm1irY
We talked about how the story shows our school messages of reusing and recycling; and also the importance of helping others. George used his clothes to help his friends in their times of need and, in return, his friends showed him how grateful they were by making him a gift.
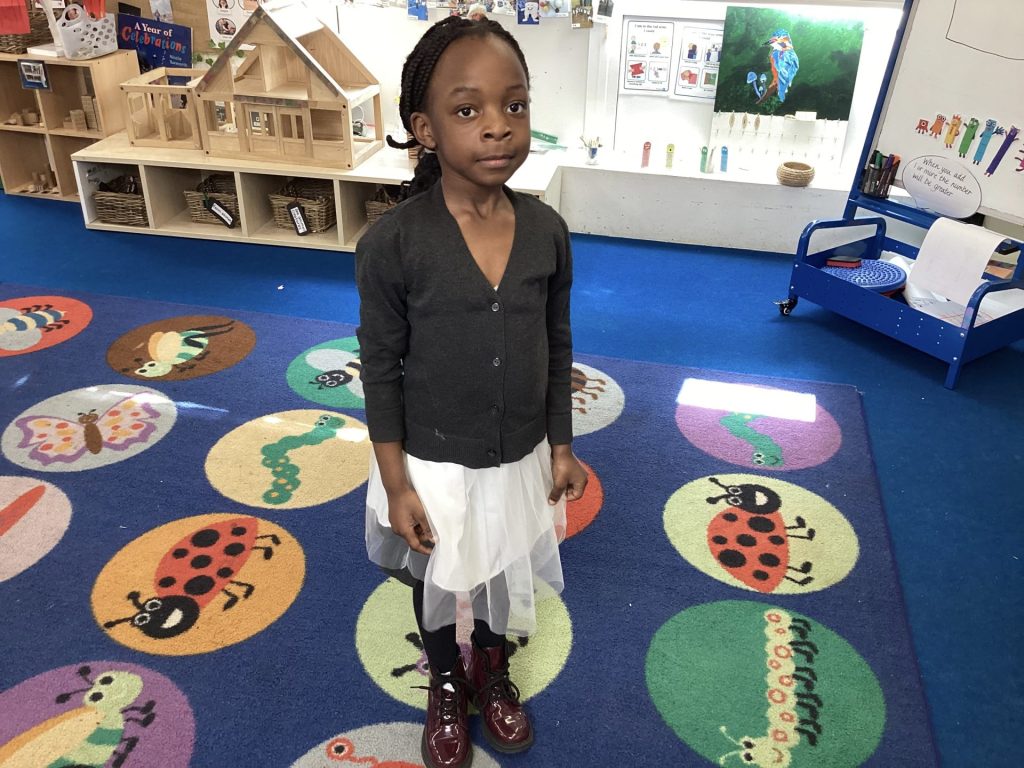
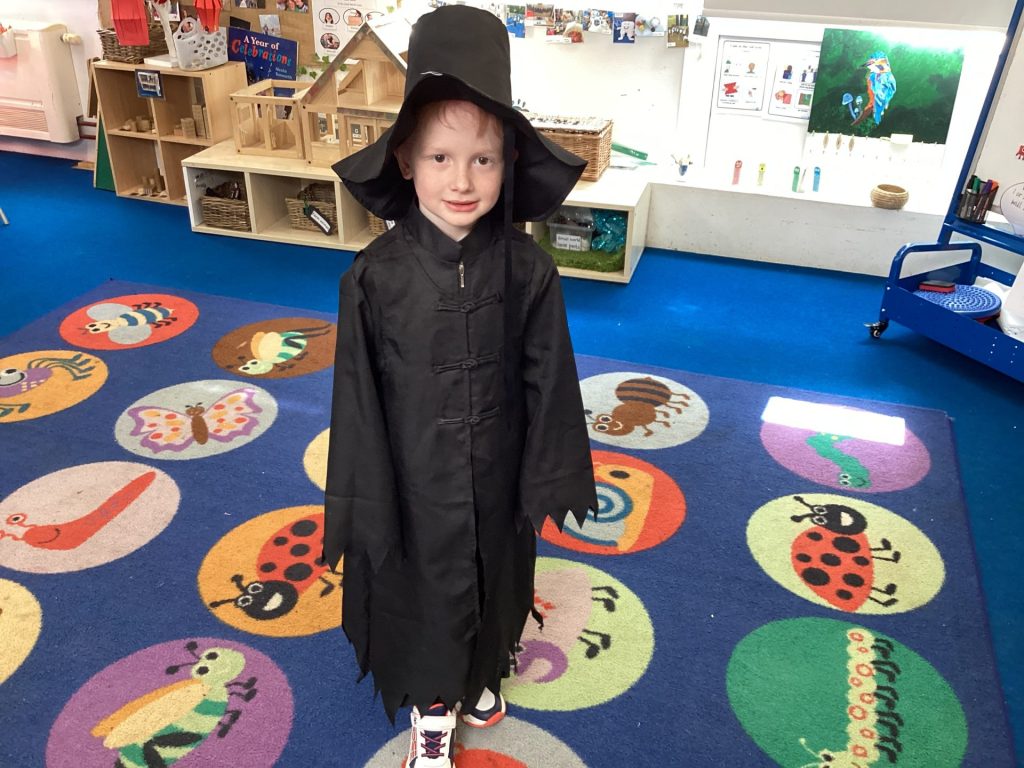
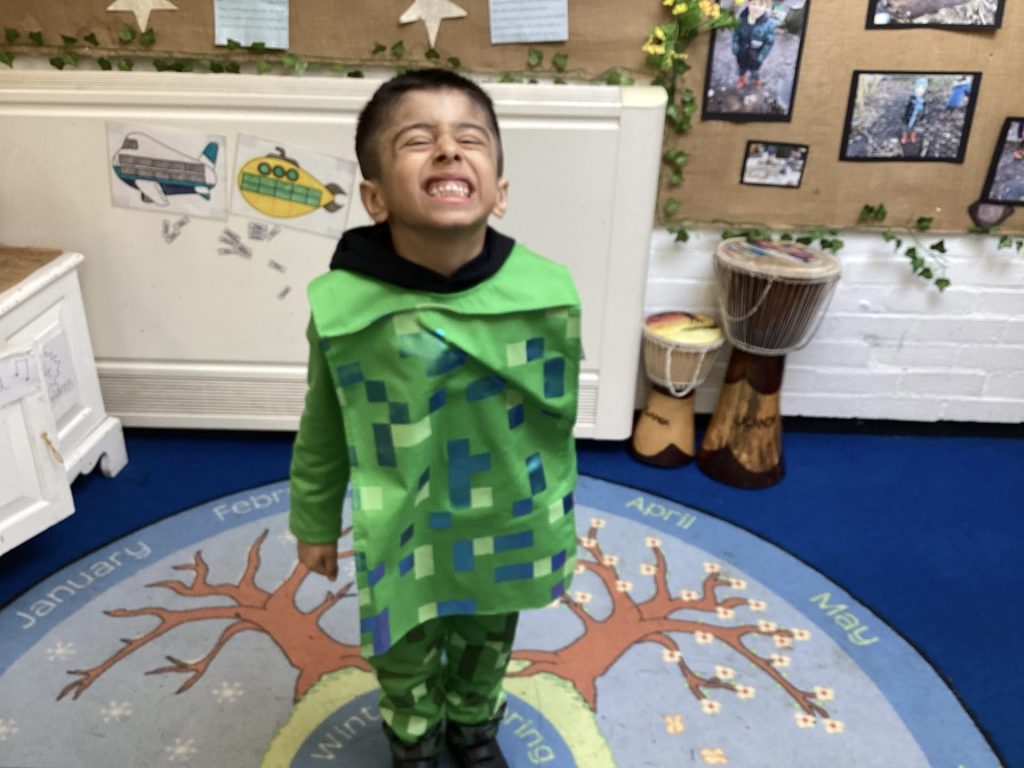
Throughout the day, we were busy taking part in various book day activities, including making book marks, solving wordsearches, sharing our favourite books and, of course, telling our friends about our fantastic costumes!
How to help at home:
- Visit the local library with your child.
- Encourage your child to talk about the books they share with you. Ask them about the characters, the setting of the story, can they make a prediction about what might happen next?
- Encourage your child to read a range of texts; fiction, non fiction, comics, magazines, food packets, poems, recipes etc.
- Ask your child to create a story book of their own.
-
Feb 262026
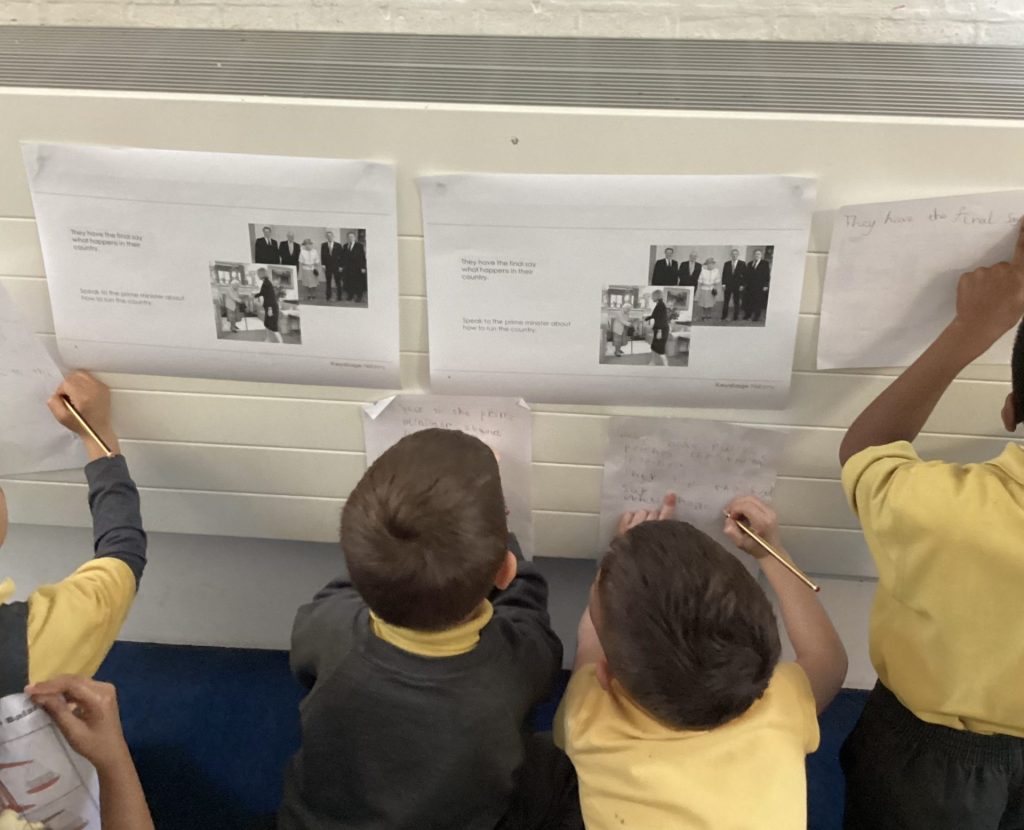
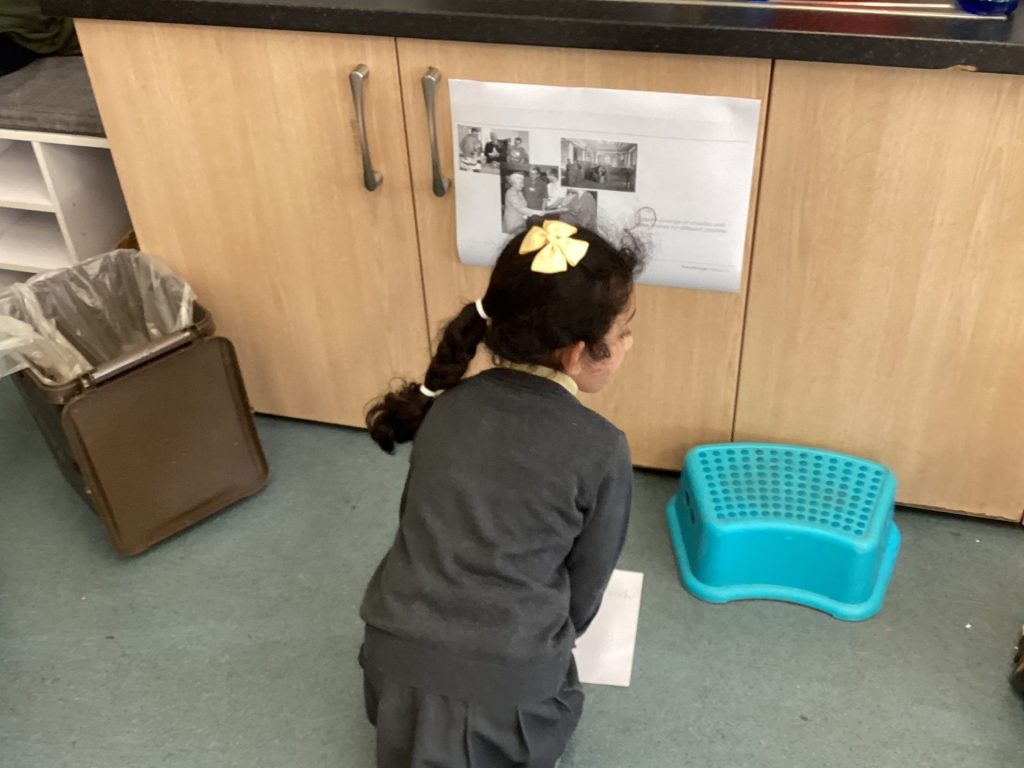
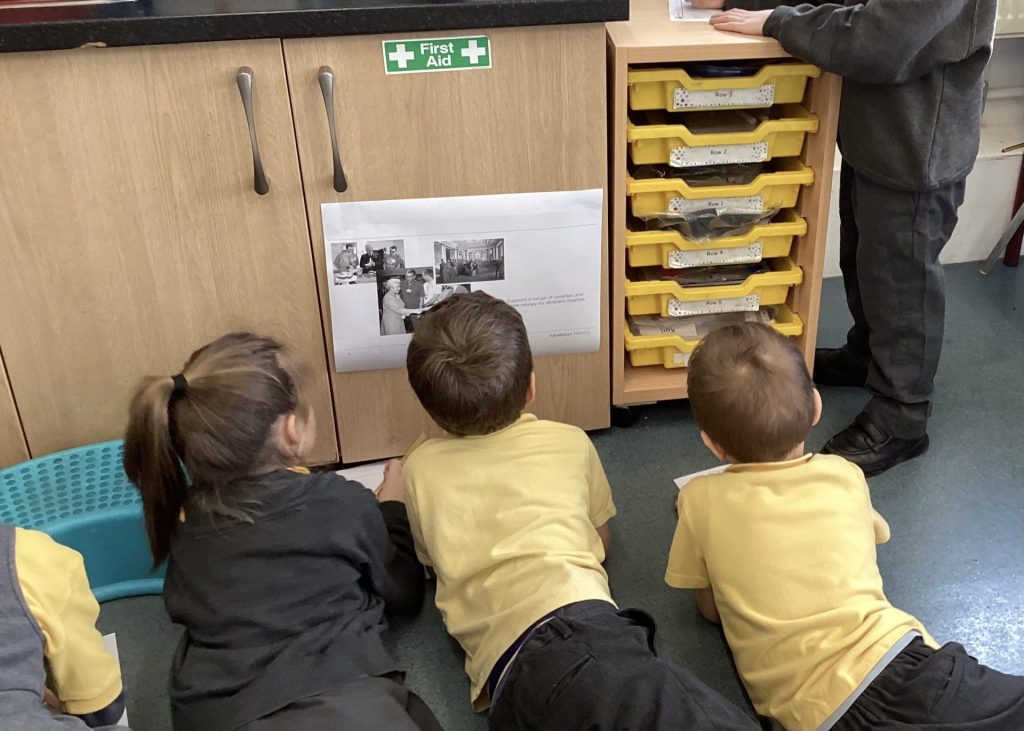
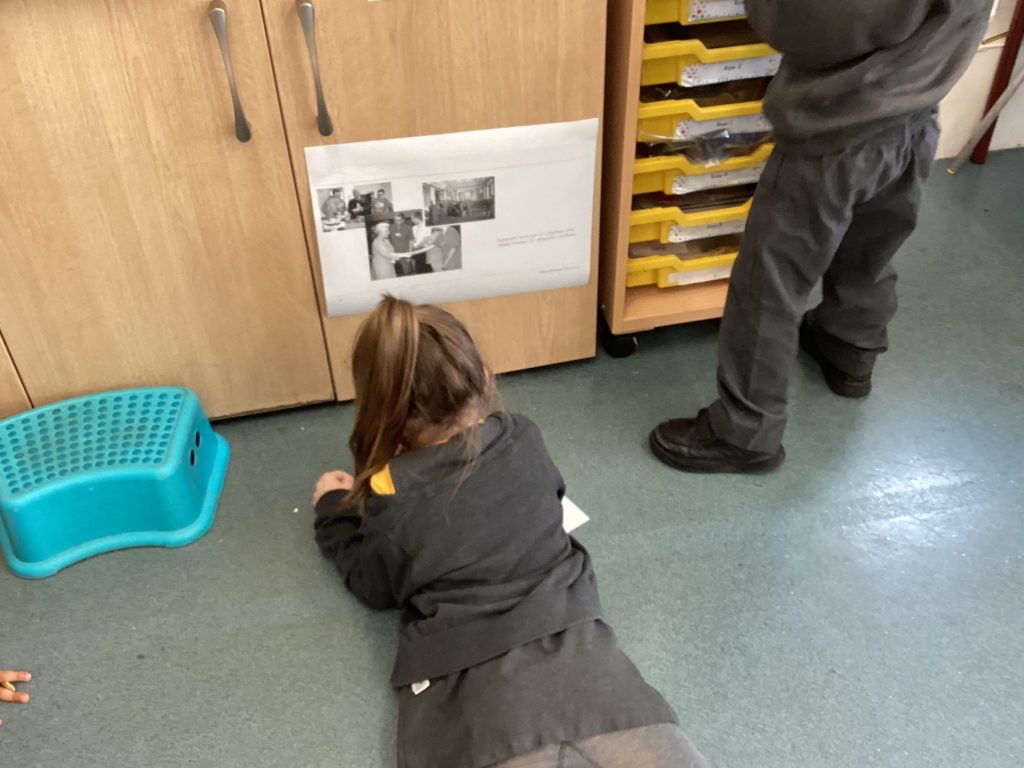
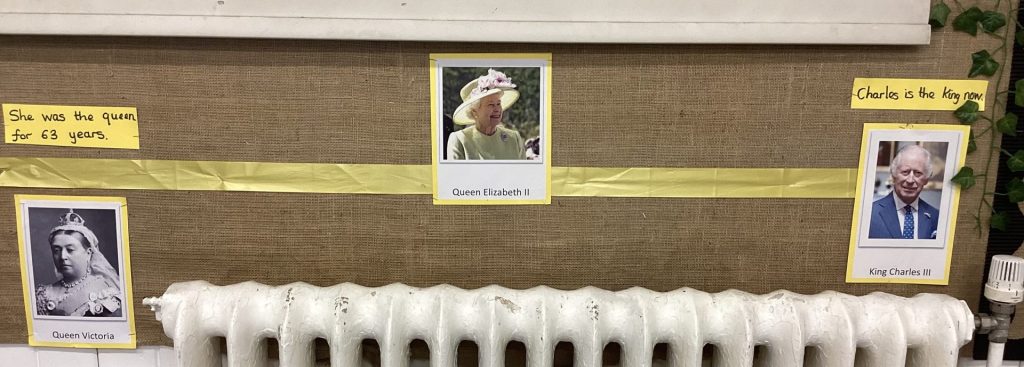
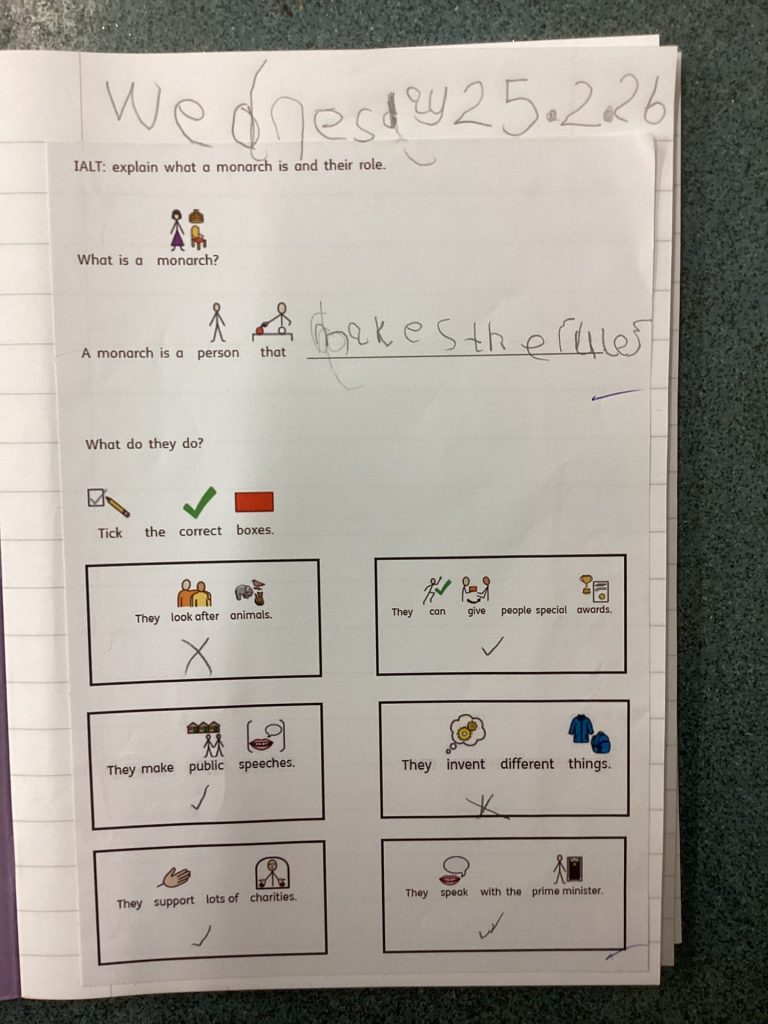
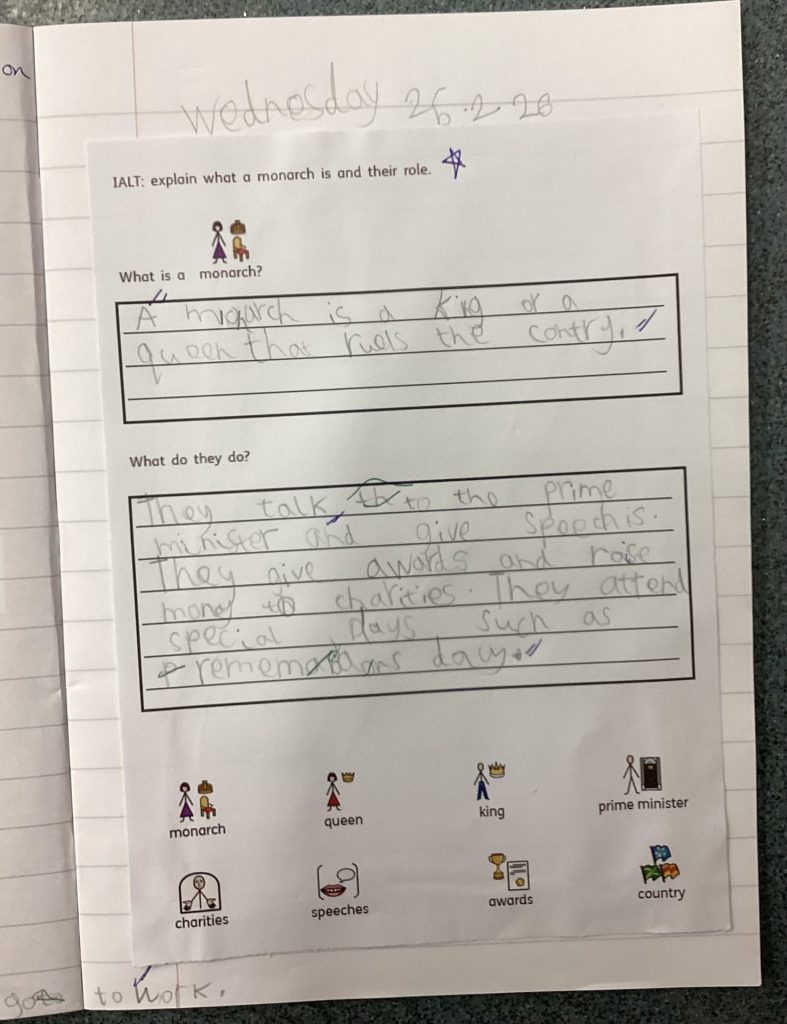
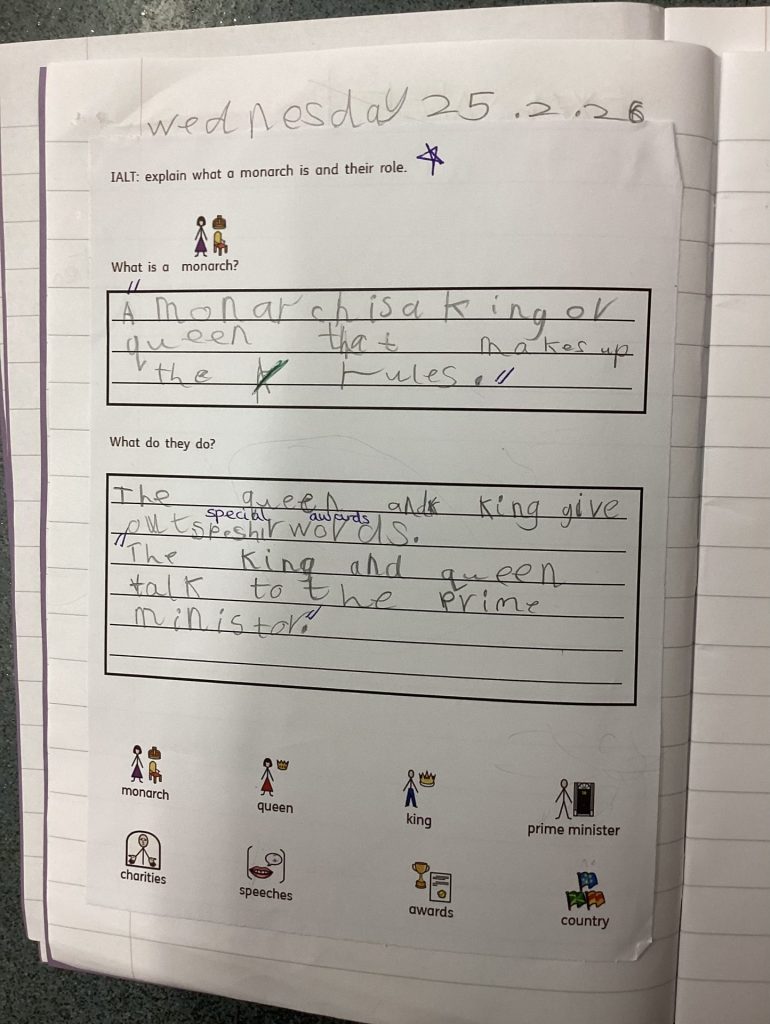
History – This Half Term’s Learning
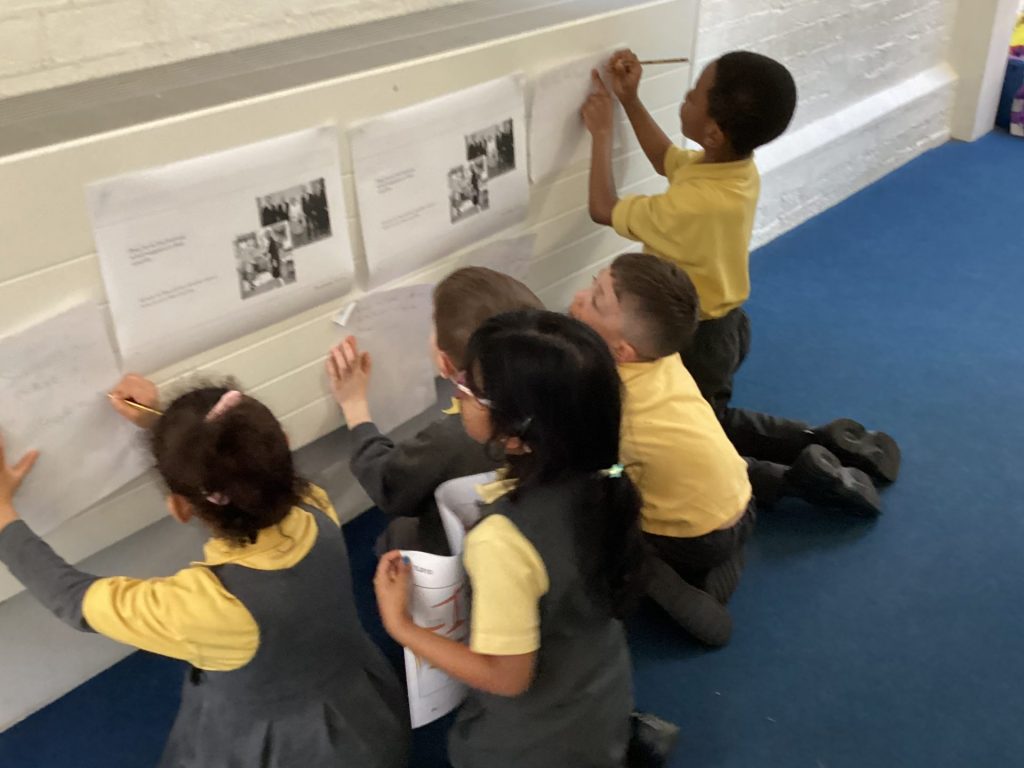
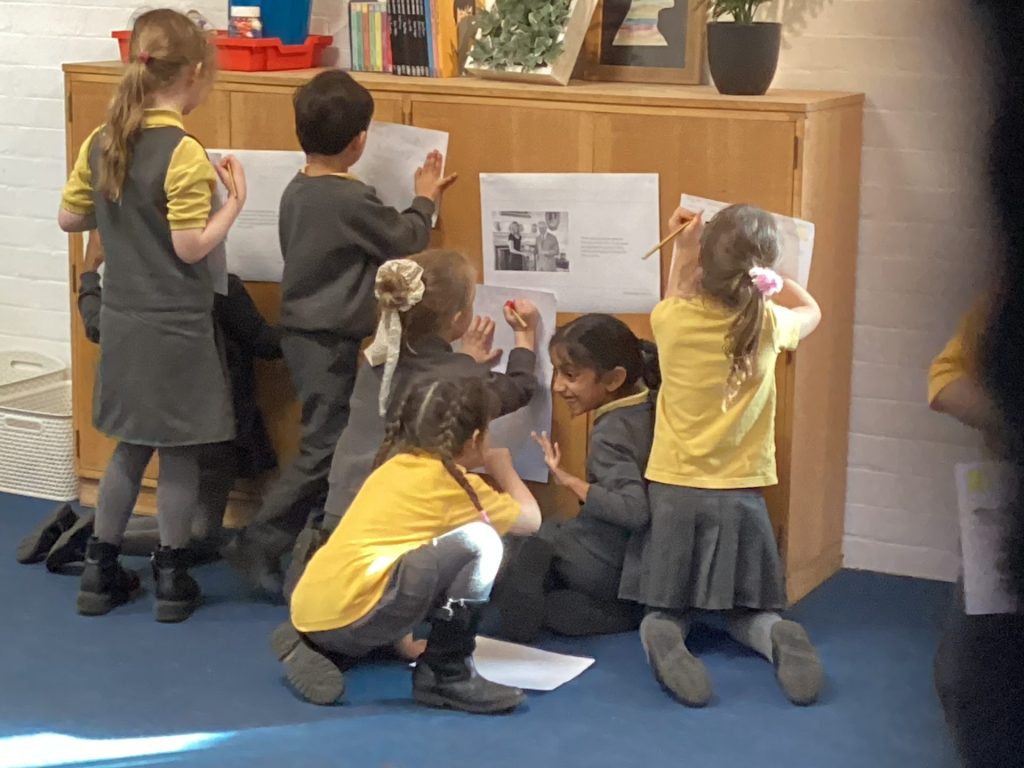
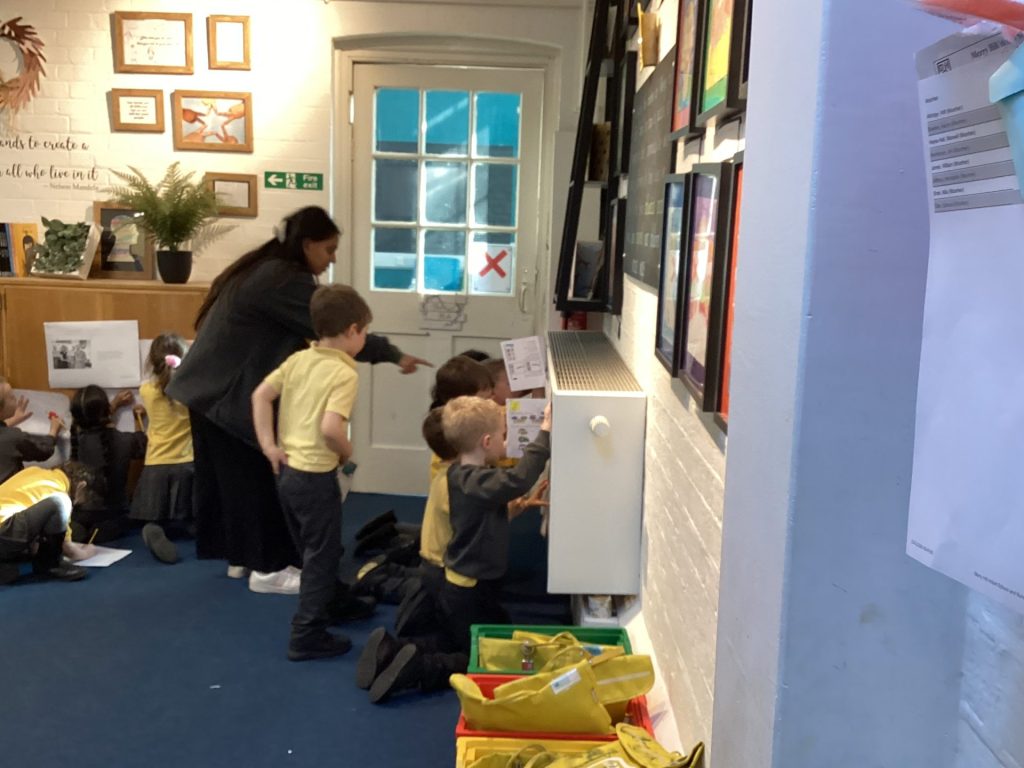
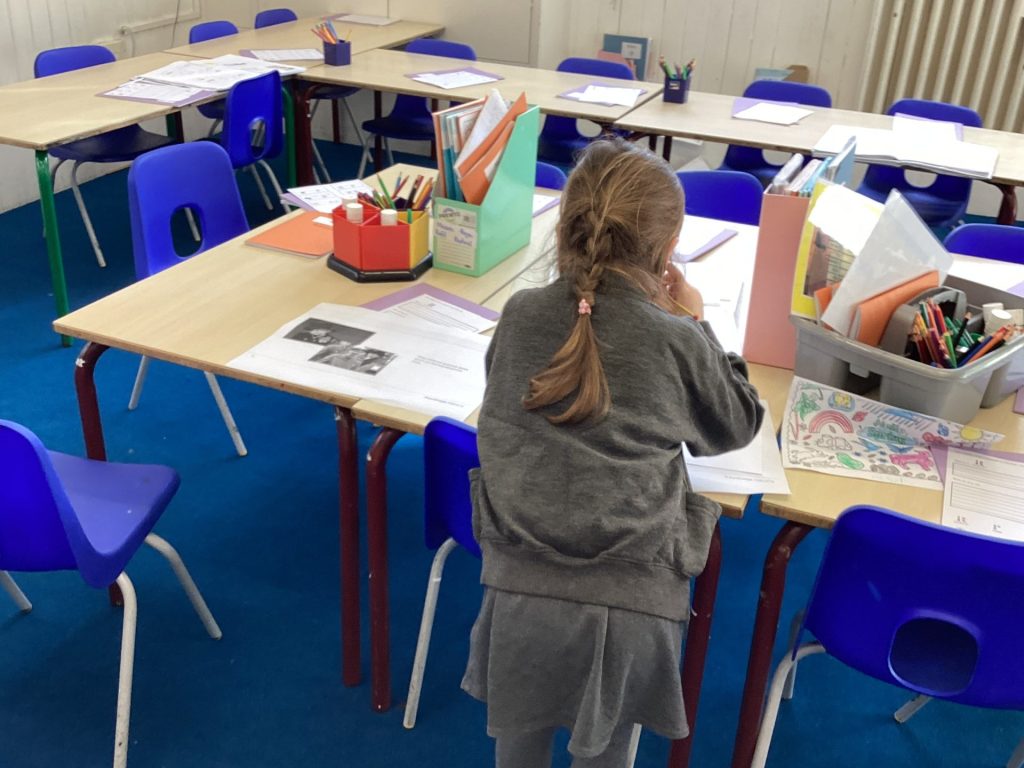
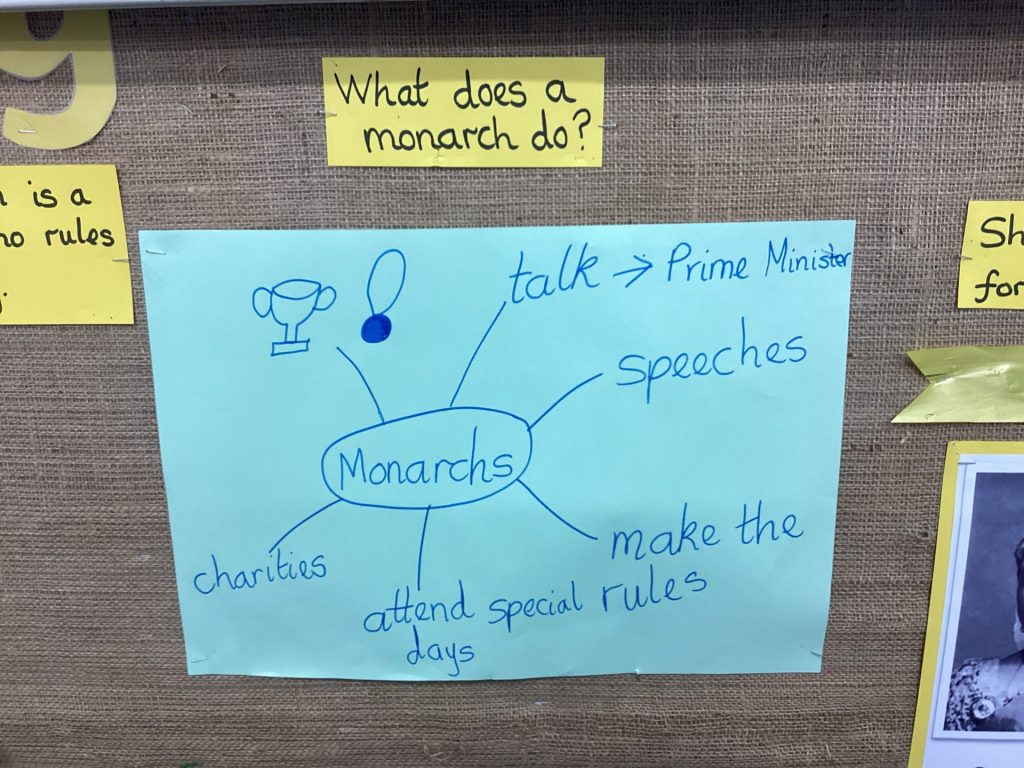
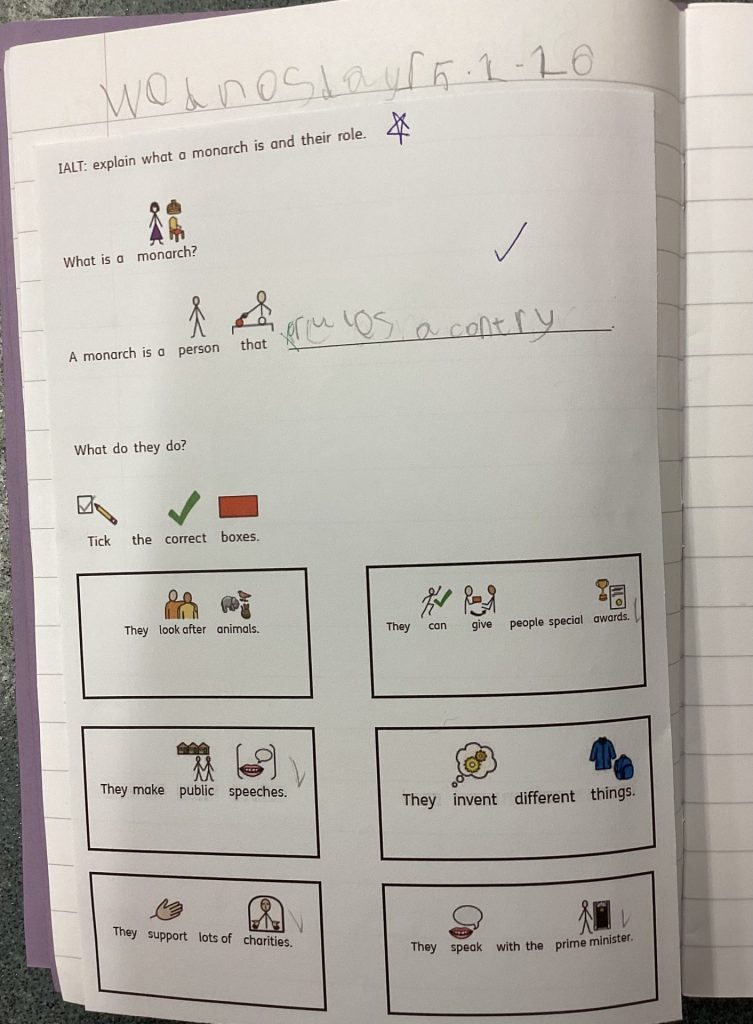
This half term in History, we are learning all about monarchy.
Feb 132026
Maths in Year 1
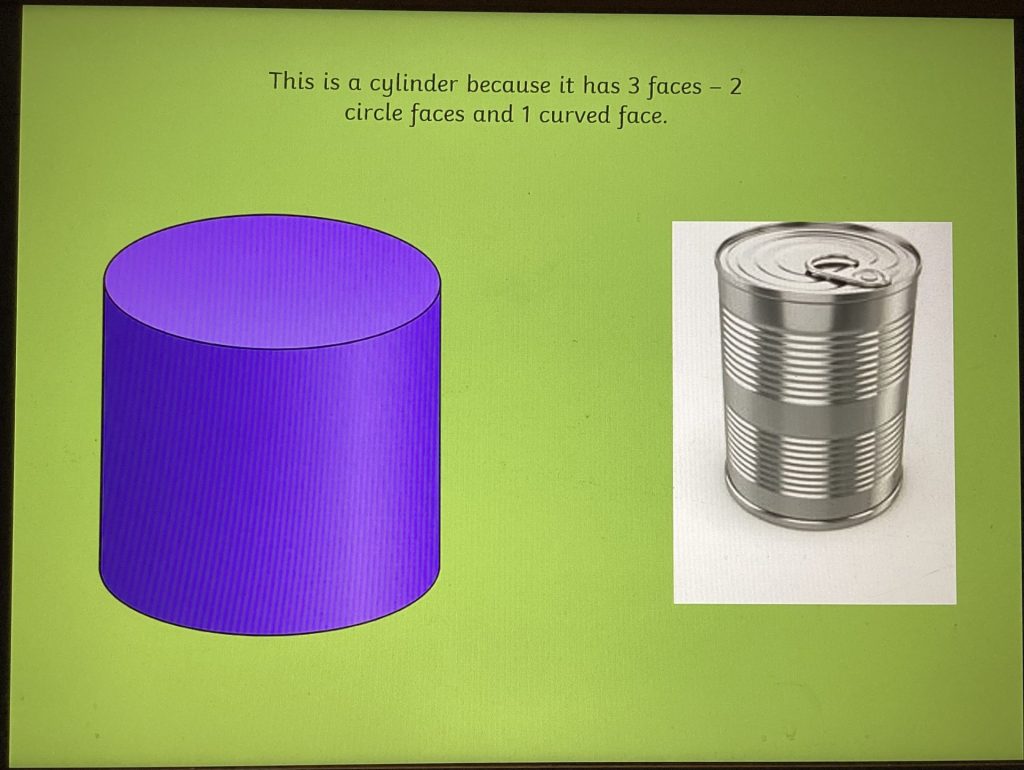
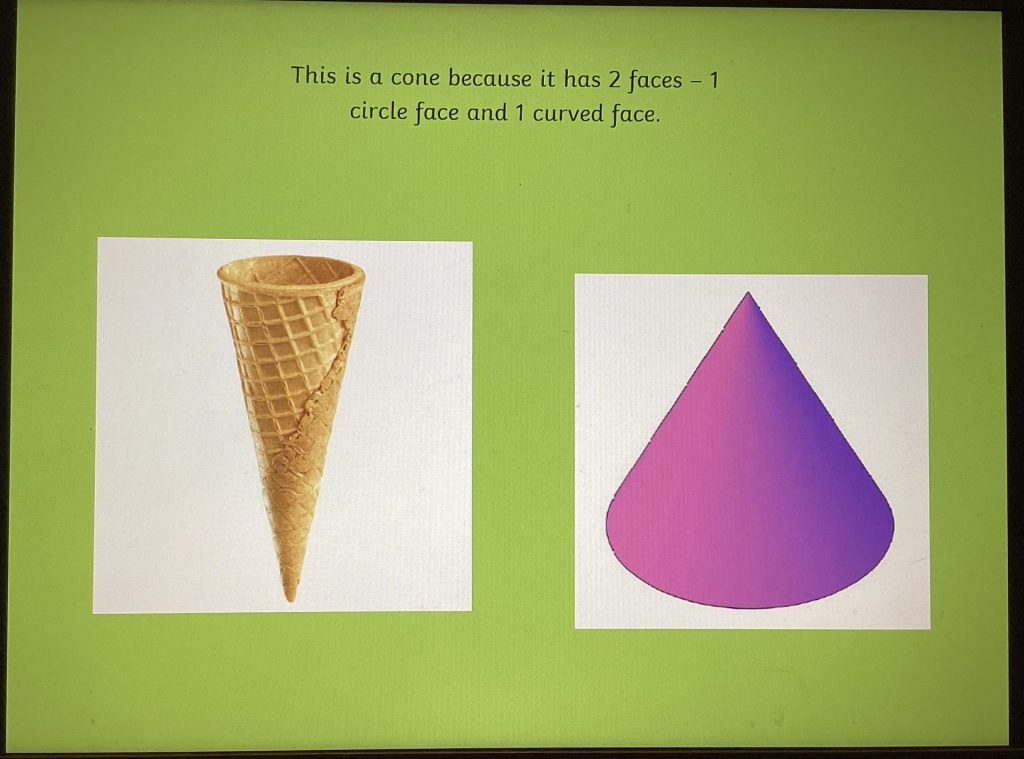
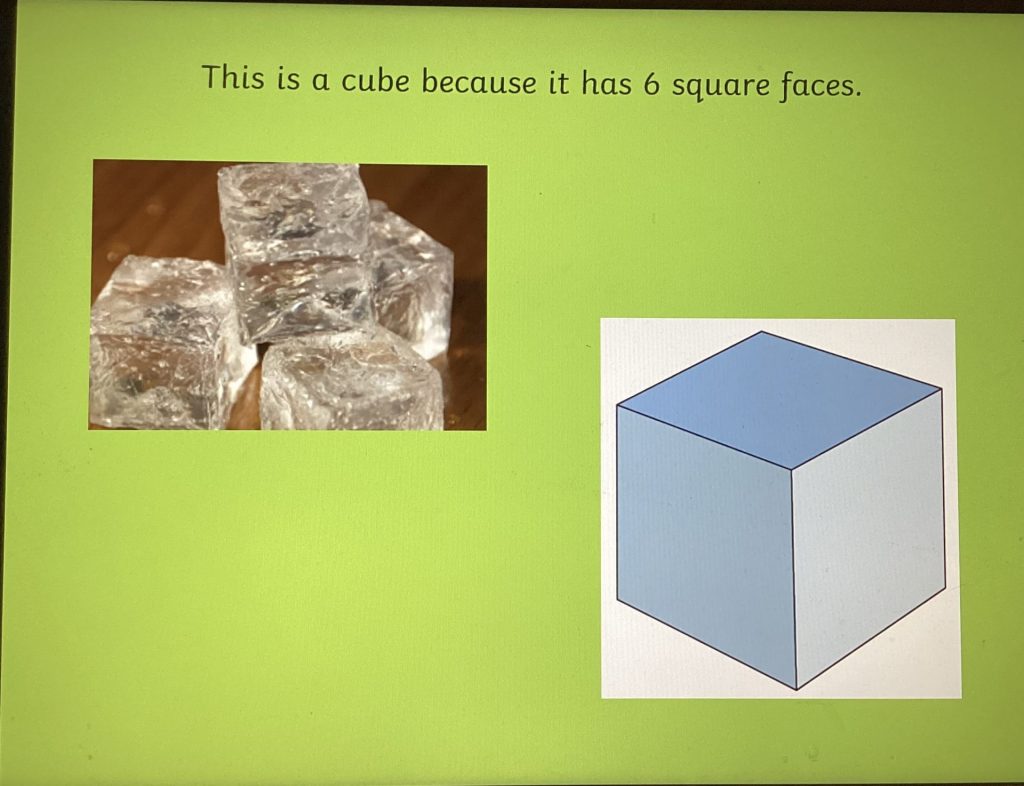
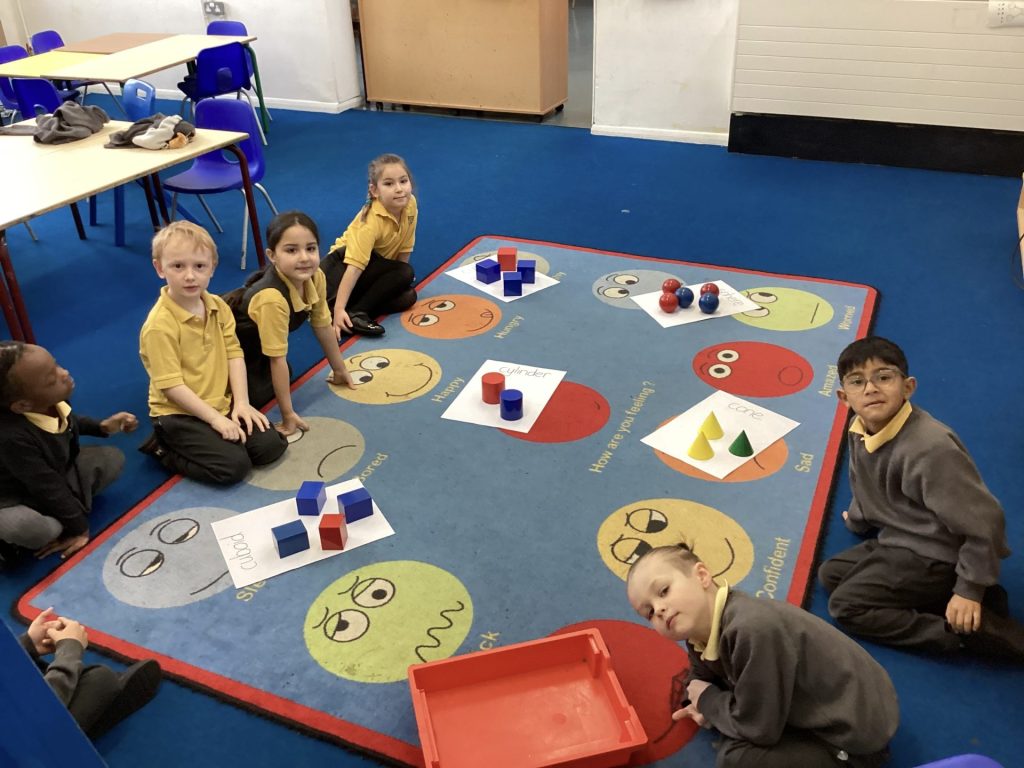
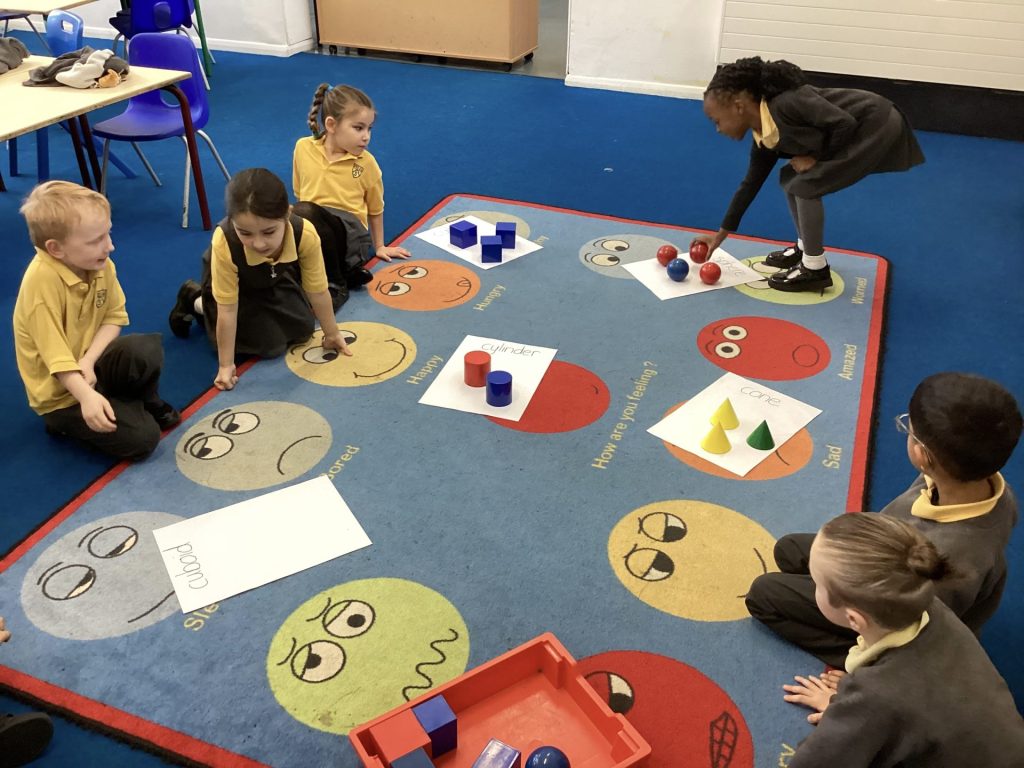
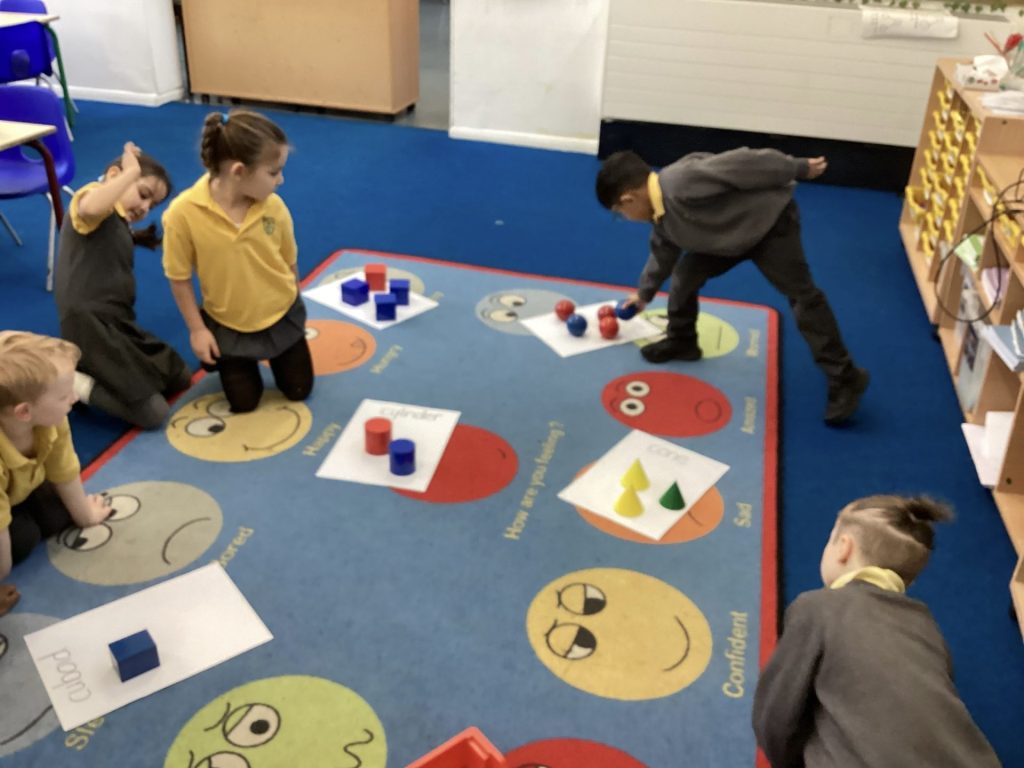
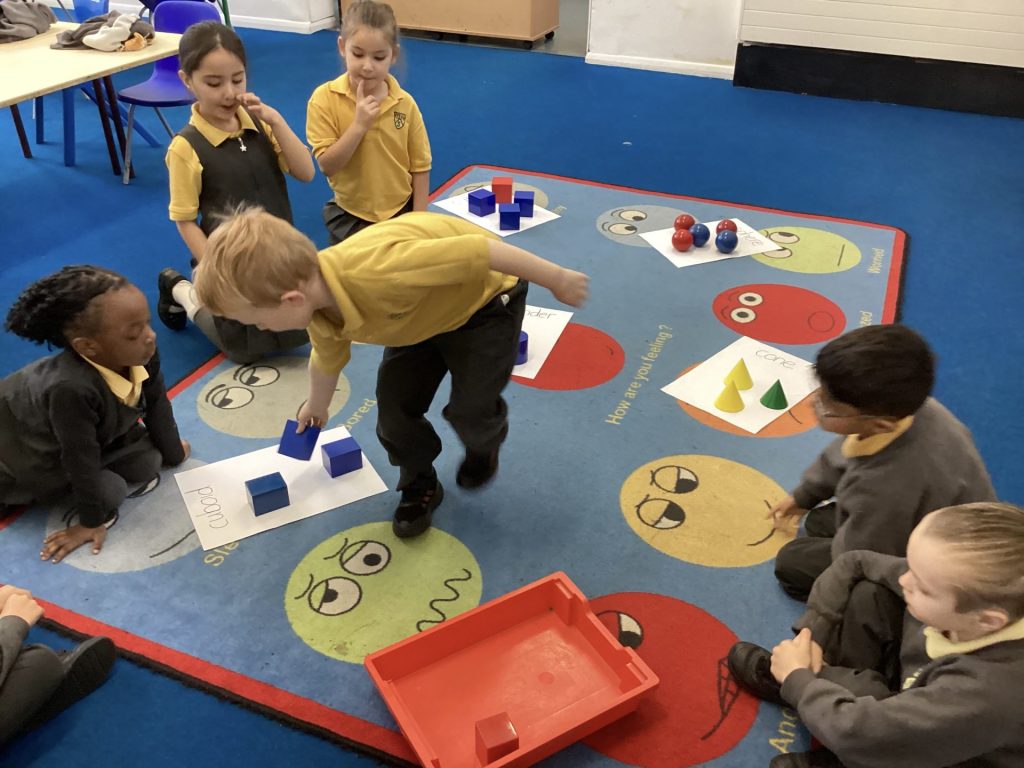
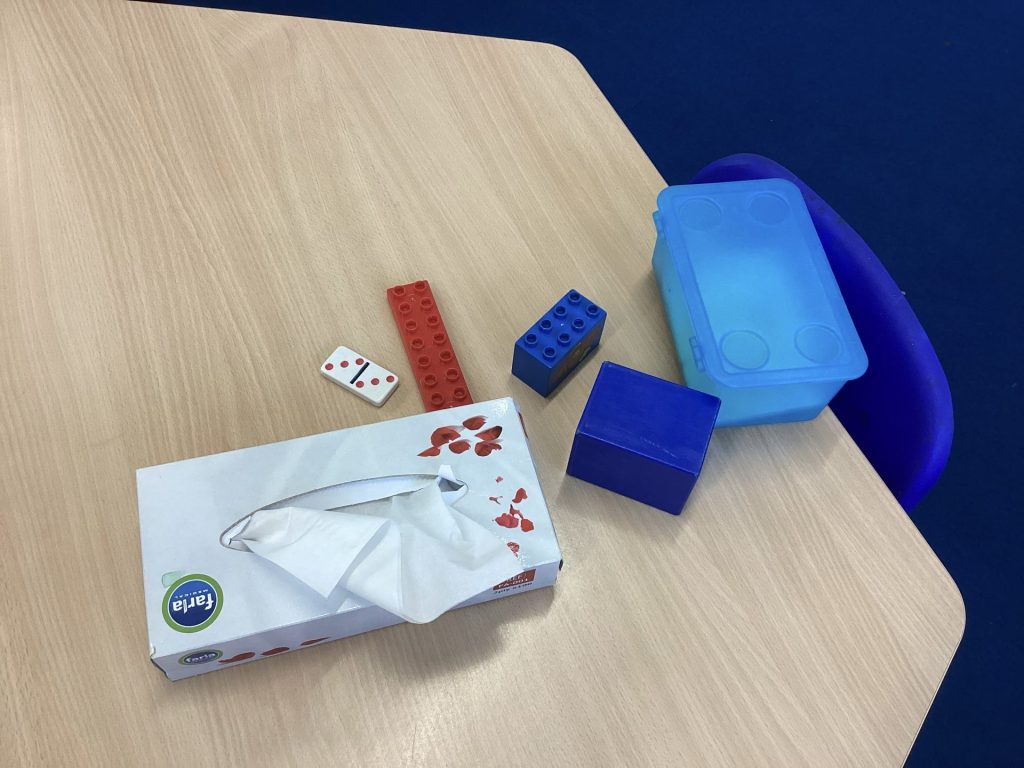
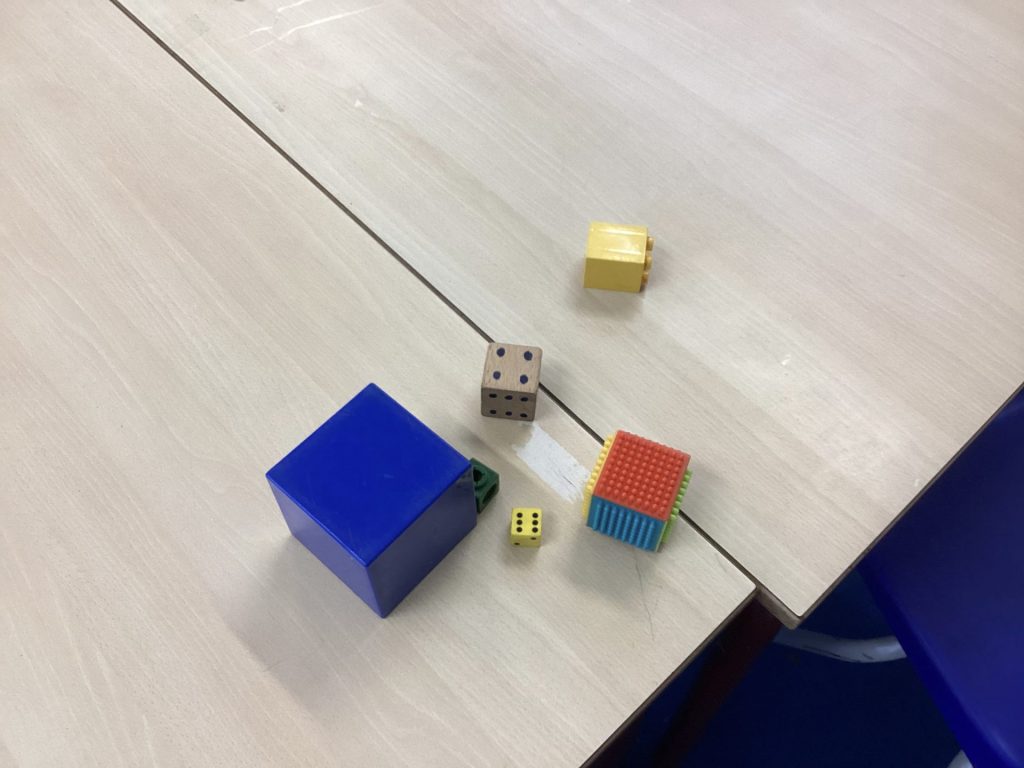
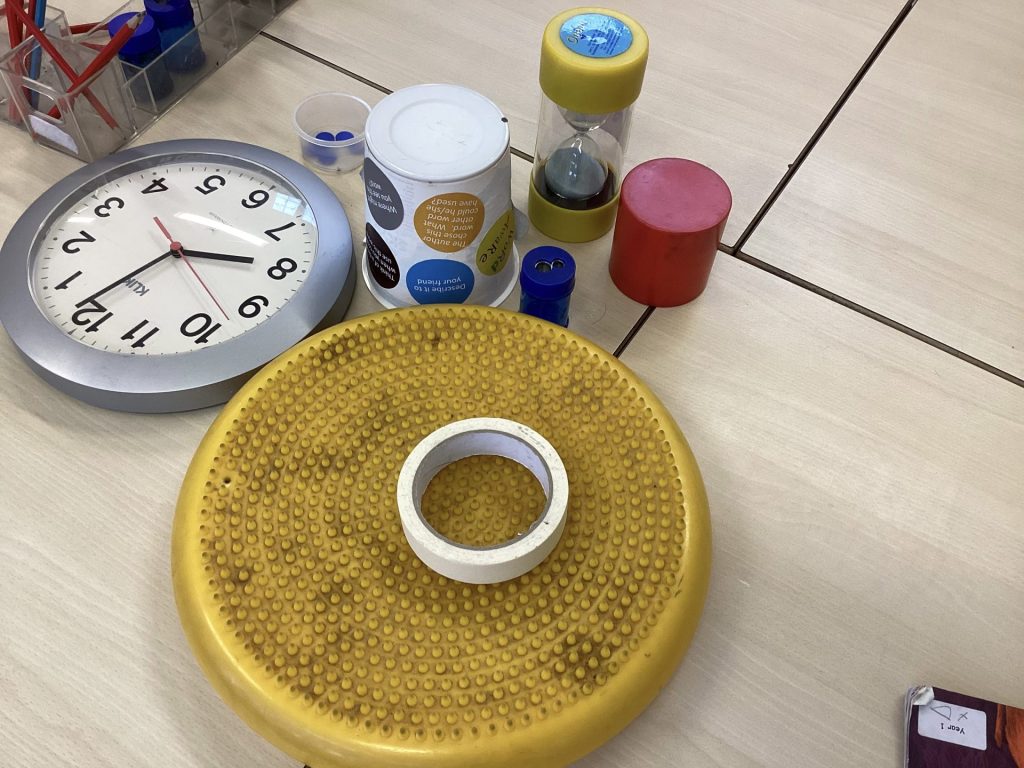
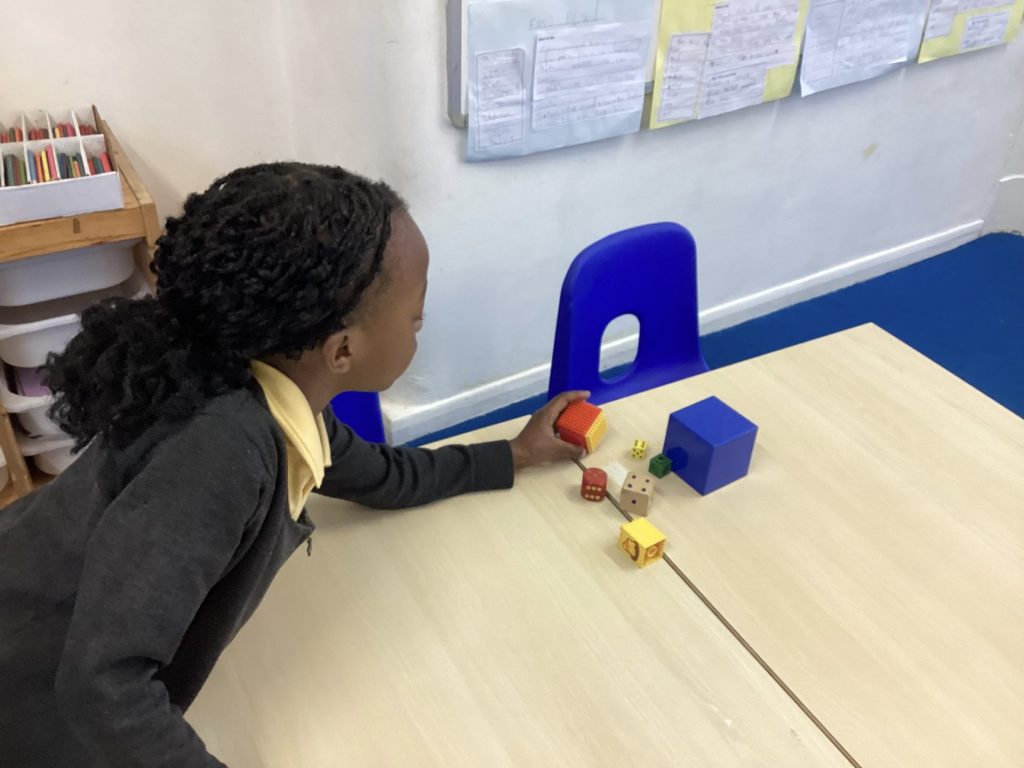
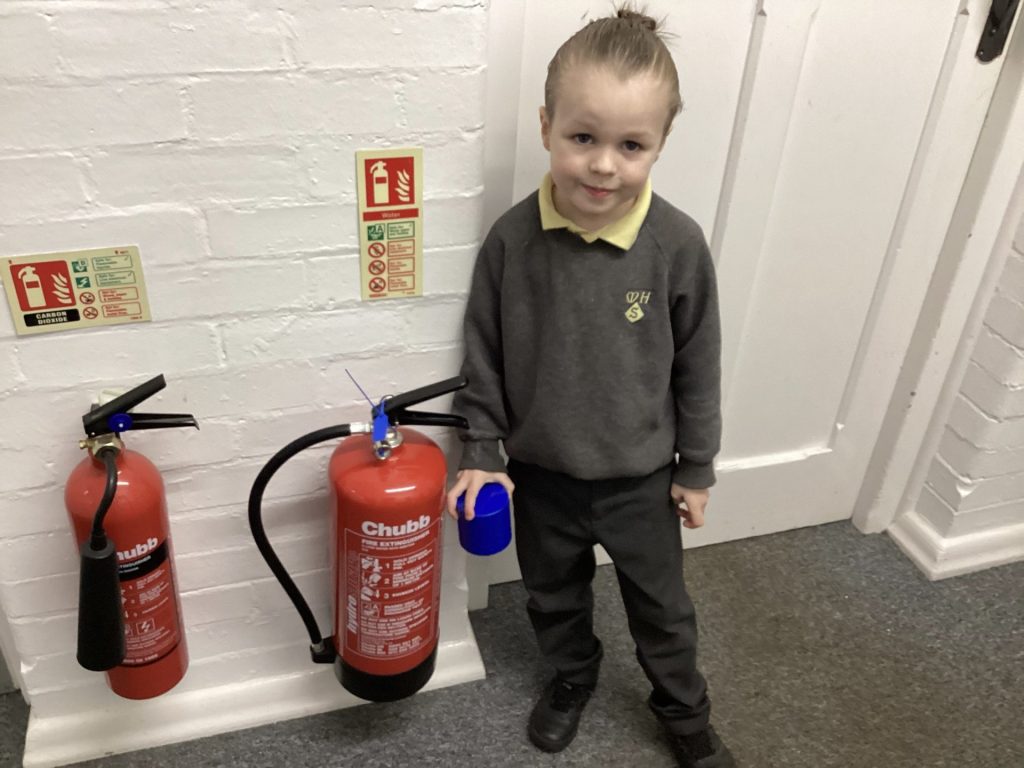
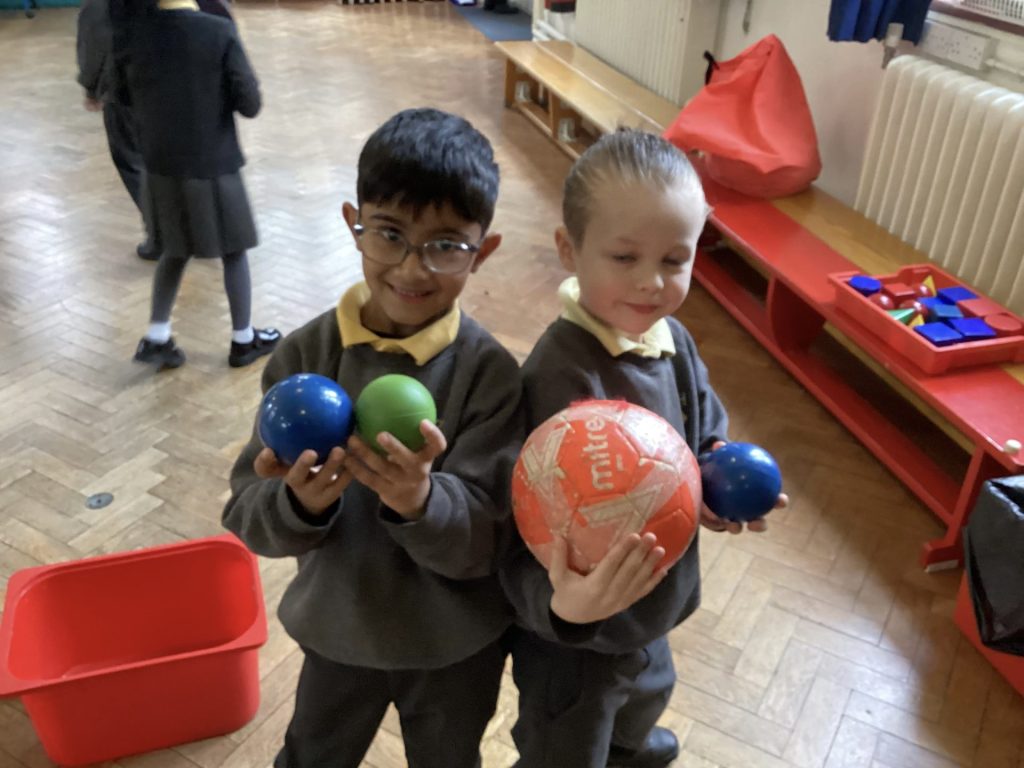
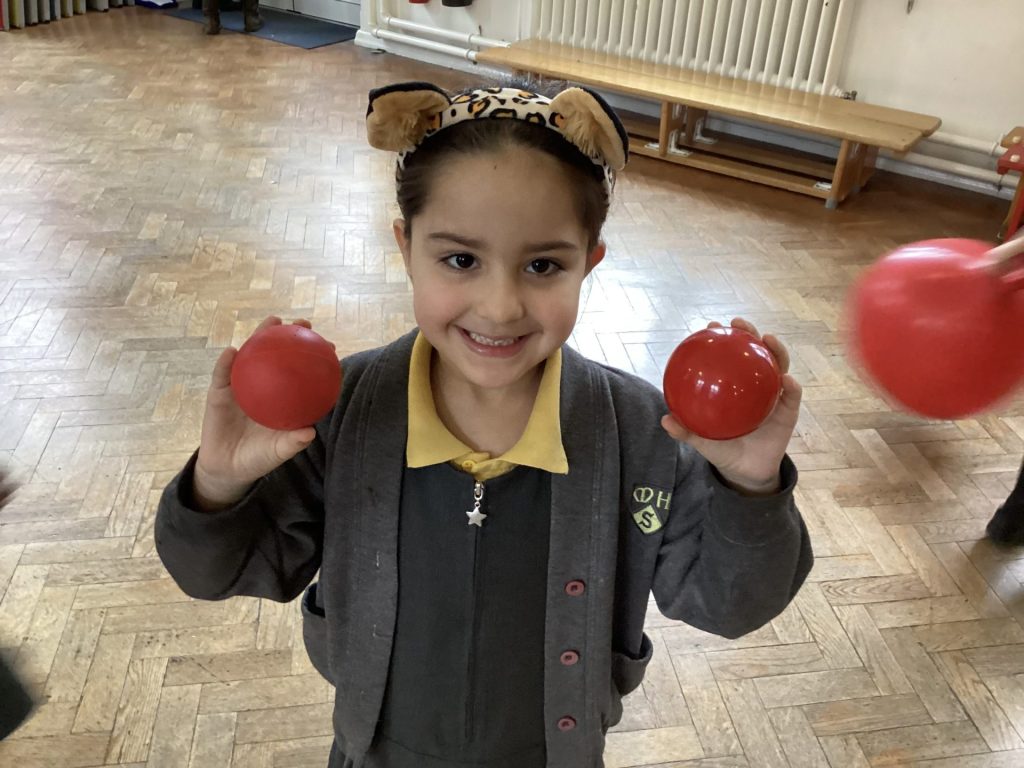
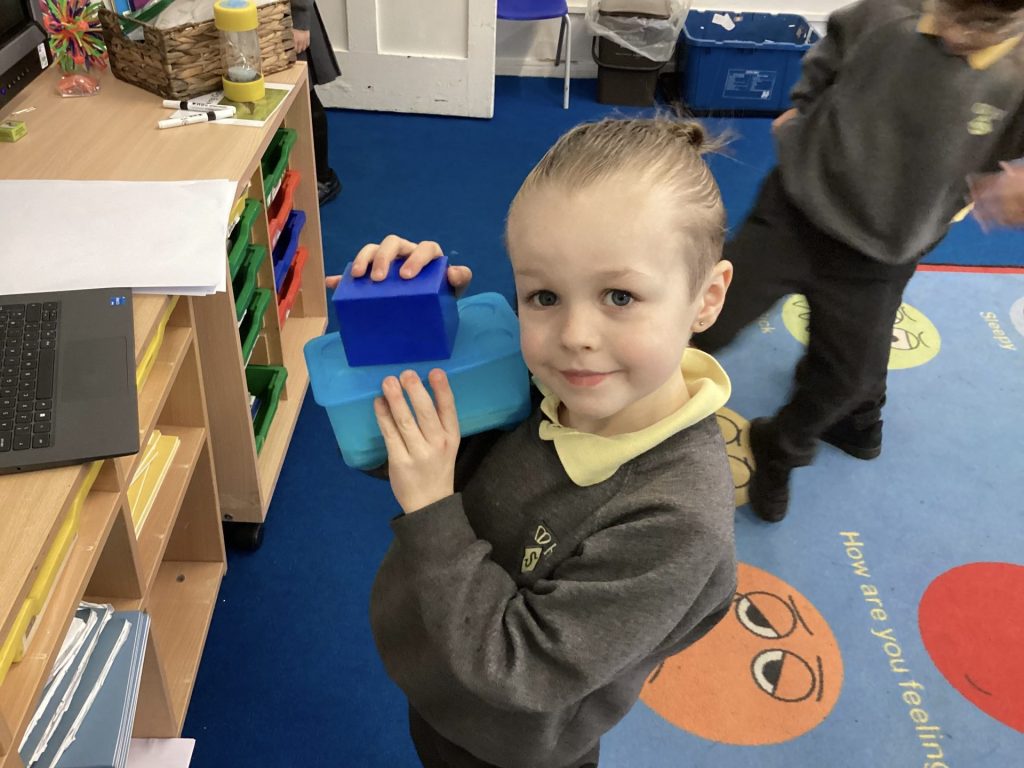
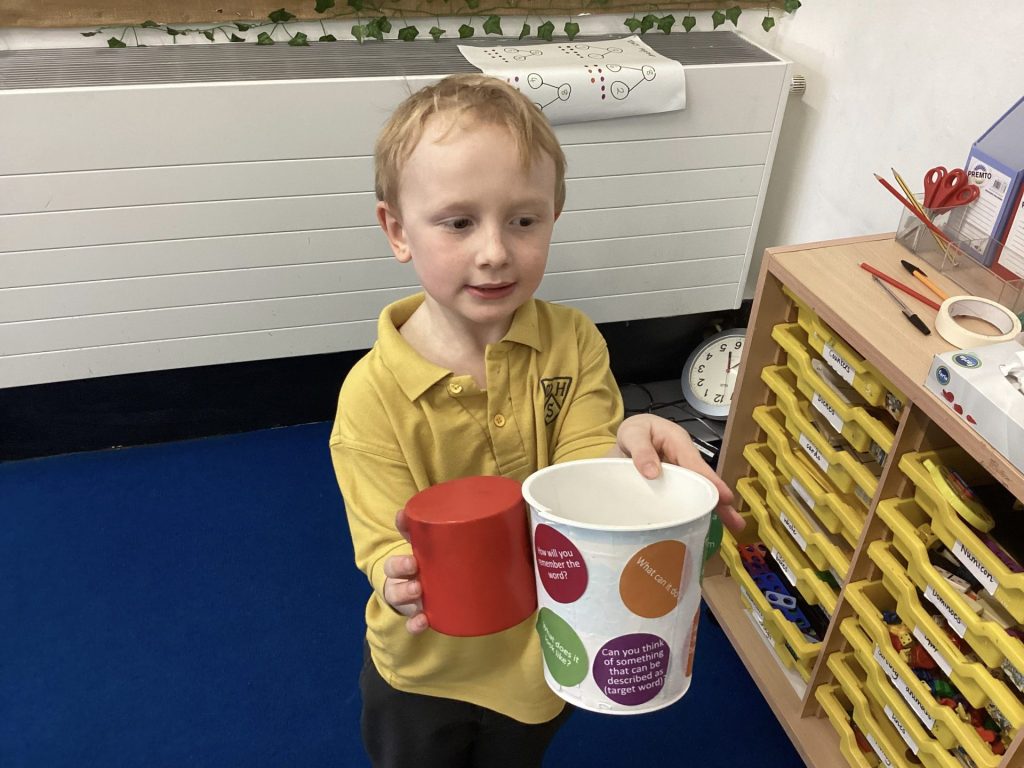
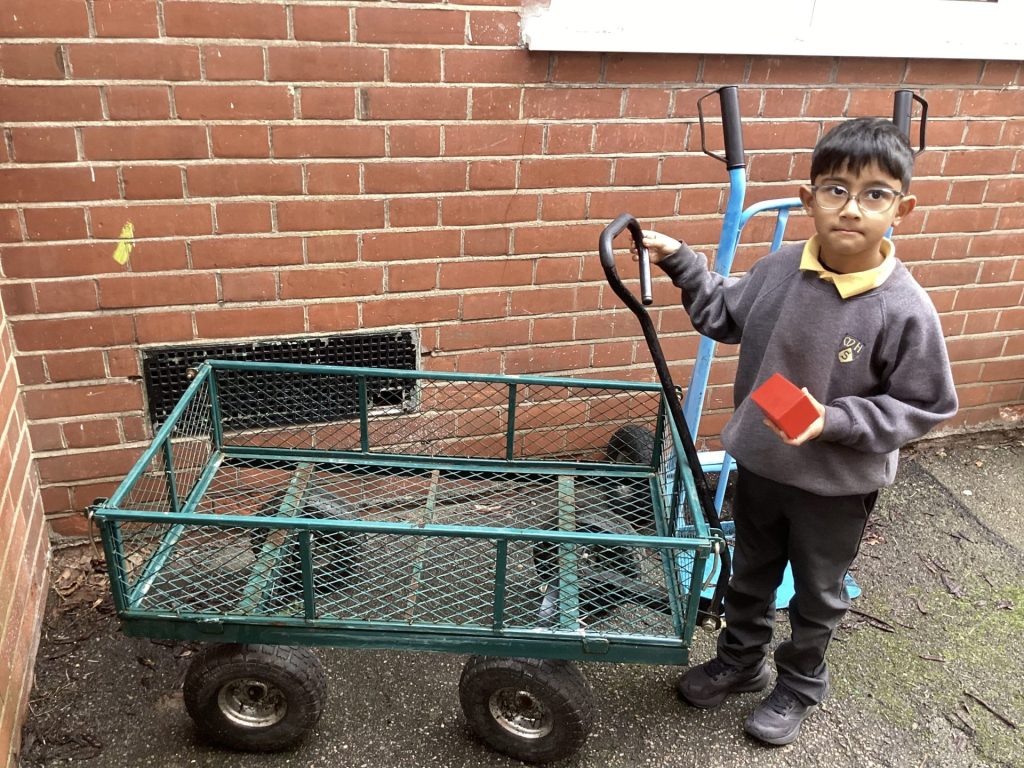
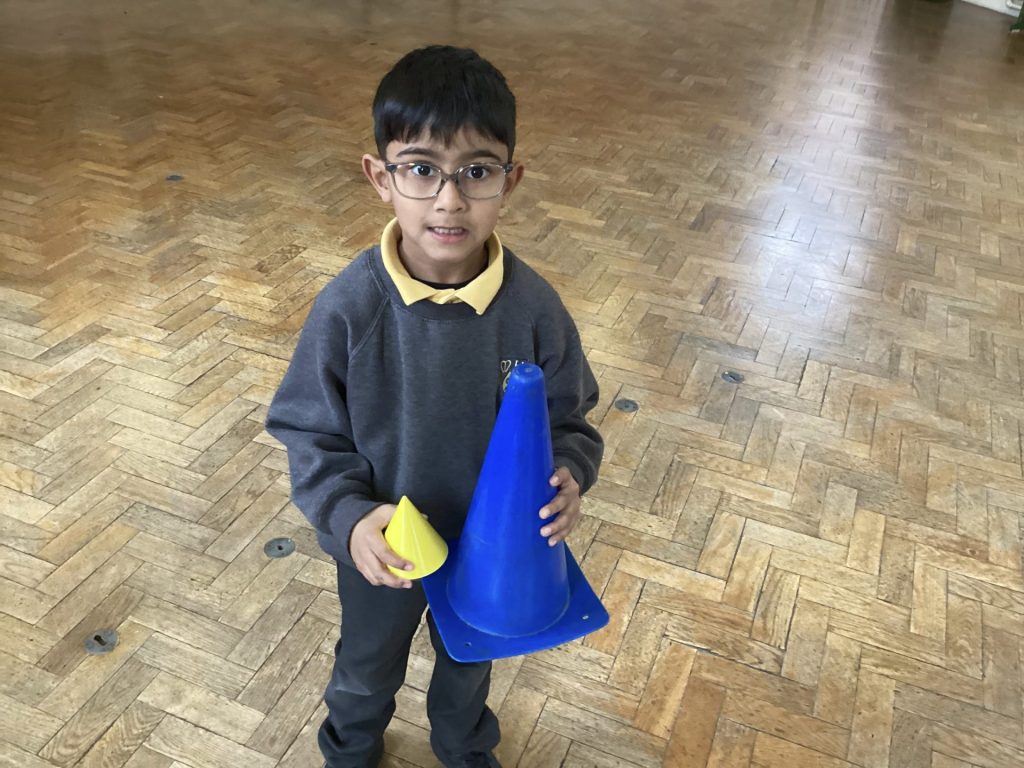
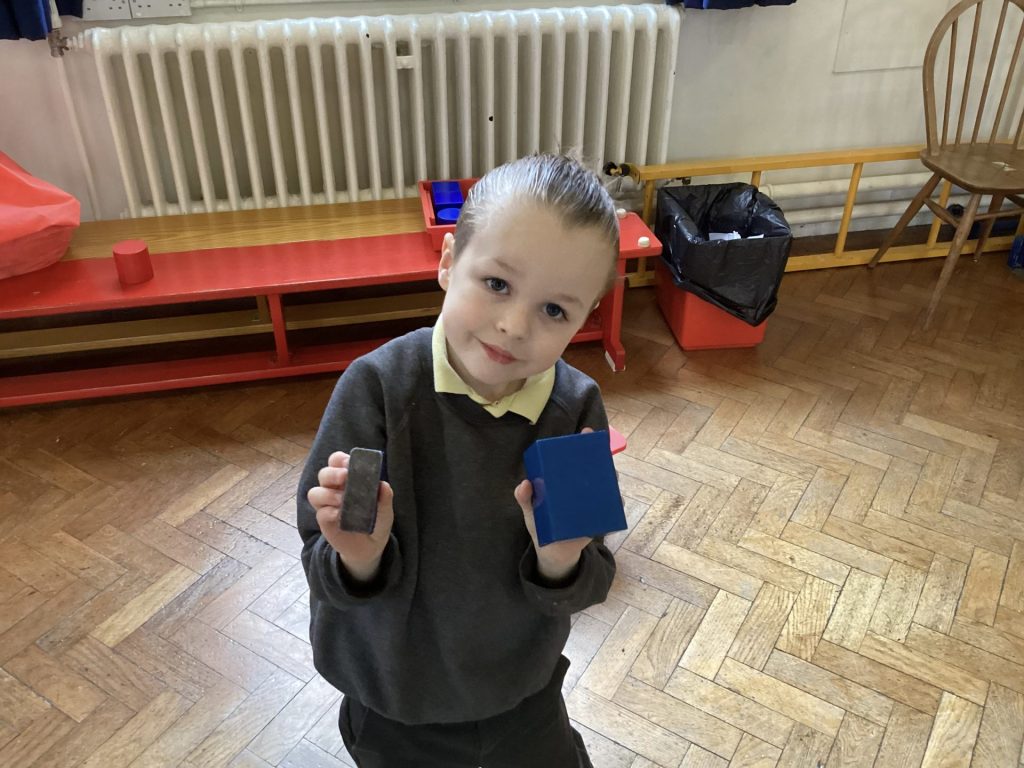
This week in Year 1 we have been learning about 3D shapes. A 3D shape is a solid shape. They are made from surfaces that can be flat or curved.
We looked at five shapes; cube, cuboid, cylinder, cone and sphere – and we used stem sentences to describe the properties of each shape.
We then sorted the shapes and talked about the fact that although the shapes within a group (e.g. cuboid) may be different sizes, the shapes were still the same as they had the same properties.
Finally, we took our 3D shapes on a tour of the school to see if we could find objects to match the shapes.
How to help at home:
- Encourage your child to use the stem sentences (see photos above) to describe a cube, cuboid, cone, sphere and cylinder.
- Go on a shape hunt around your home to look for objects that are the same as the 3D shapes.
- Encourage your child to take photos of the objects they find and upload them on to Seesaw.
-
Feb 052026
Discovering the Countries of the United Kingdom
This half term, our little explorers have been diving into the fascinating world of the United Kingdom!
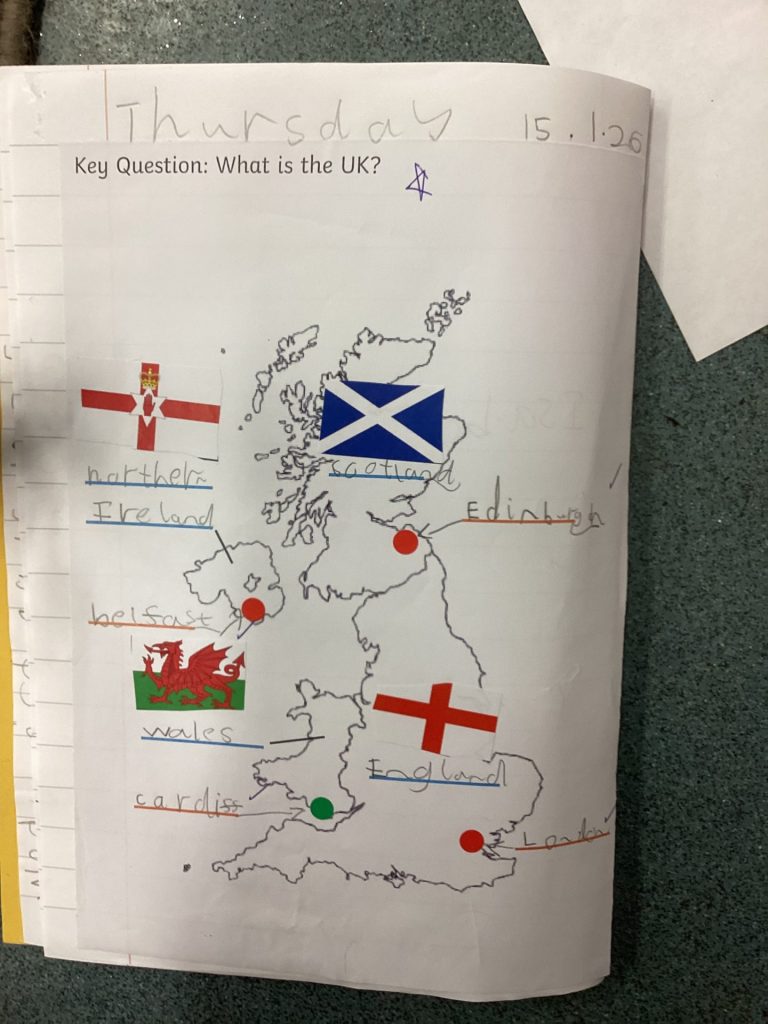
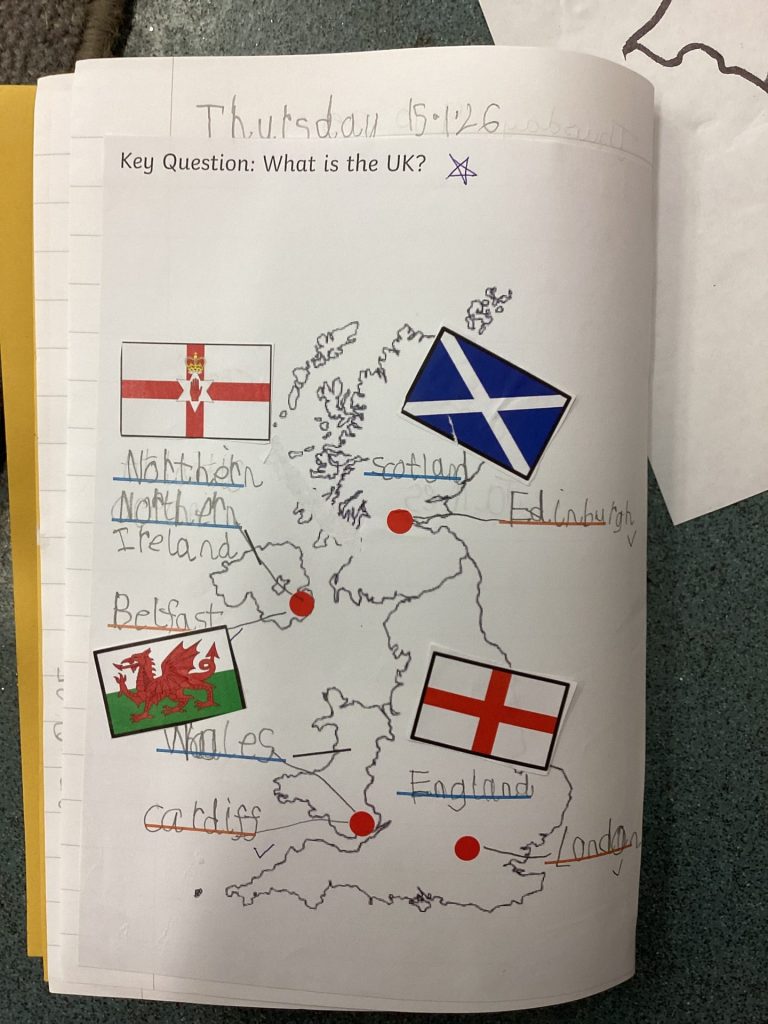
We began by learning that the UK is made up of four countries: England, Scotland, Wales and Northern Ireland. The children enjoyed discovering each country’s capital city and recognising their unique flags.
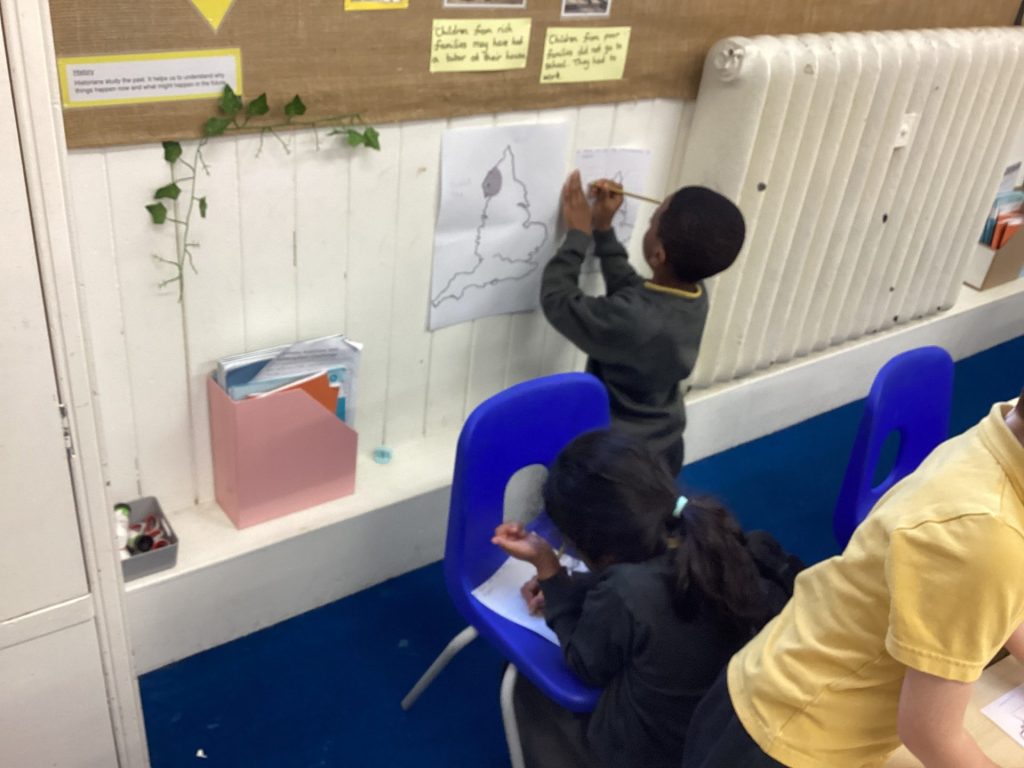
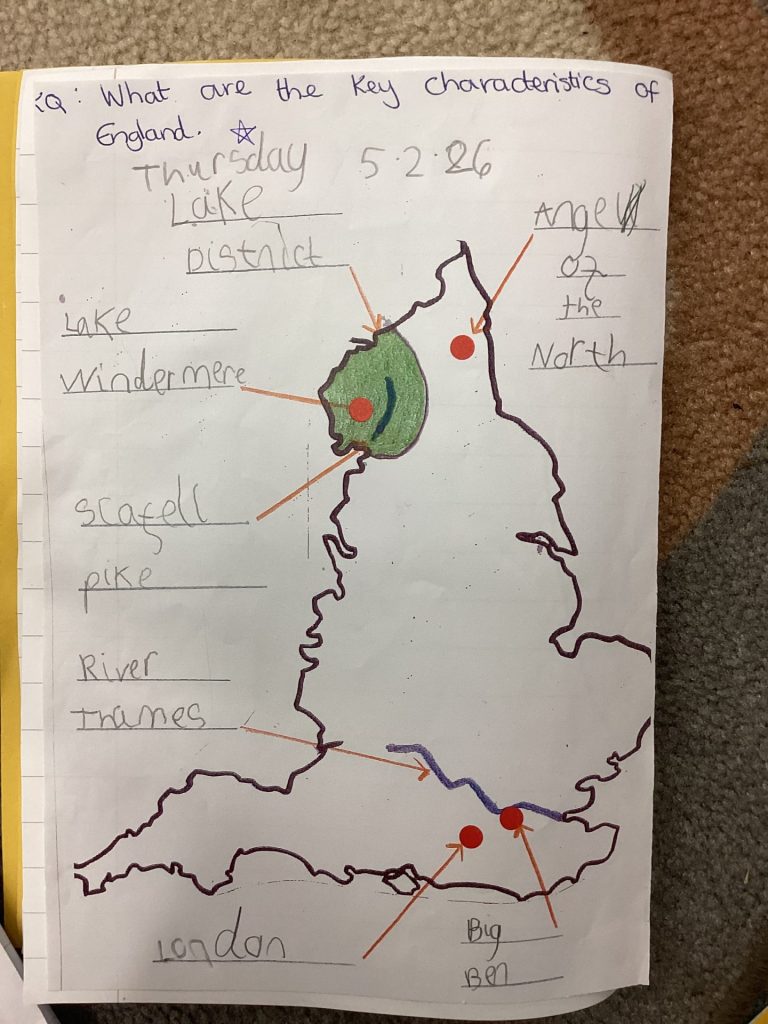
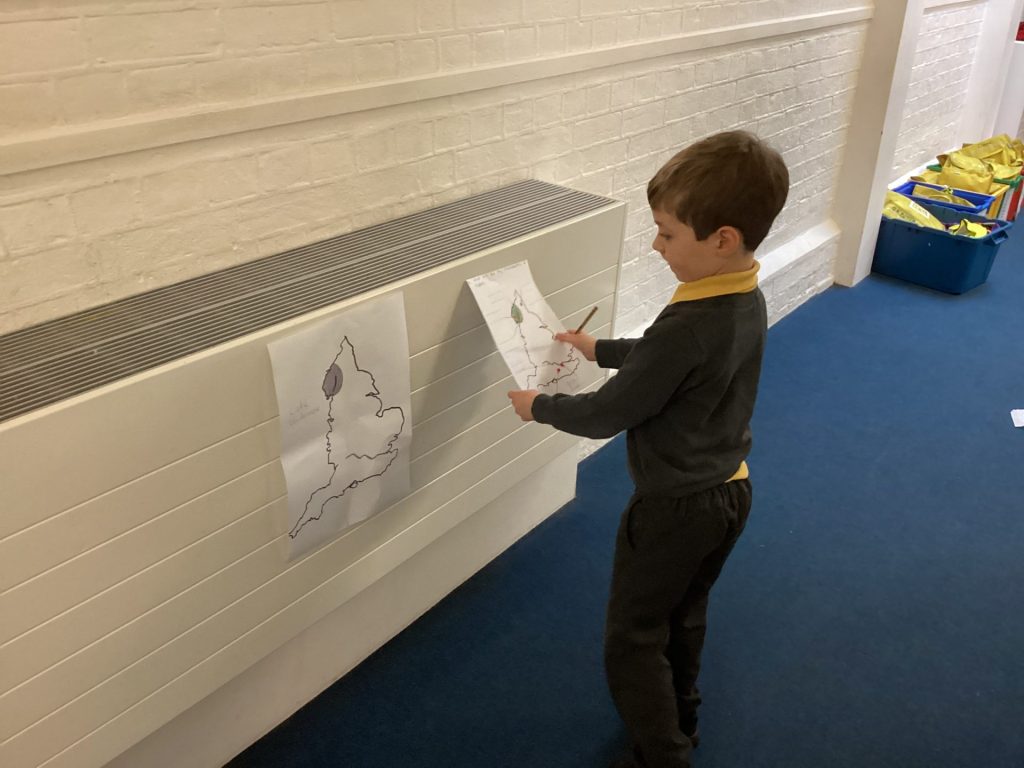
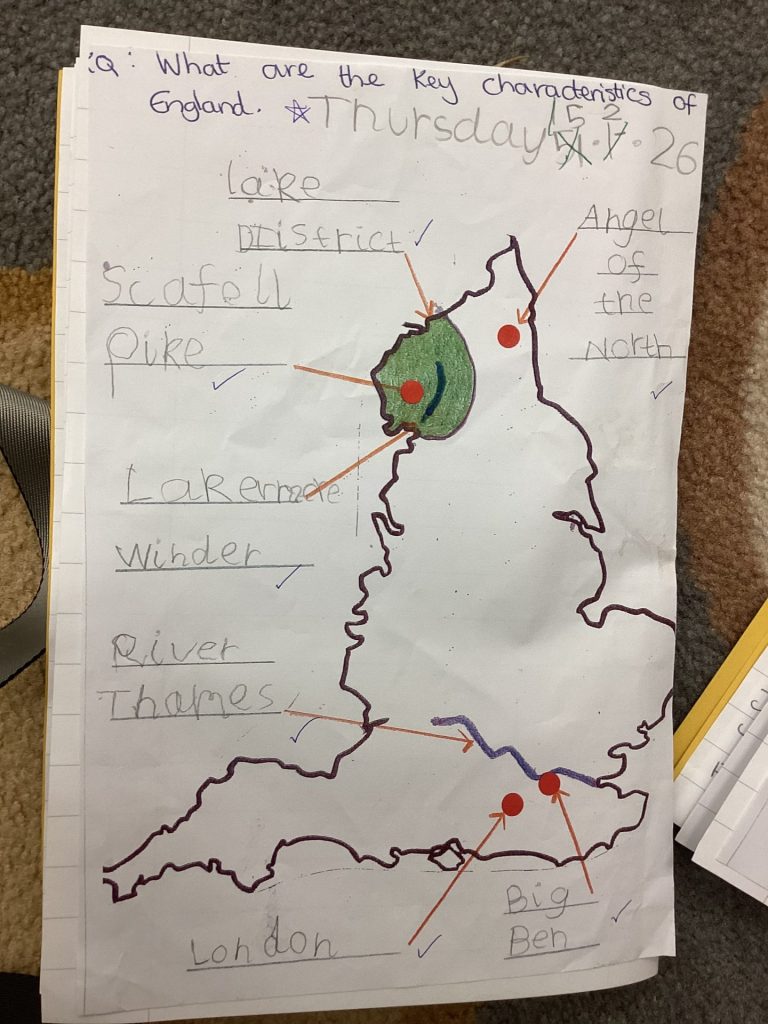
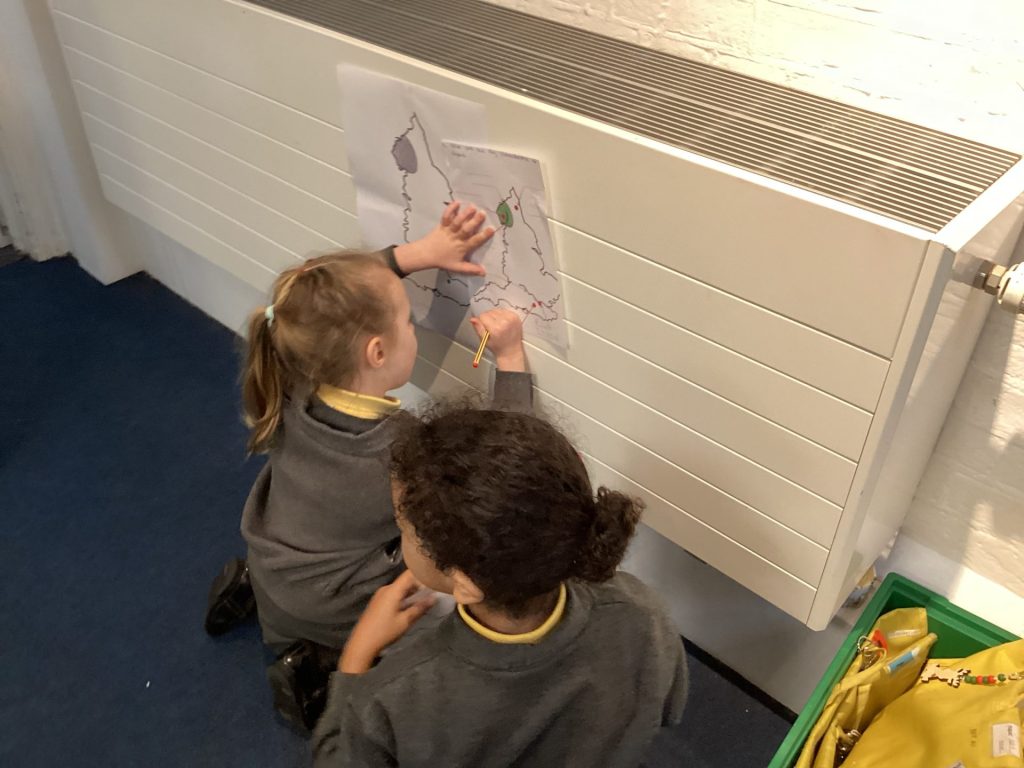
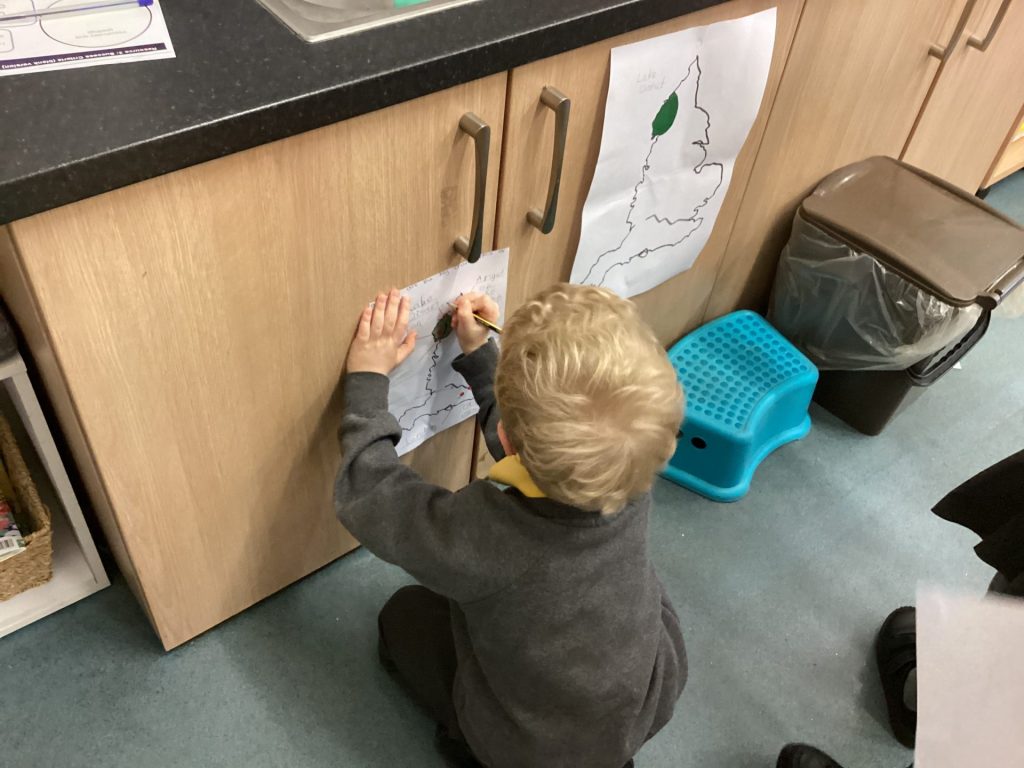
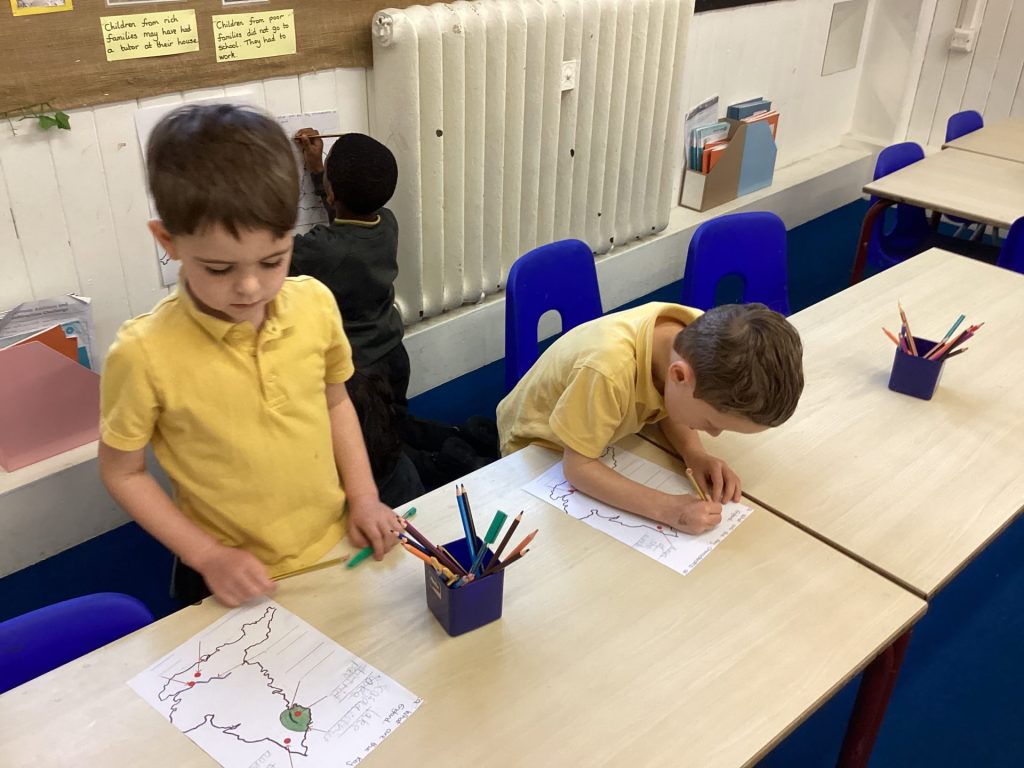
This week, we have taken a closer look at England. Our young geographers have been using atlases, maps and Google Earth to locate and learn about different places across the country. They were excited to discover England’s highest mountain, longest river and a range of famous landmarks. It has been a wonderful journey of exploration! Some children were especially enthusiastic to spot places they have visited themselves, including the Lake District and the River Thames.
Over the next few weeks, we will be exploring Scotland, Northern Ireland and Wales in more detail. We are looking forward to hearing about any personal experiences the children may already have of these countries and discovering even more important landmarks together.
How to help at home:
- Spend some time looking at maps and atlases – can your child find some of the places they have visited on them?
- Use Google Earth – can you find your house? Merry Hill School? Other significant places?
- As you walk/ drive around, look out for human (built by humans) and physical (naturally occurring) features.
-
Jan 302026
English in Year 1
Over the past few weeks, our English unit has been ‘Stop! That’s Not My Story!’ During this unit, we have been reading traditional tales and learning about their features.
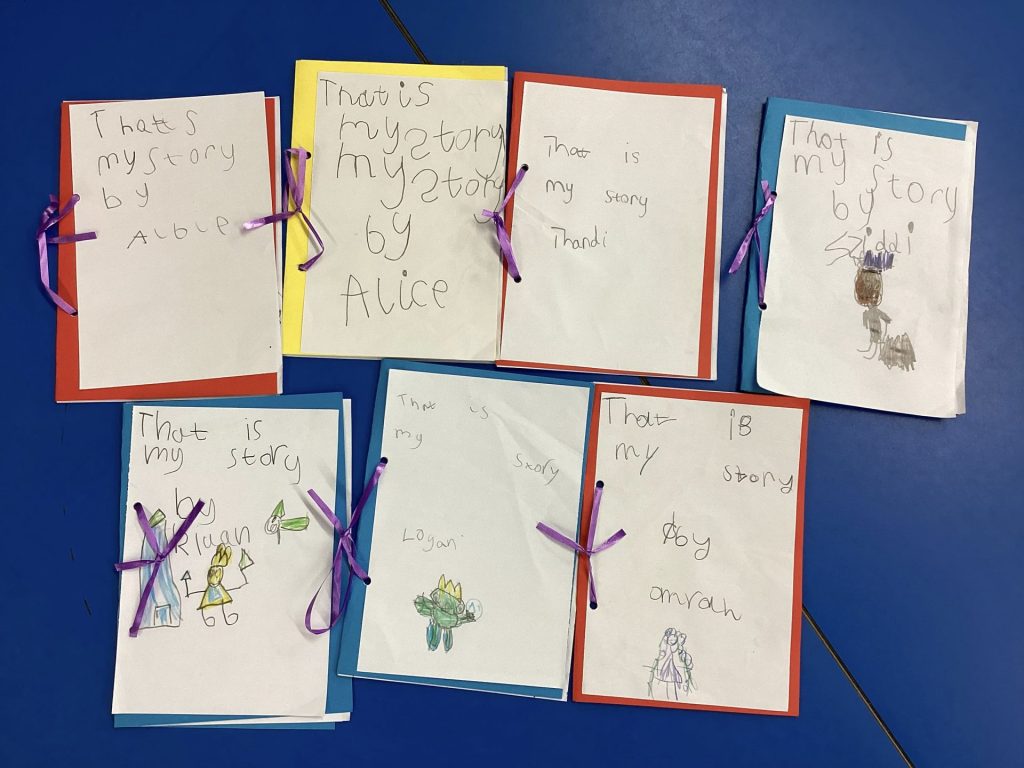
We then used what we had learned and created our own stories. We thought carefully about who the main characters might be; where they would like to visit and what they would see. We also considered what we would do as the hero of our traditional tale.
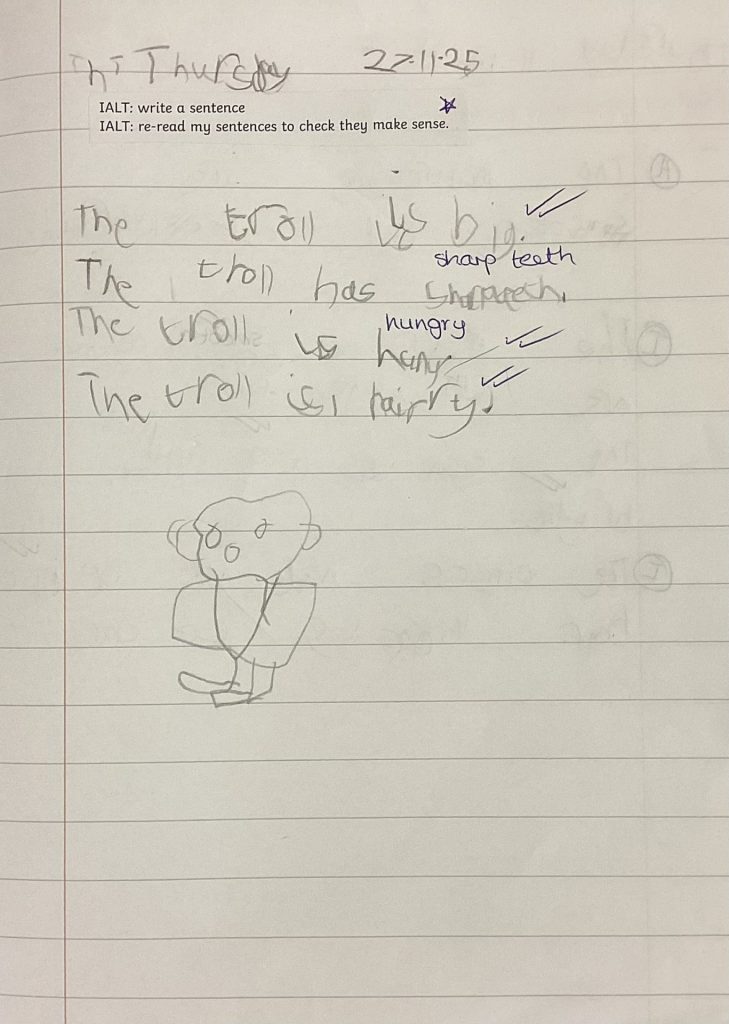
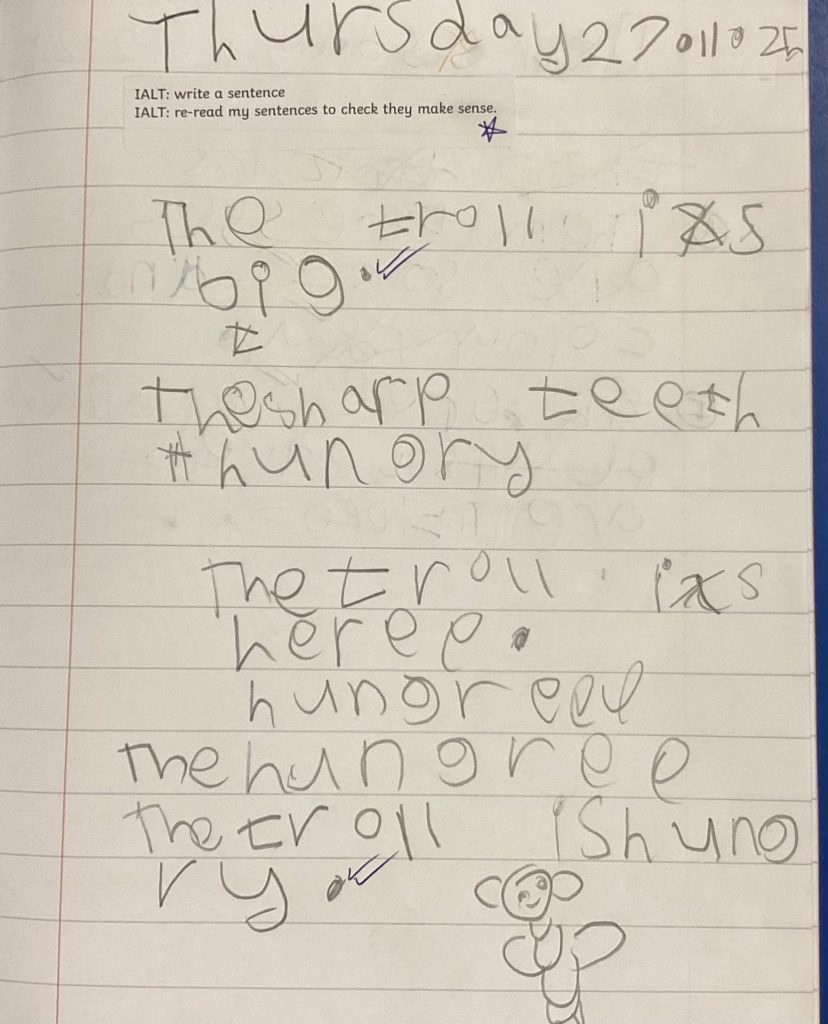
We used some of our lessons to write our ideas into sentences in our books. Before we wrote our sentences, we talked about how important it is to say the sentence first. This is so that we can be really clear about what our sentence will say and the words we will need to write.
We also reminded ourselves of some important rules for writing a sentence: use a capital letter at the start; use finger spaces between words; use a full stop at the end.
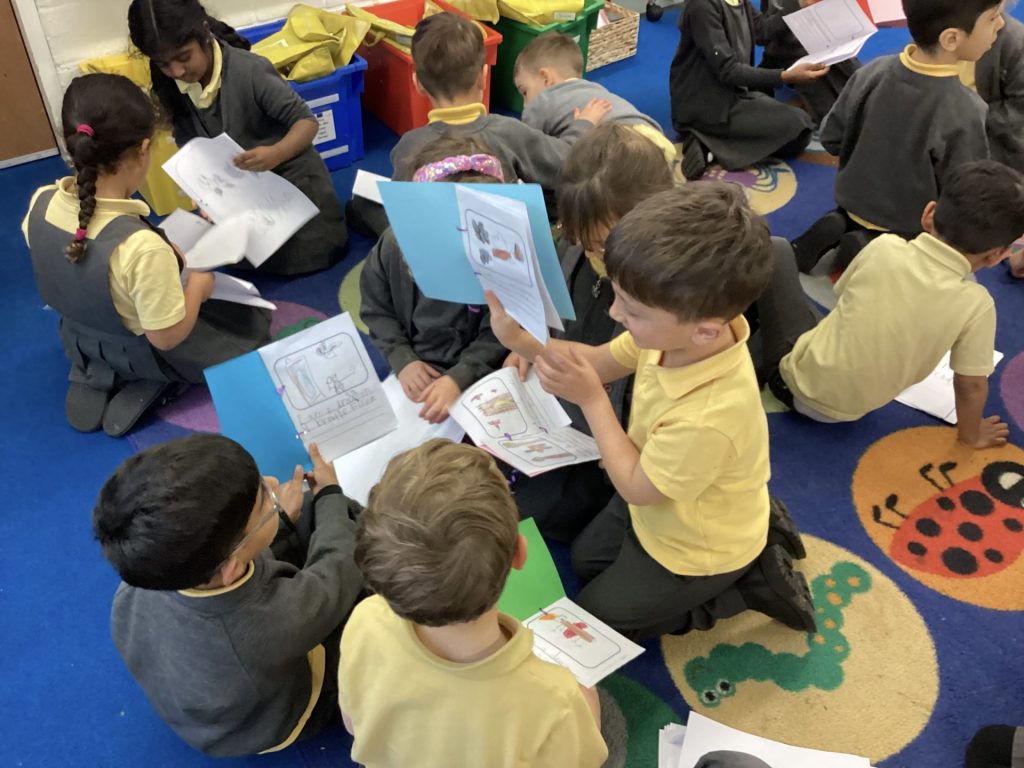
When we had written the first draft of our stories in our books, we then copied them neatly onto paper so that we could create our own story books! Our final task was to share our fantastic stories with the Reception children!
-
Jan 222026
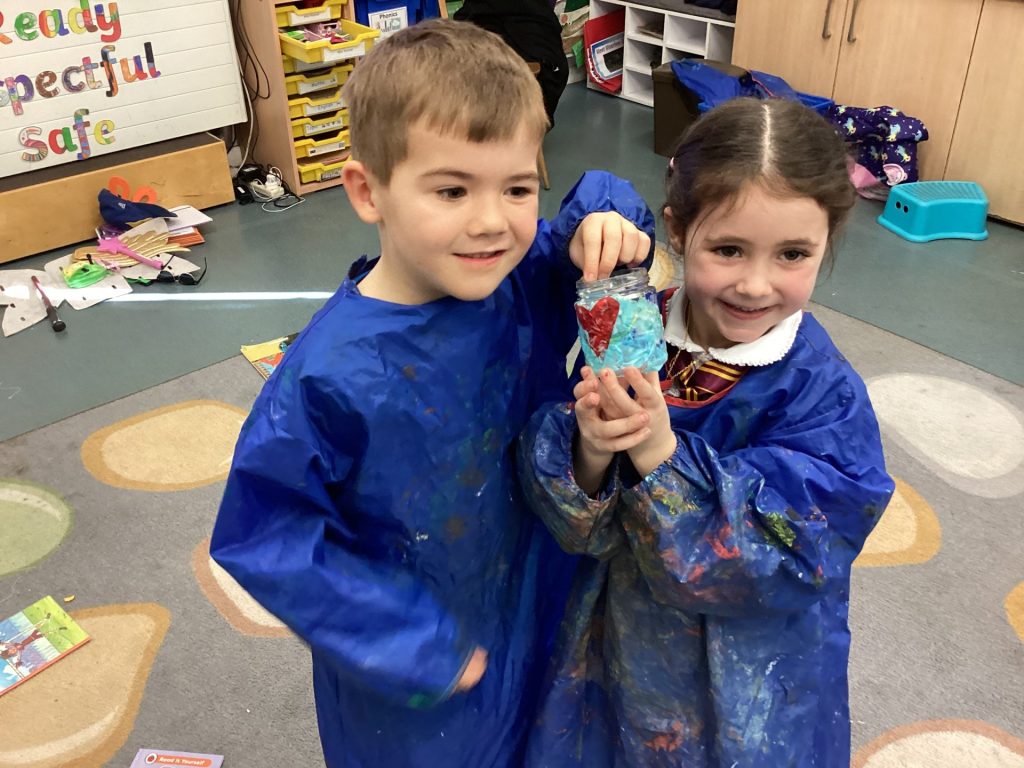
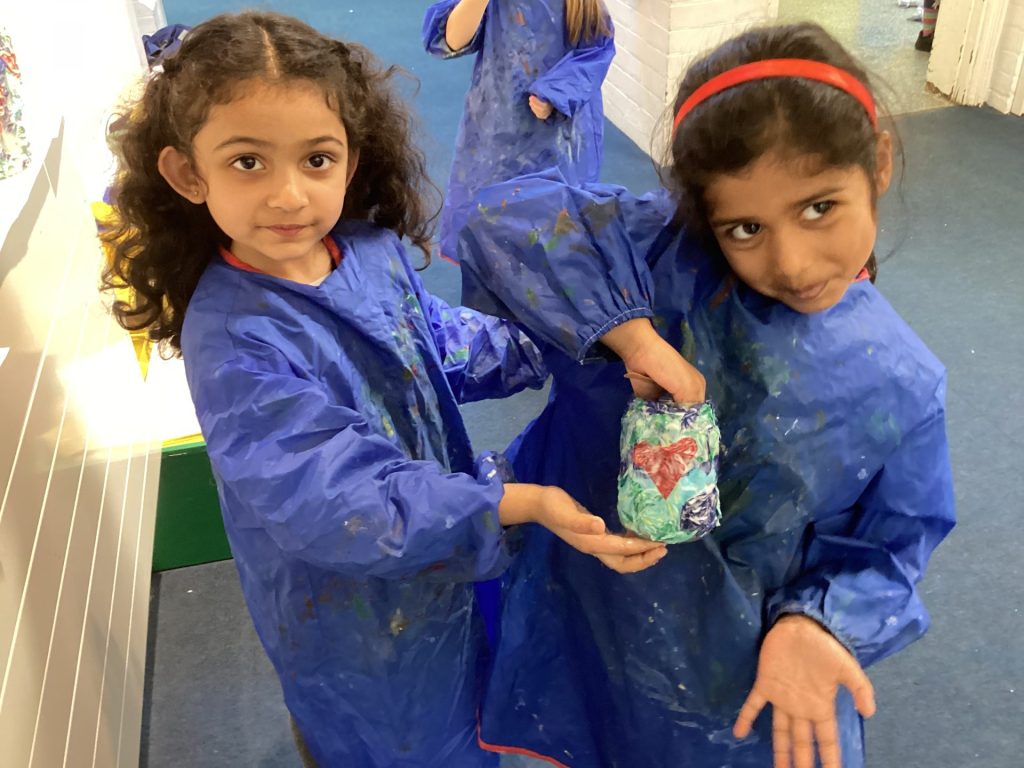
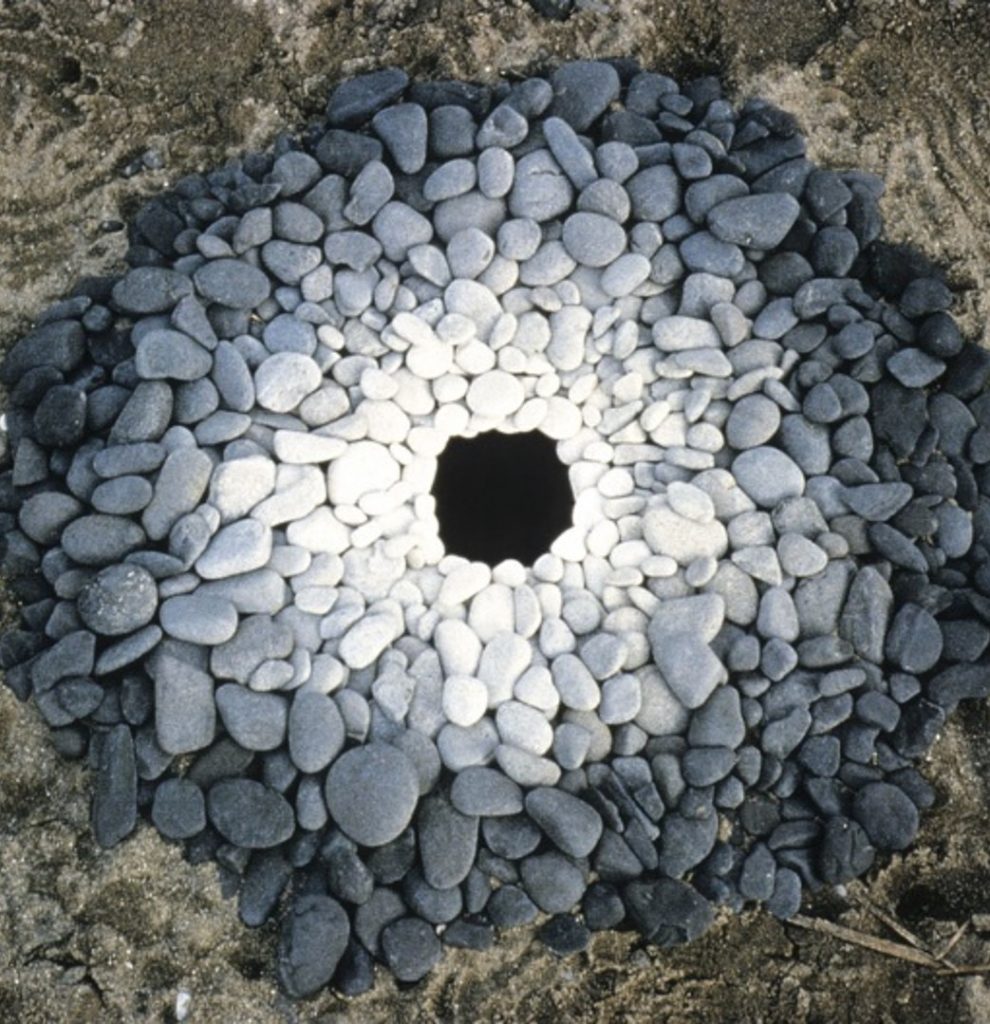
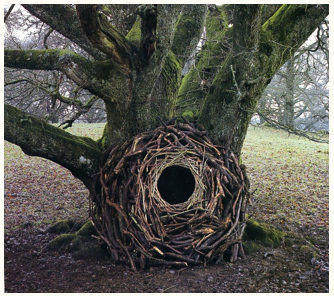
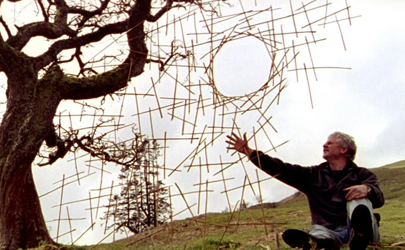
Andy Goldsworthy Art
Jan 162026
Maths in Year 1
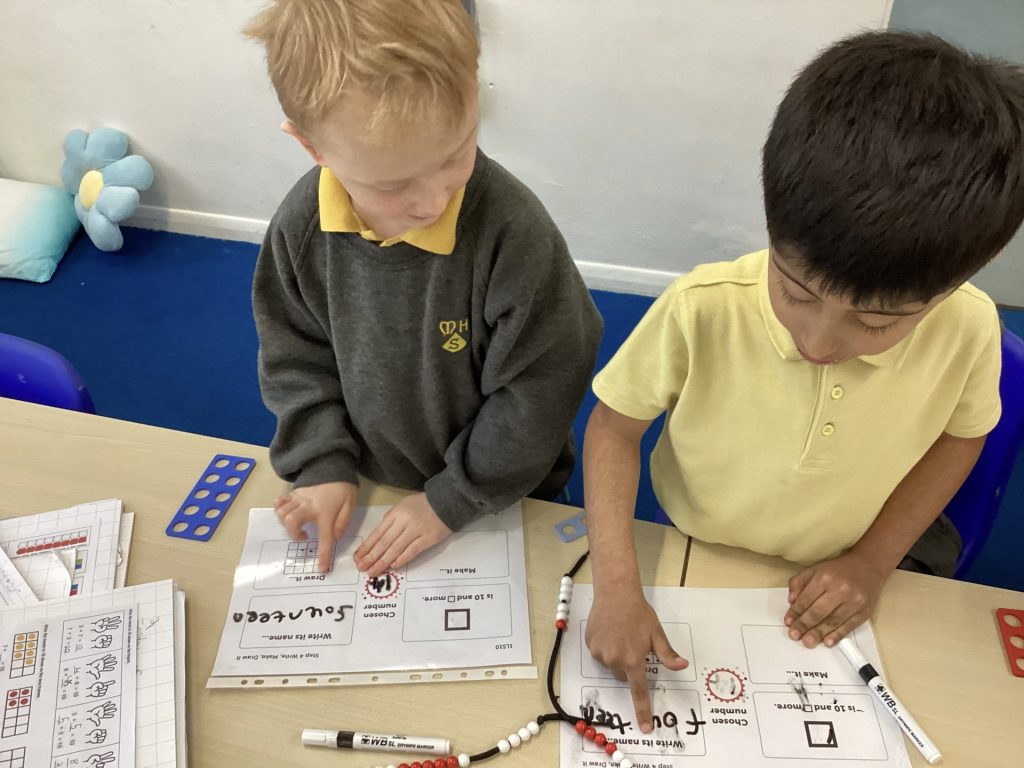
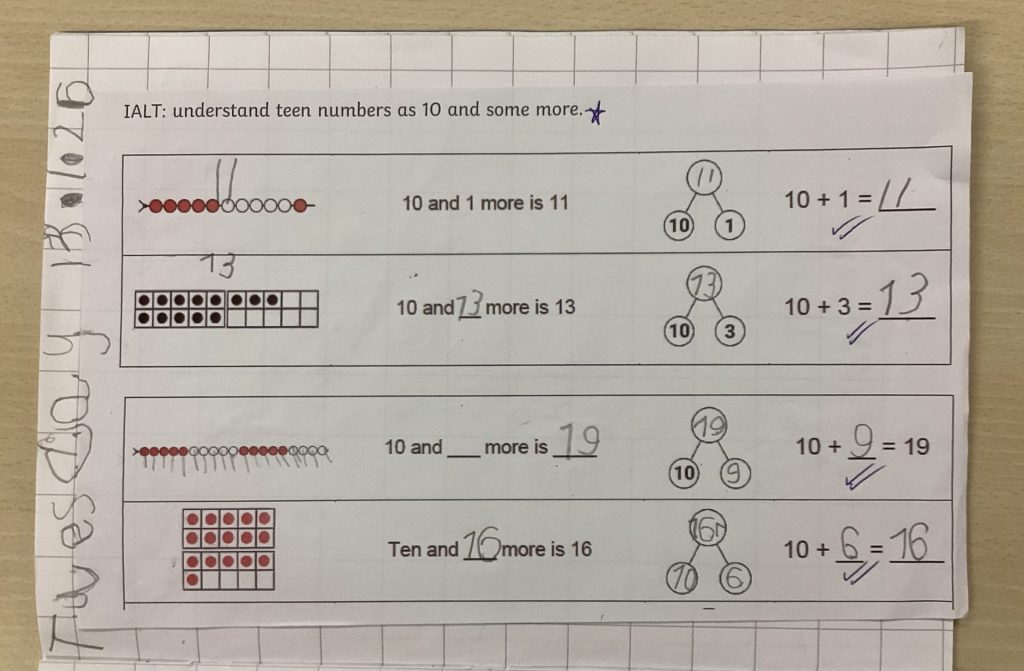
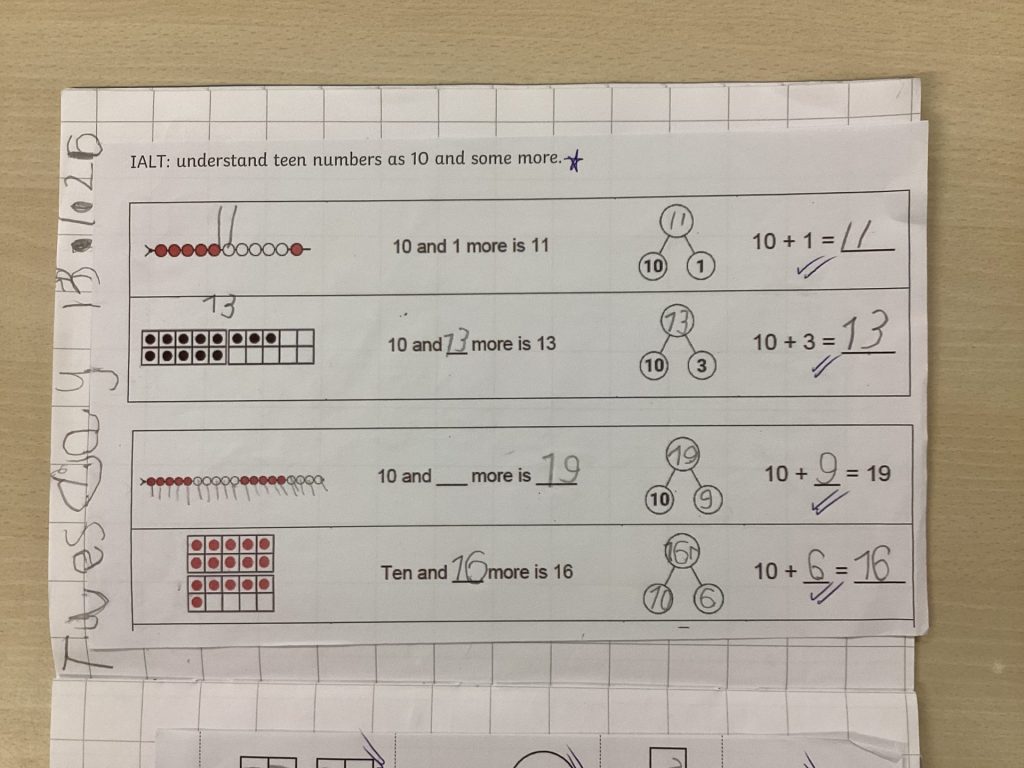
This week in Maths we have been learning about the teen numbers.
We have been thinking about each number as 10 and some more. For example, 11 is 10 and 1 more.

We have been using ‘Base 10’ equipment to show the tens and ones within these numbers.

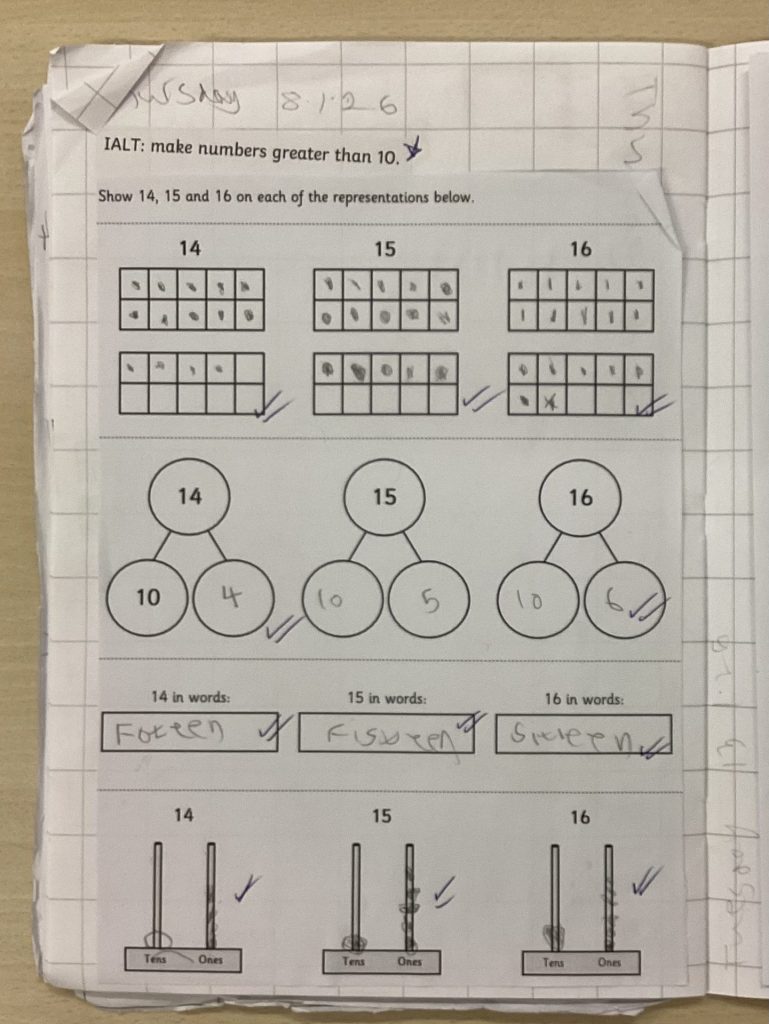
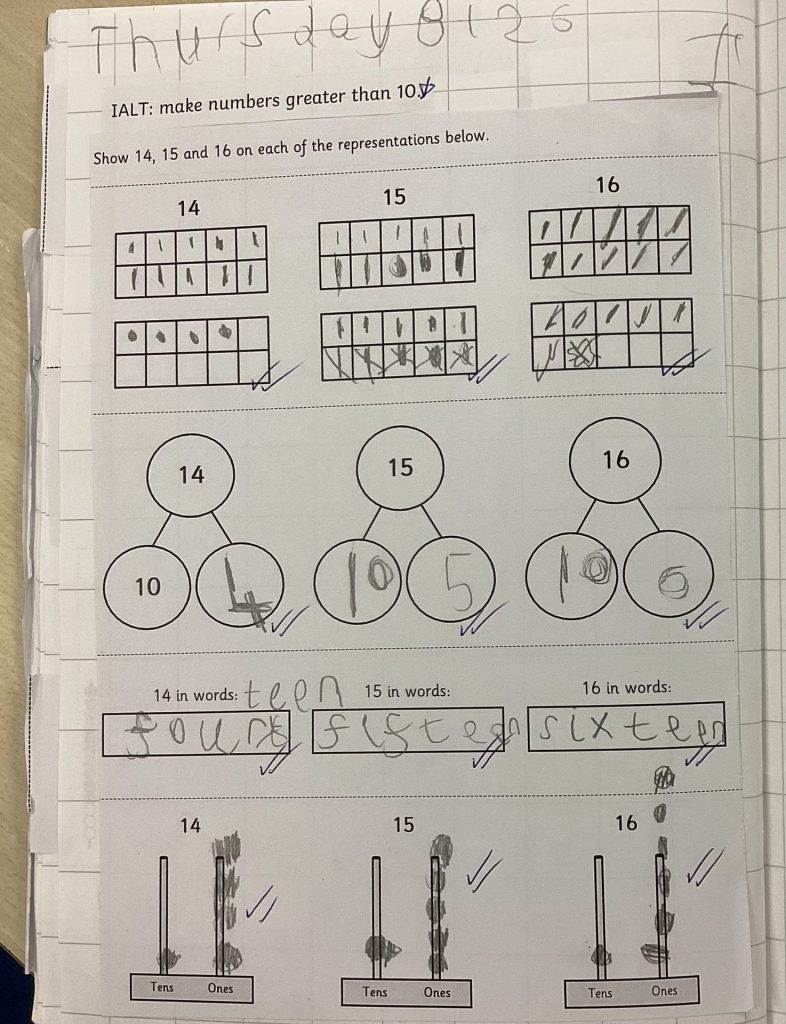
We also looked at the numbers written as a number and as words. We noticed these patterns:
- The numbers 13 – 19 all end with the word teen, and that teen is quite similar to the word ten.
- 12 and 20 both have a 2 in them.
- 10, 11, and 12 all start with the a 1 but they don’t have the word teen in them.
- When we say 14, 16, 17, 18 and 19 we say the amount more than 10 e.g. 19 is 9 more than 10 so we say nine in nineteen.

Here is some of the learning we have been doing this week:
How to support at home:
- Practise counting forwards and backwards to 20 – make sure you say the teen numbers correctly i.e. nineteen instead of ninety
- Use your toys to represent tens and ones e.g. Lego. Practise exchanging 10 ones for 1 ten and vice versa.
- Look out for numbers in the environment, can you spot any teen numbers? How many more than 10 is each number that you find?
Dec 192025
English in Year 1
Over the past few weeks, our English unit in Year One has been based on traditional tales. We began by looking at and talking about some of the traditional tales that we know – ‘Little Red Riding Hood’, ‘Cinderella’, ‘The Three Little Pigs’ etc. We then listed some of the features that we often find in traditional tales:-
- They often include repeated phrases
- They may include animals that behave like humans (e.g. they can talk)
- The names of the characters often tell the reader more about their appearance or traits – e.g. The Big Bad Wolf
- They usually include happy endings
We read the story of ‘The Three Billy Goats Gruff’ by Marc Barnett and Jon Klassen – which you can find by following this link:
https://www.youtube.com/watch?v=w9Pf1wYzh_Q
In groups, we then made stick puppets of the characters and retold the story, which we filmed and uploaded to Seesaw – we hope you have had a chance to see them! We talked about the characters and wrote some sentences to describe them.
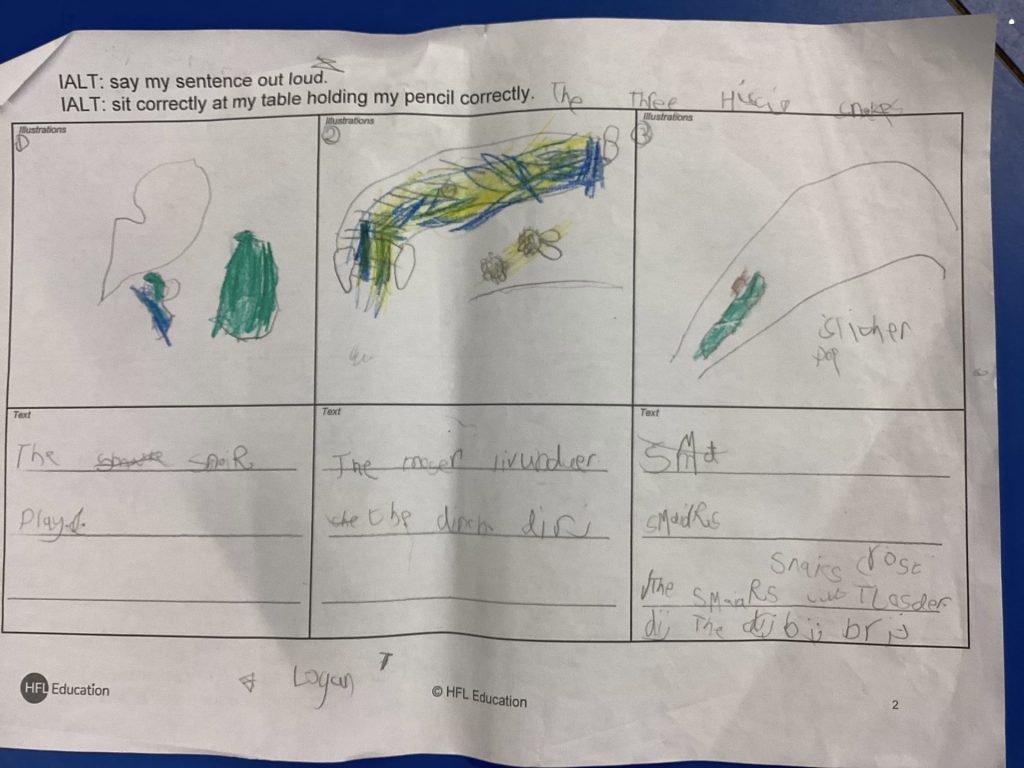
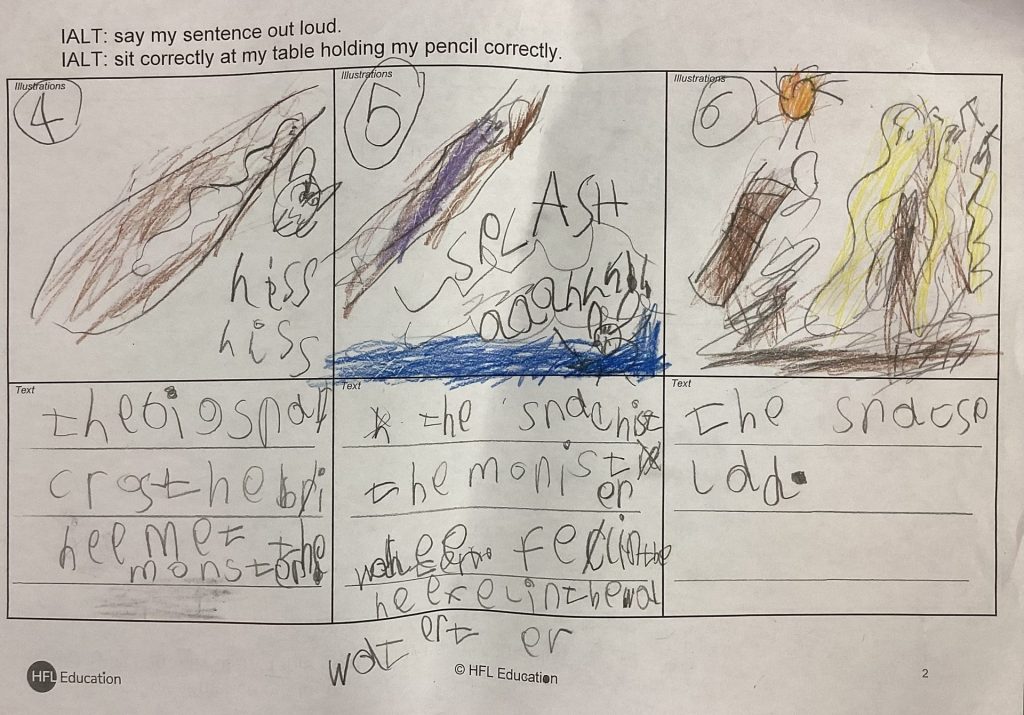
Our next task was to have a go at writing our own story boards based on The Three Billy Goats Gruff.
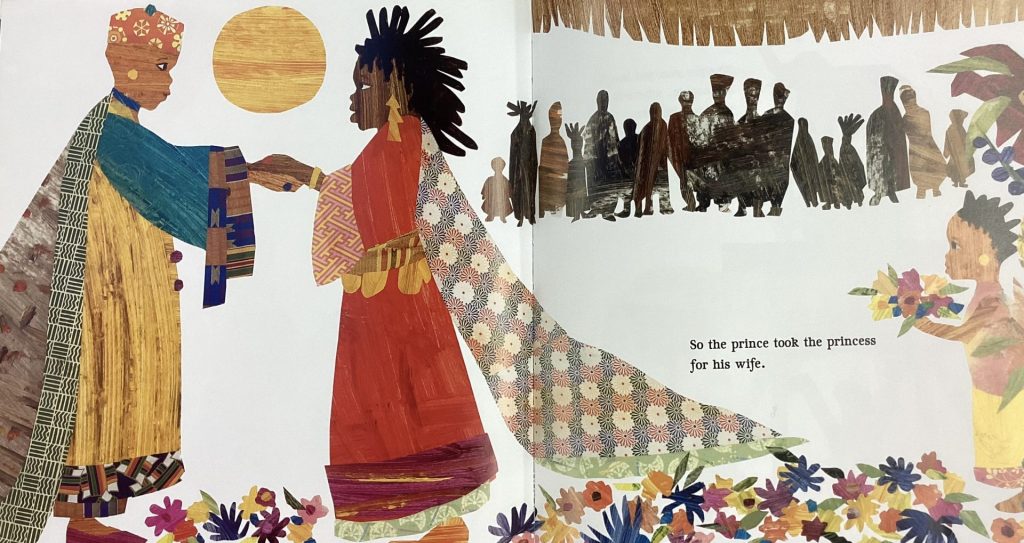
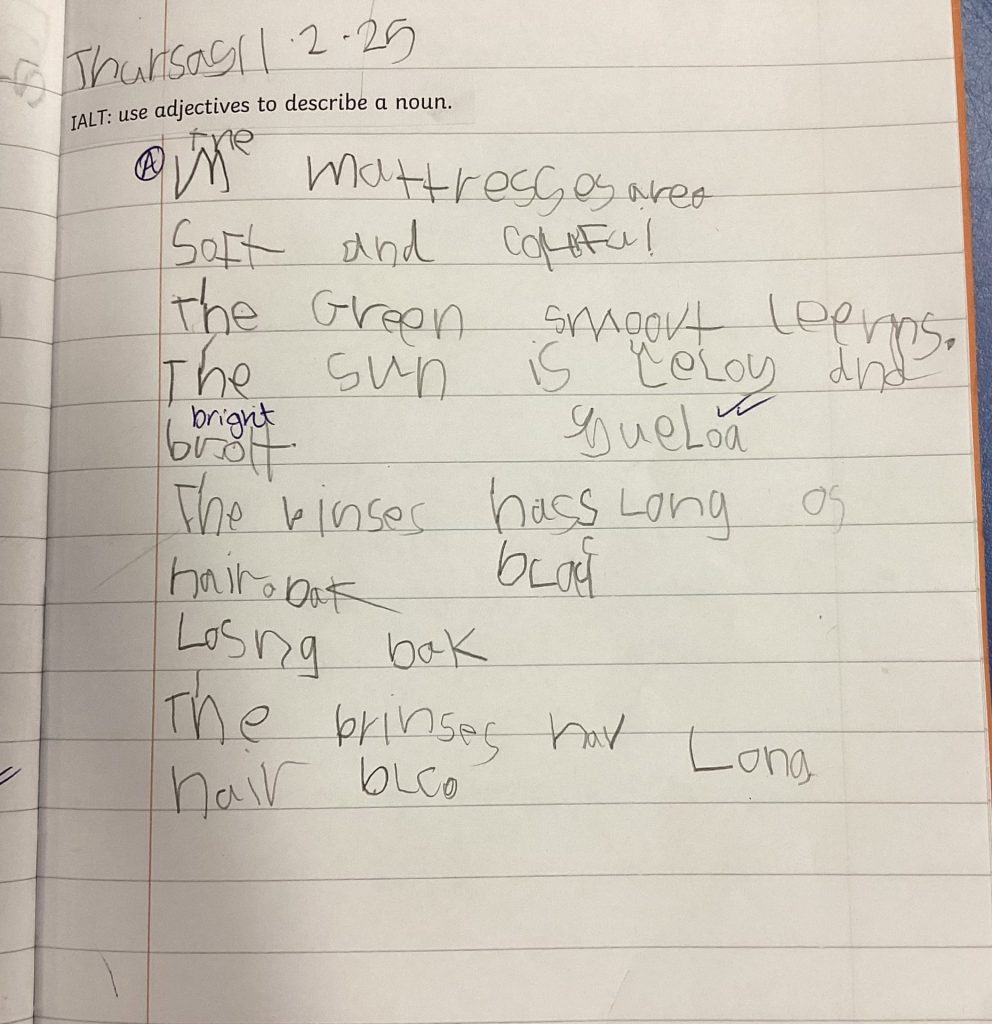
We then shared the story of ‘The Princess and the Pea’ by Rachel Isadora, which you can see by following this link: https://www.youtube.com/watch?v=n0d0SGoeiTI
We retold the story using stick puppets and then we looked closely at the pictures in the story. We learnt that the illustrations in a book can help the reader to understand what is in the writer’s mind. We wrote some sentences to explain what we could see in the pictures.
How to help at home:-
- Watch the stories of ‘The Three Billy Goats Gruff’ and ‘The Princess and the Pea’ using the links above.
- Share some other traditional tales with your child. Can they find the features of a traditional tale listed above?
- Encourage your child to look closely at the illustrations and talk about what they can see.
- Encourage your child to create their own traditional tale.
Dec 112025
Year 1 Science: Exploring Materials